32 Day Clock Easy Build


$12.00 32 Day Clock Easy Build
Published 2021-02-26T11:20:07+00:00
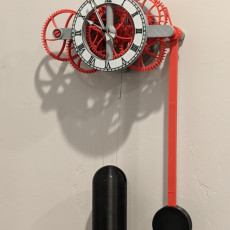
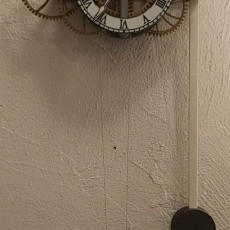
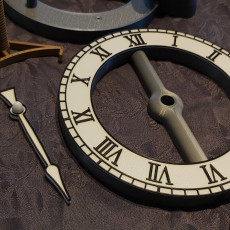
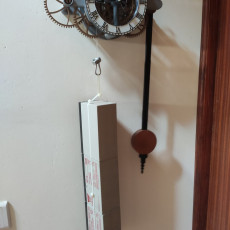
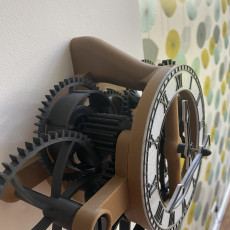
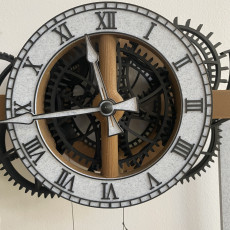
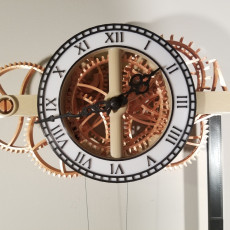
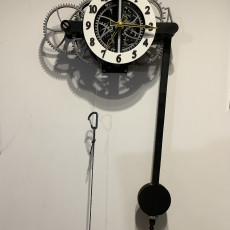
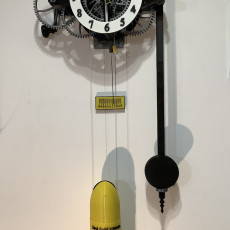
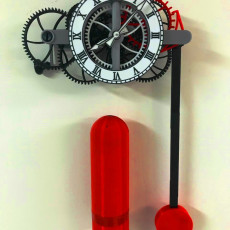
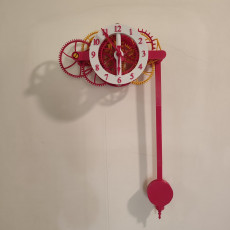
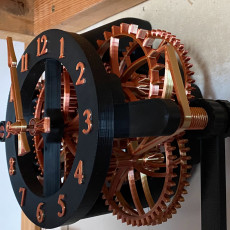
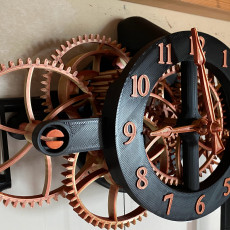
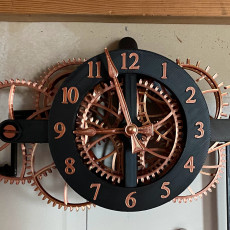
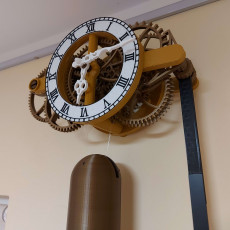
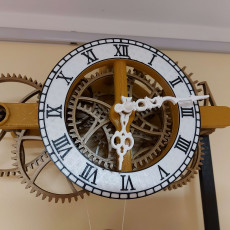
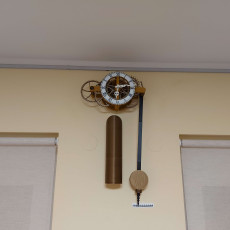
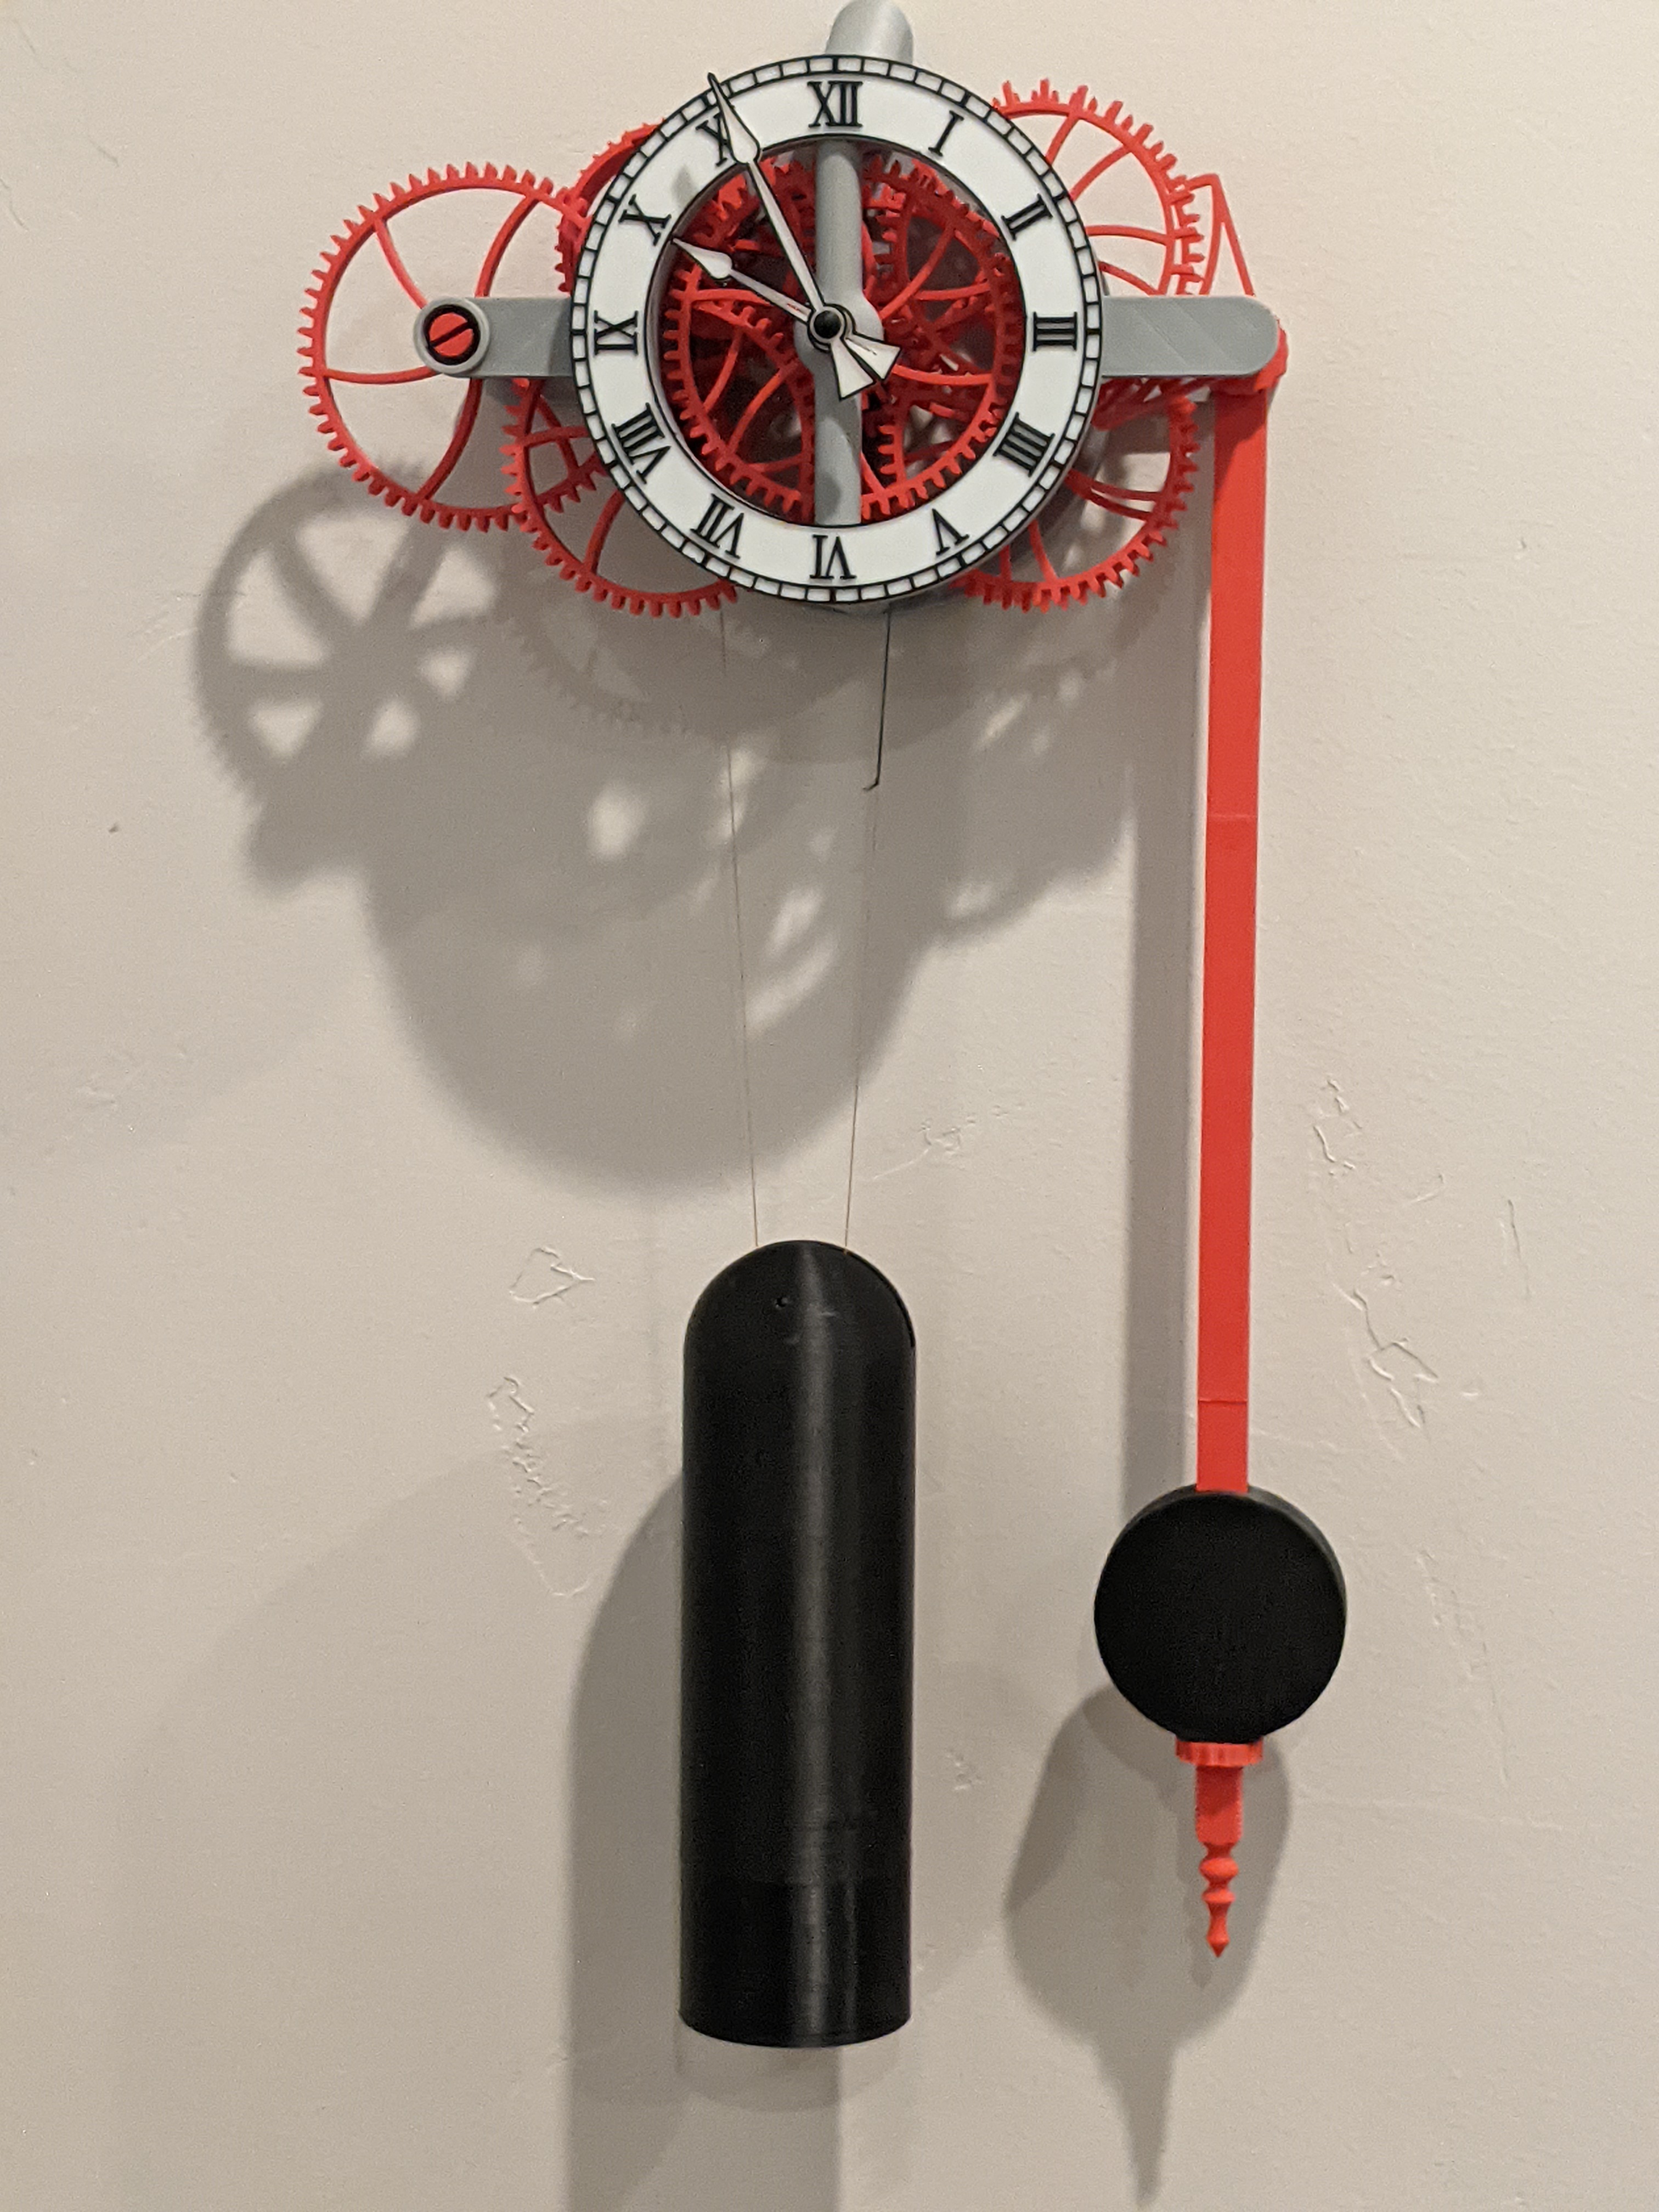
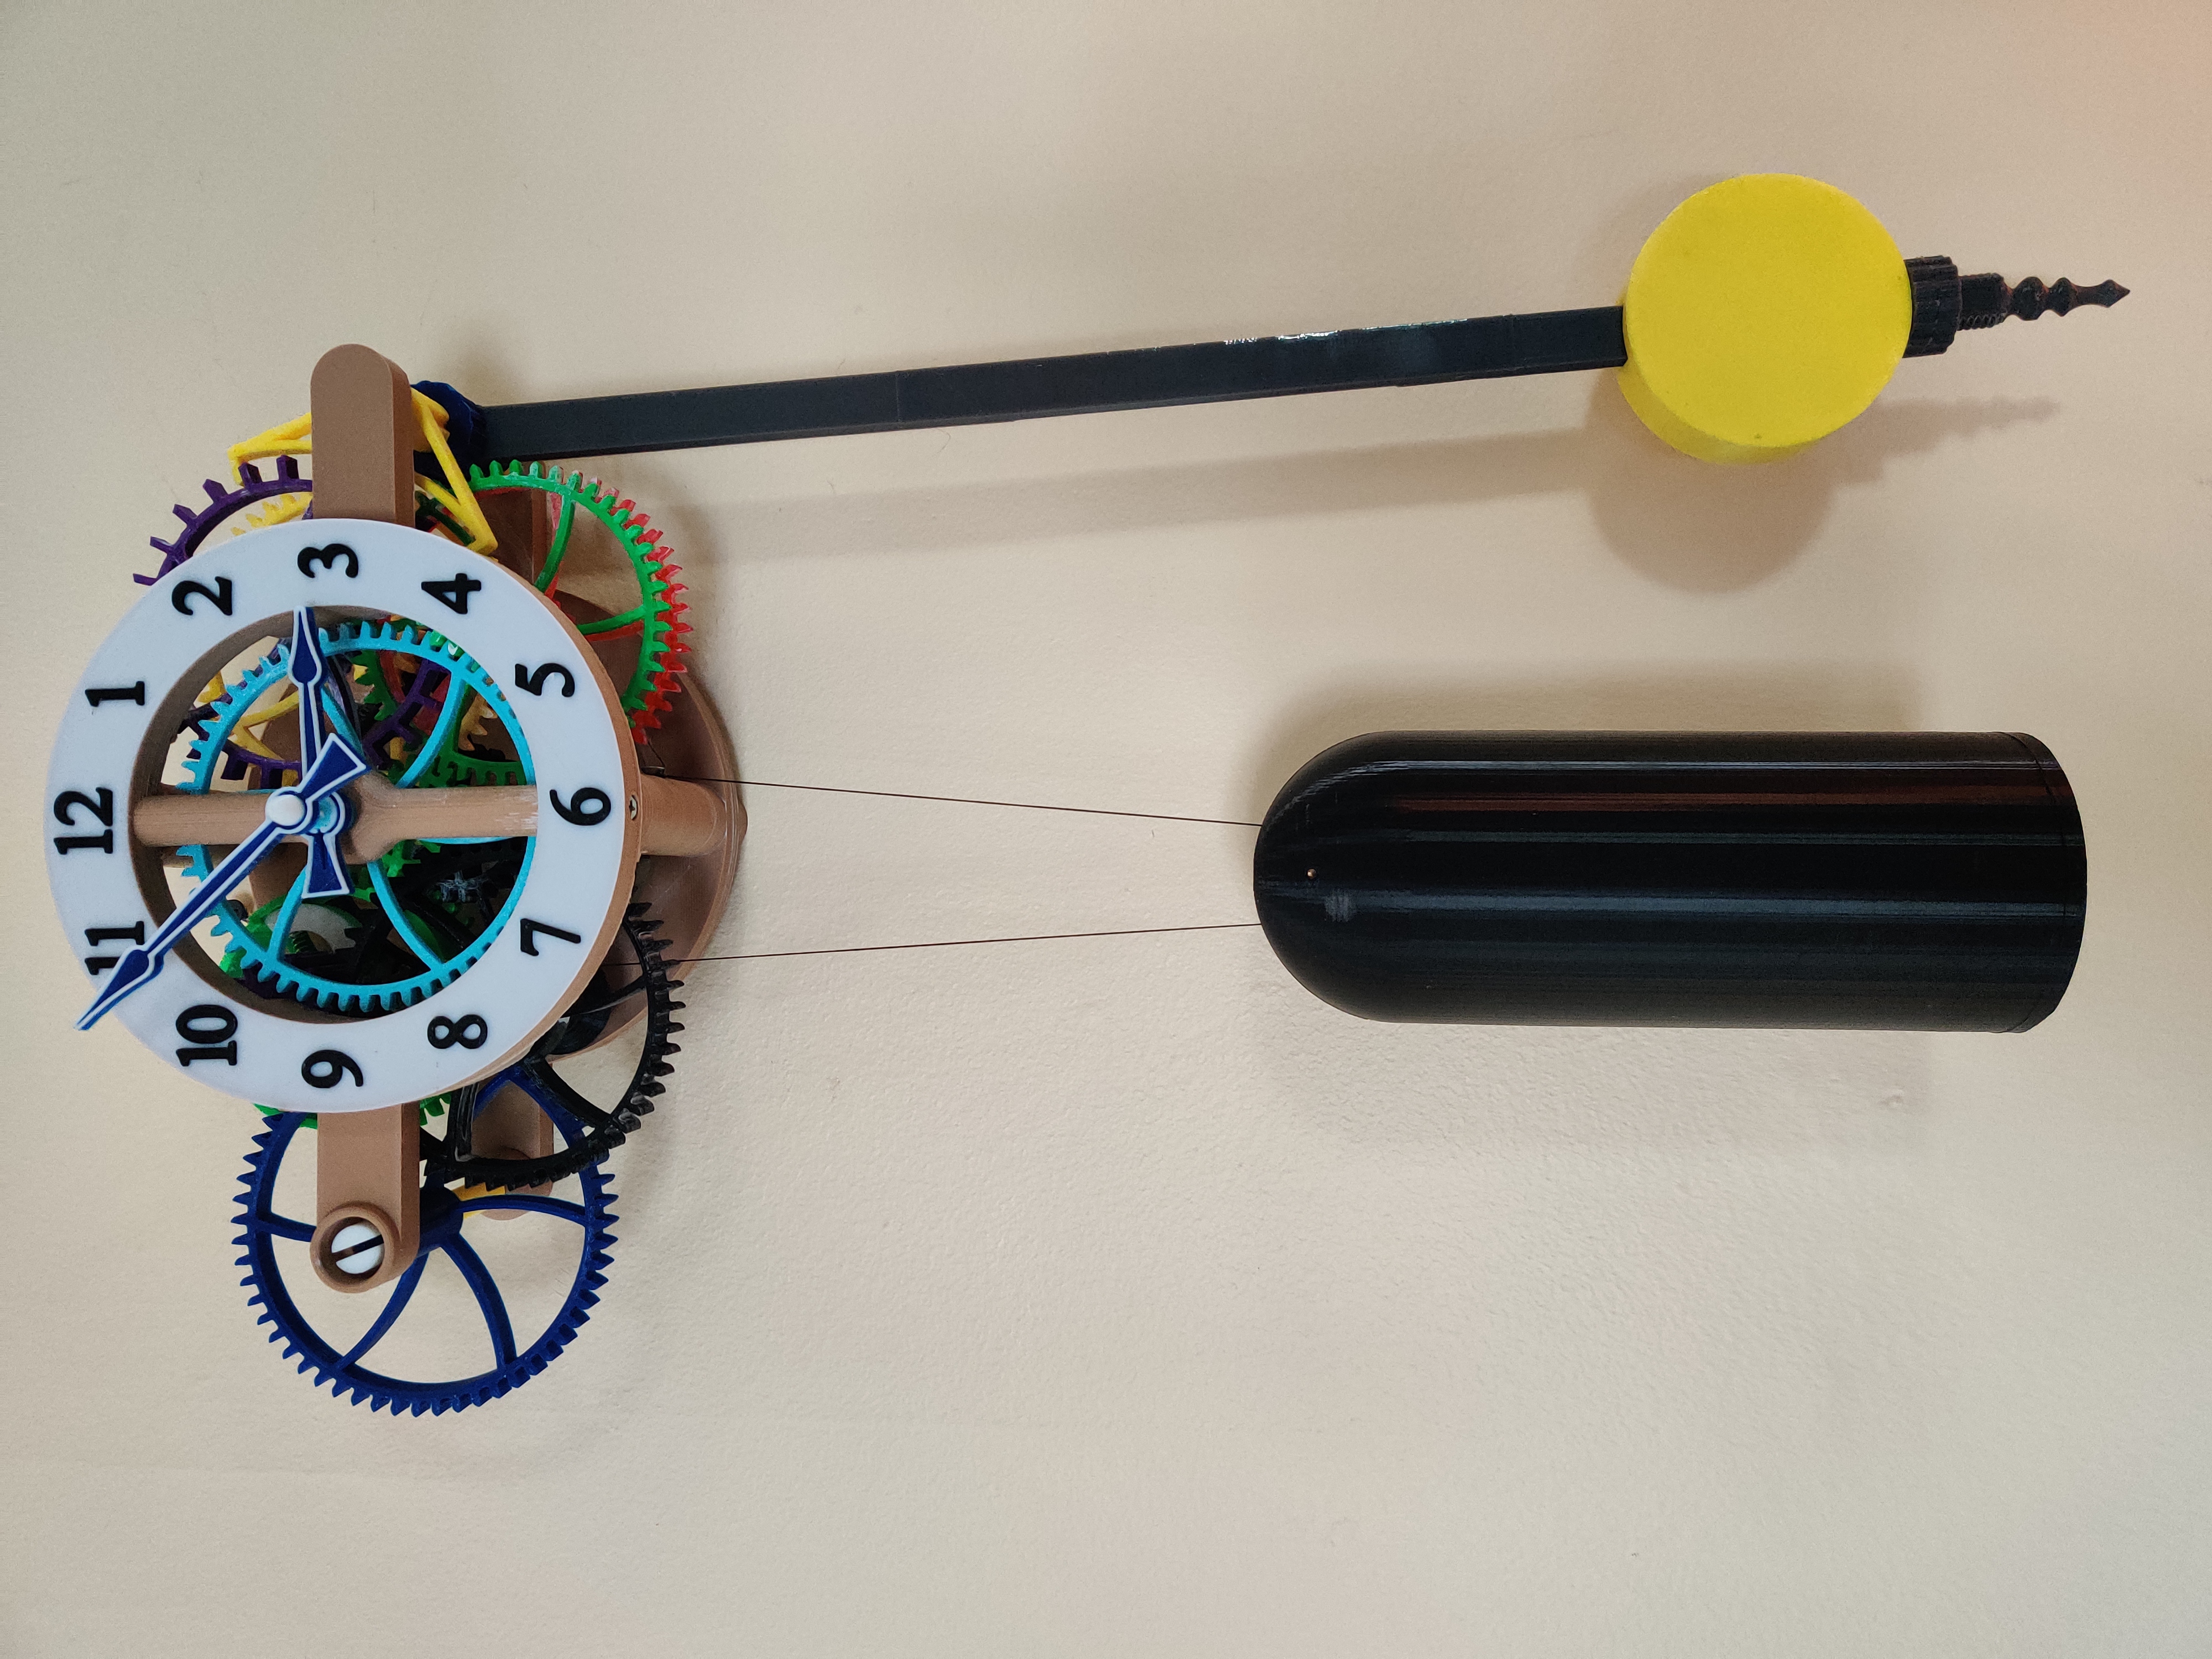
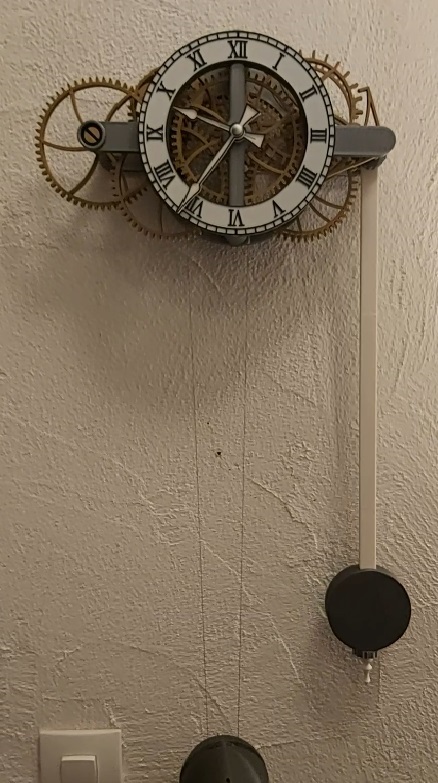
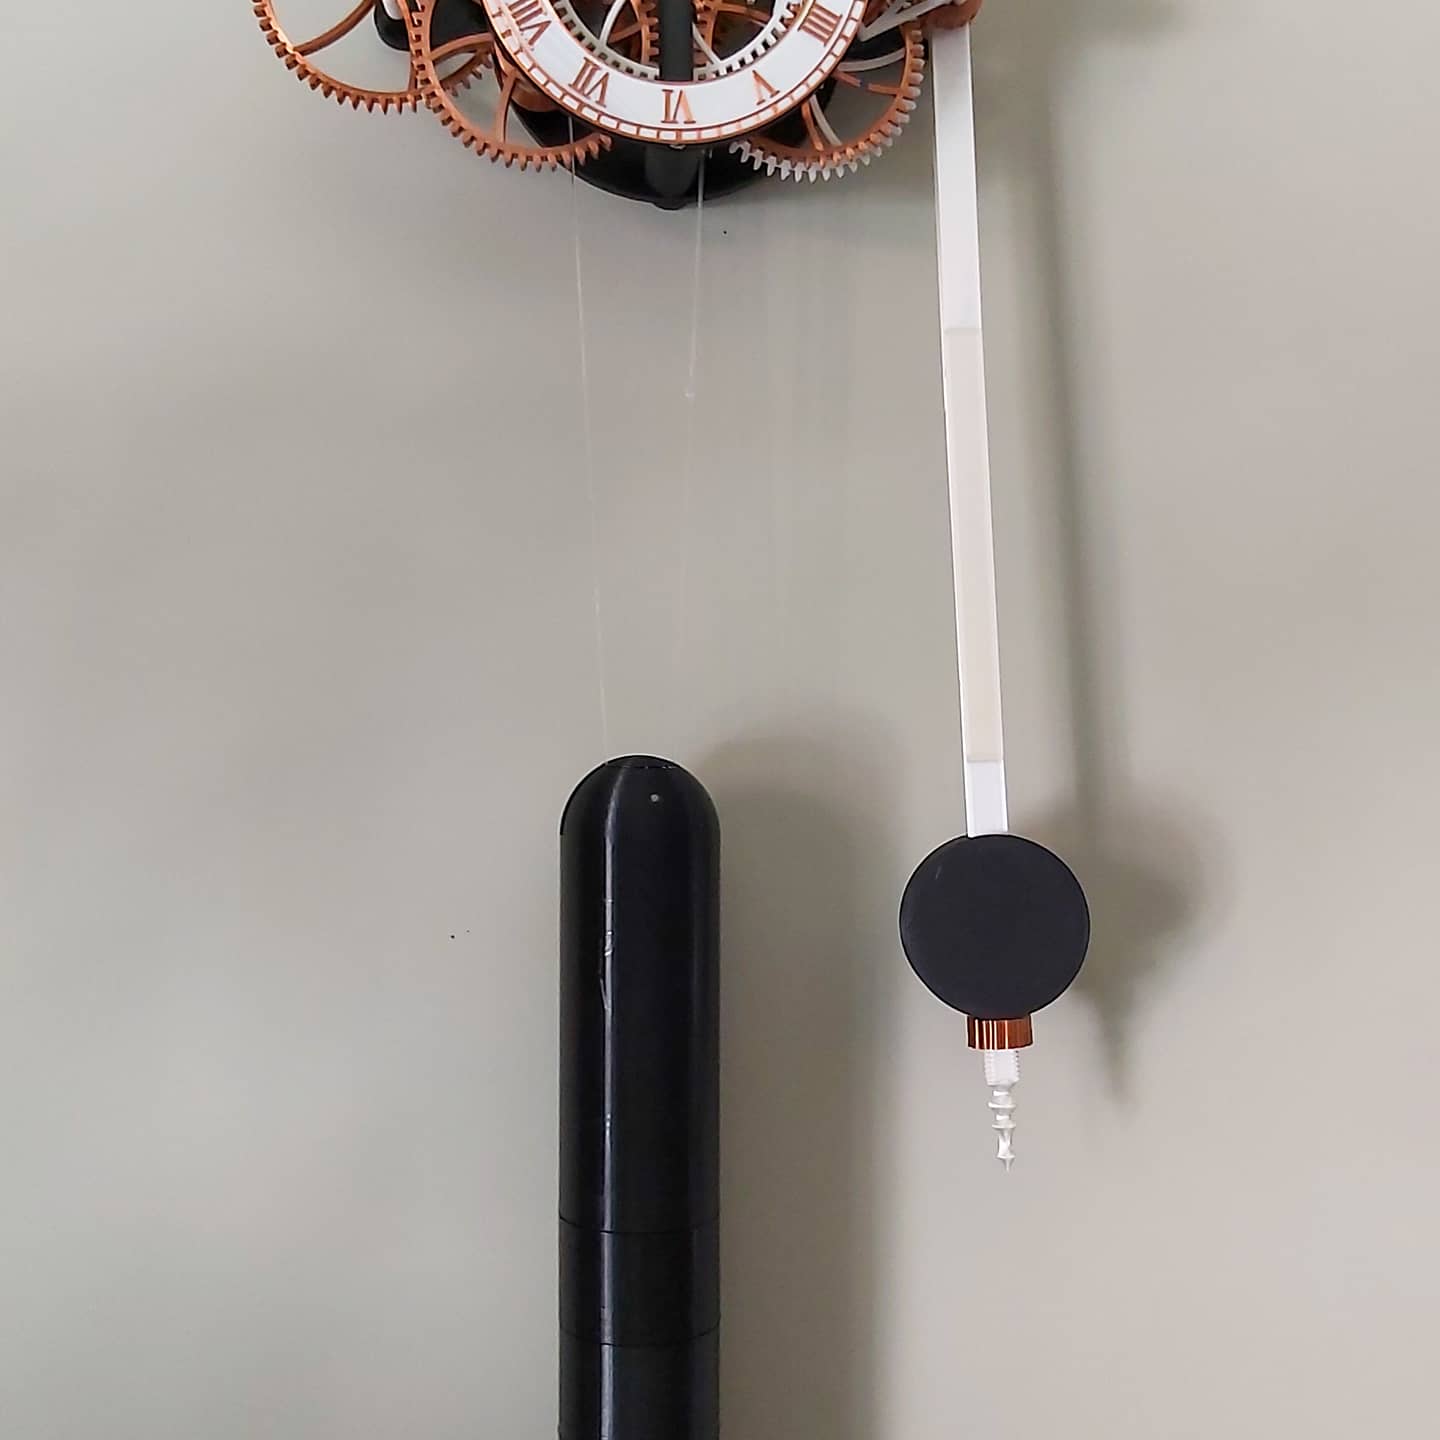
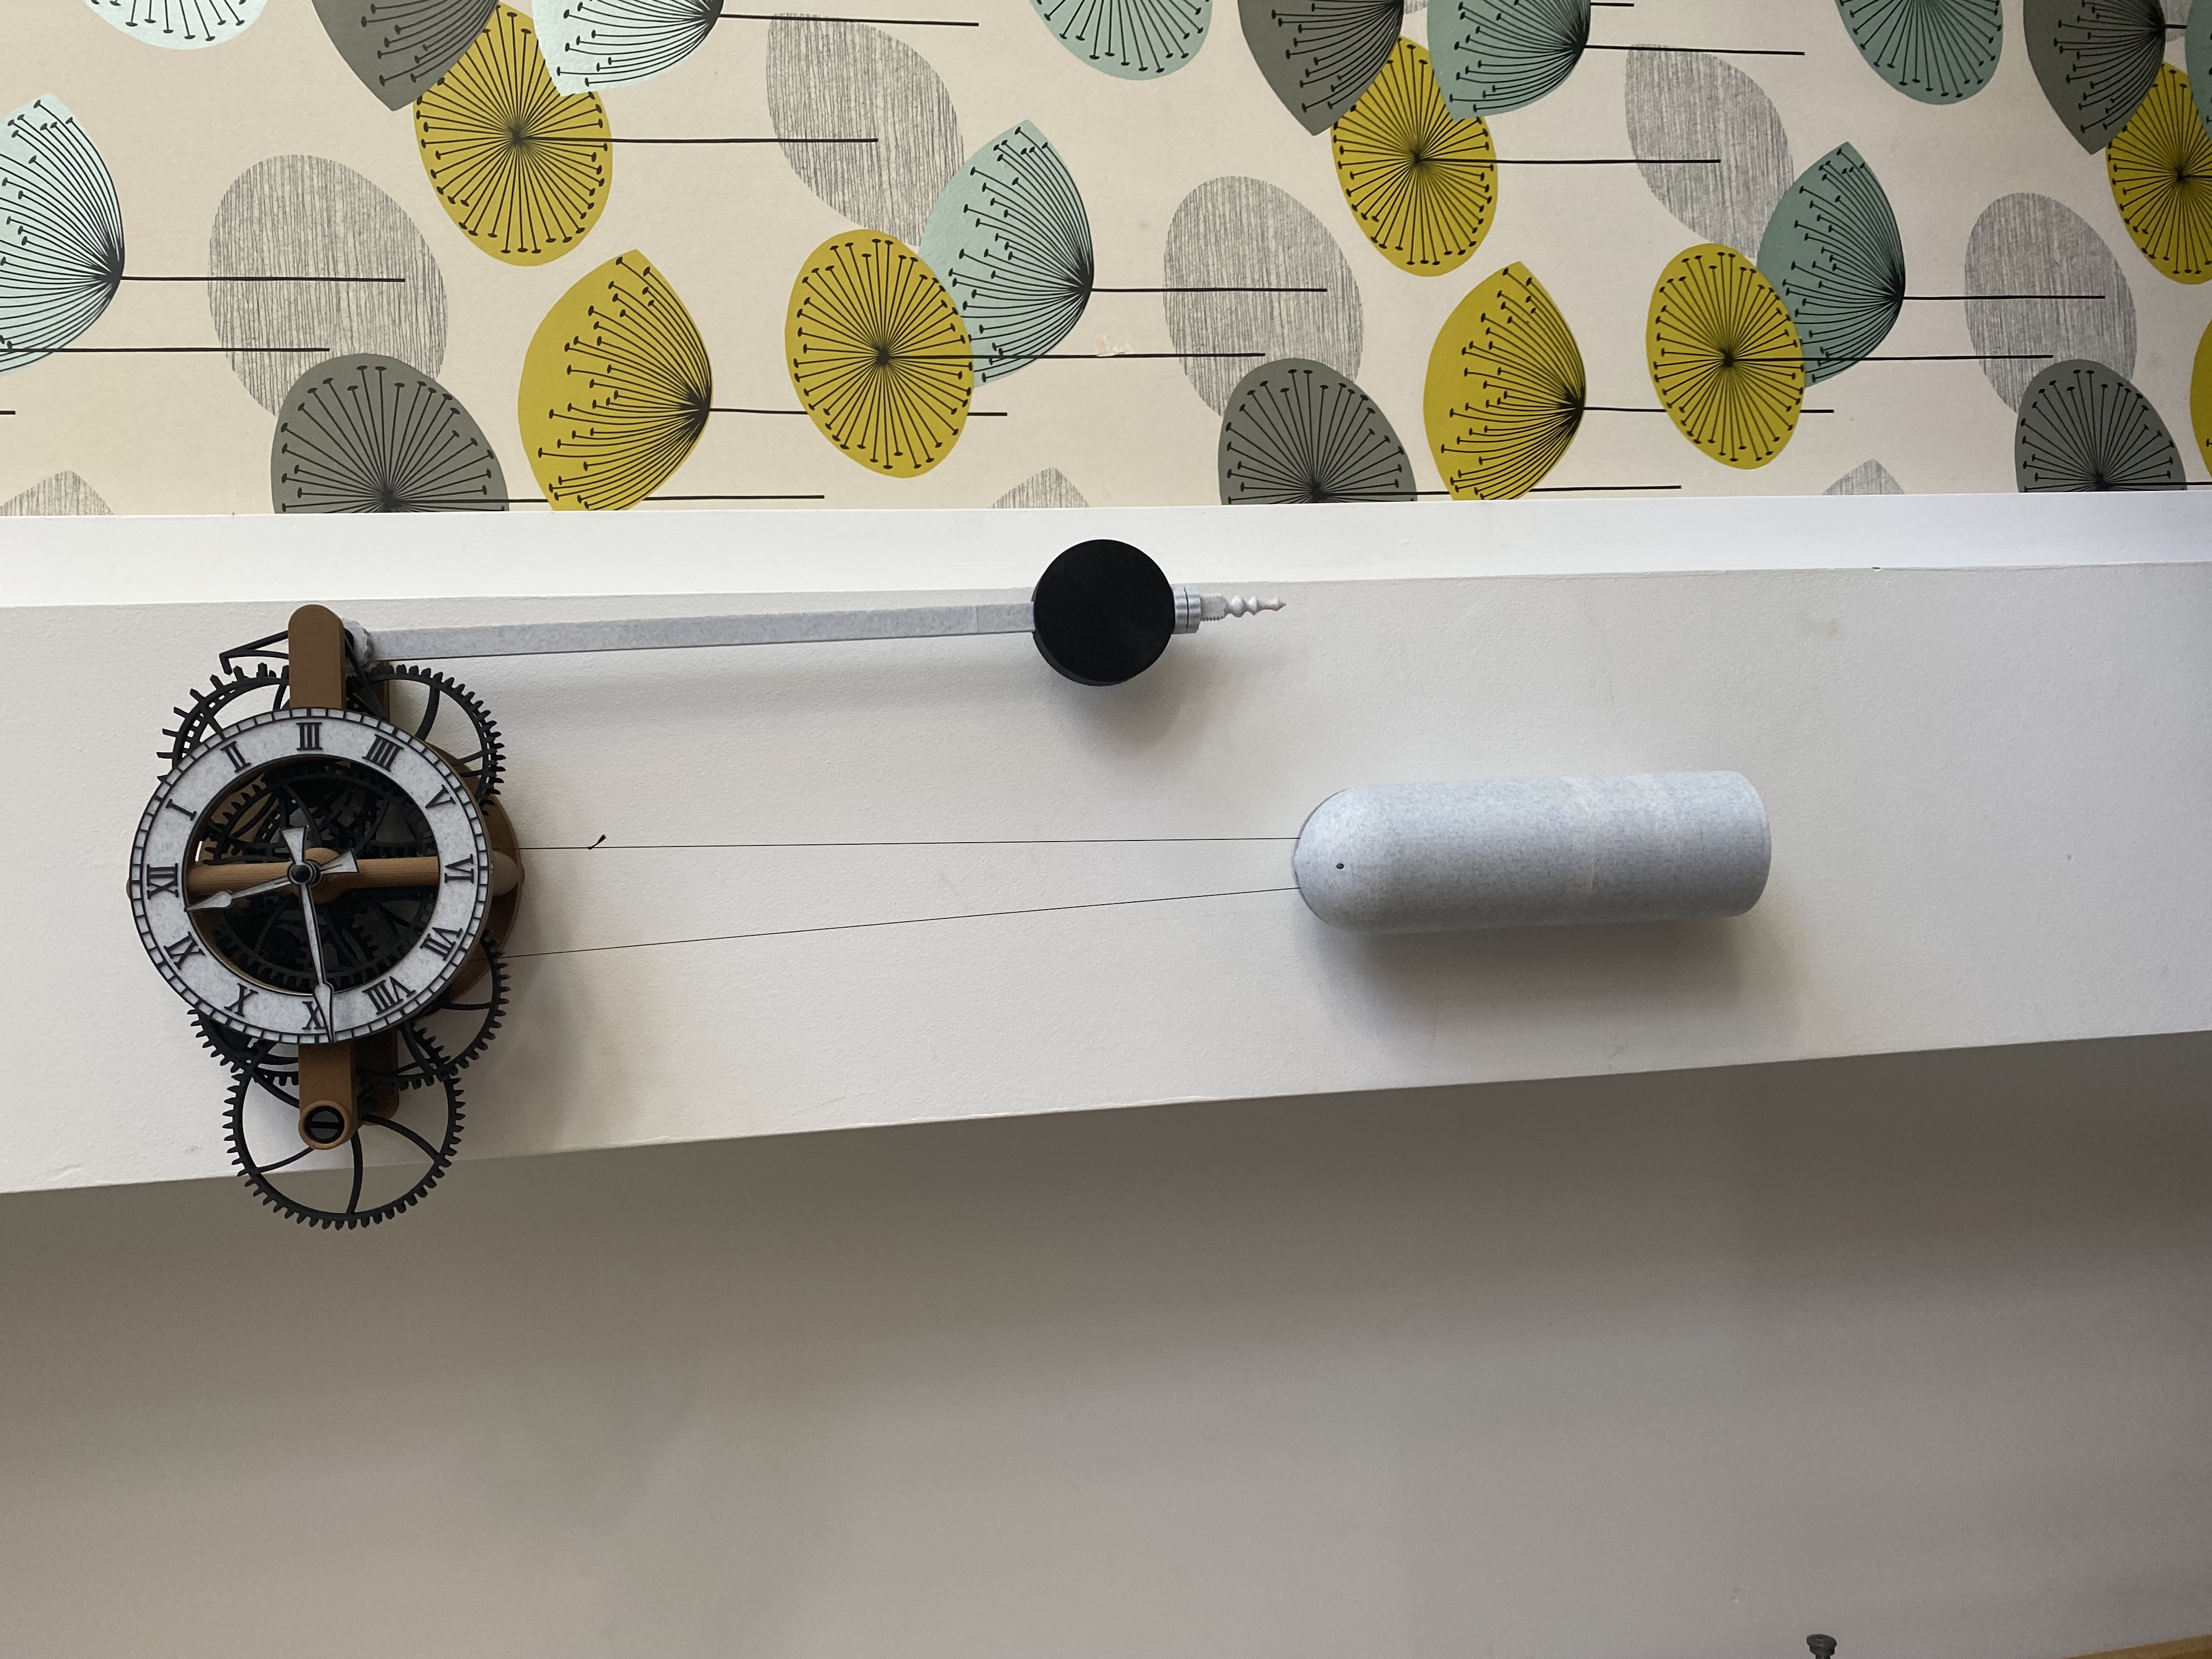
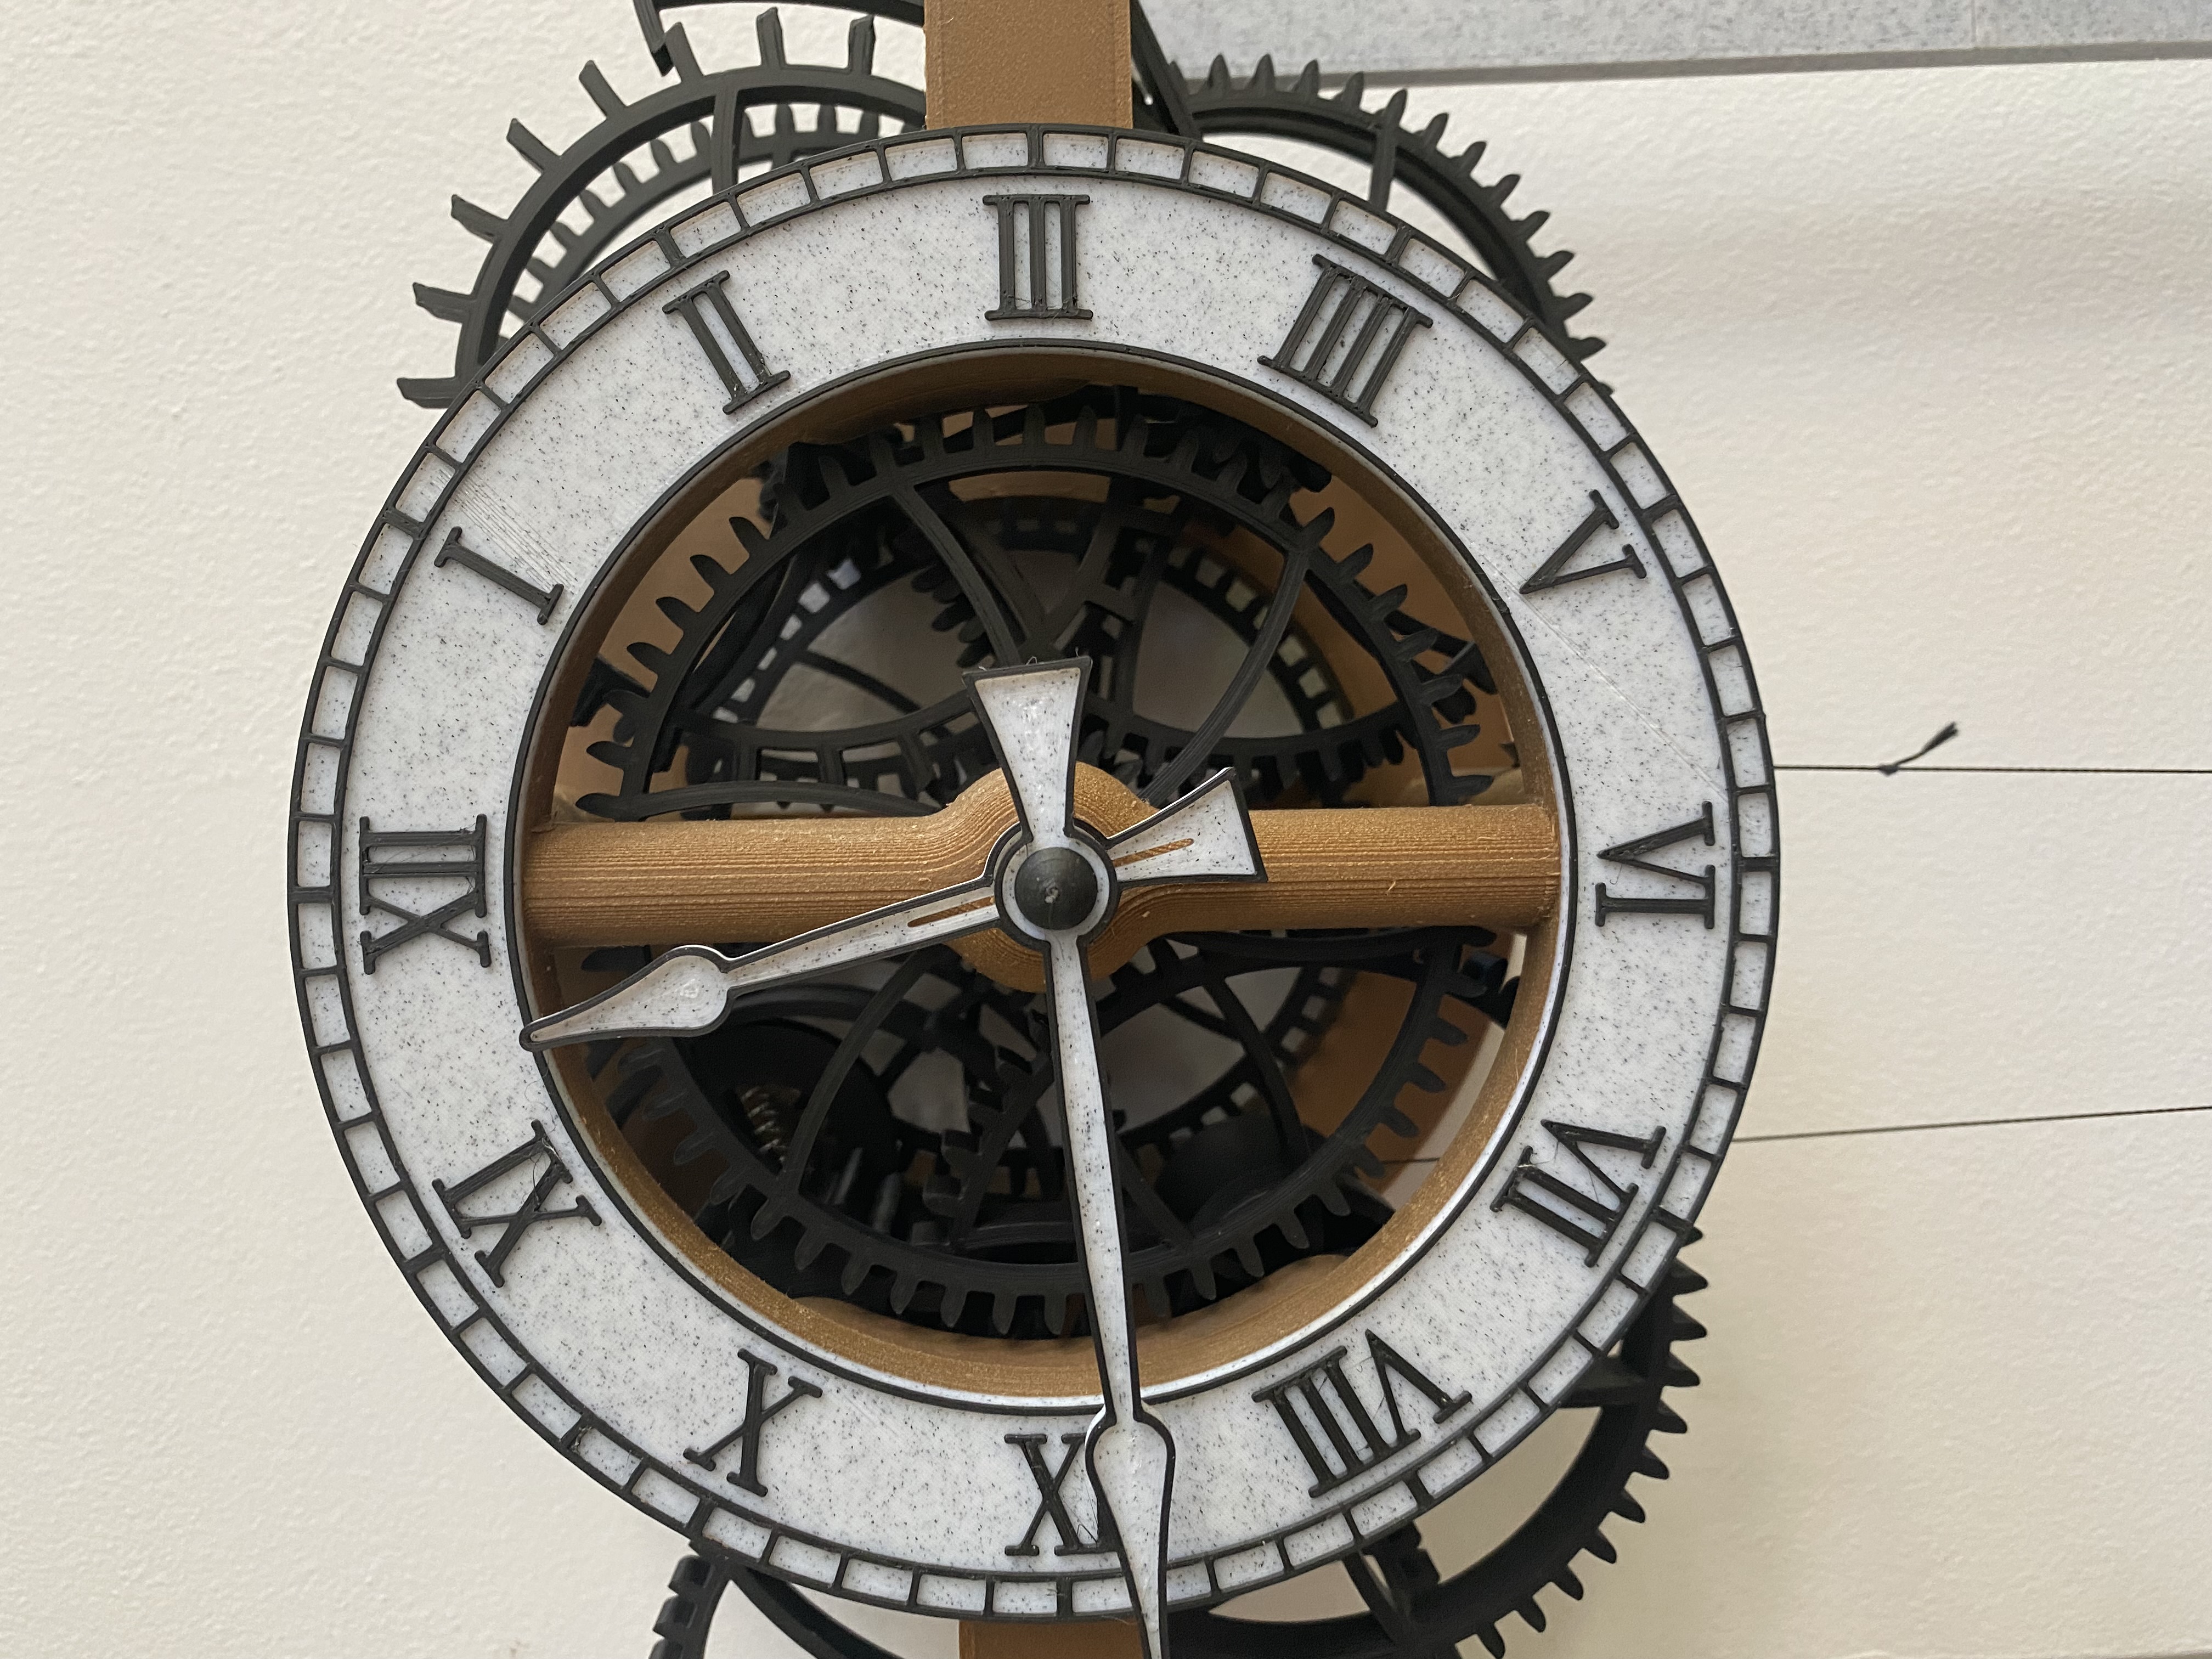
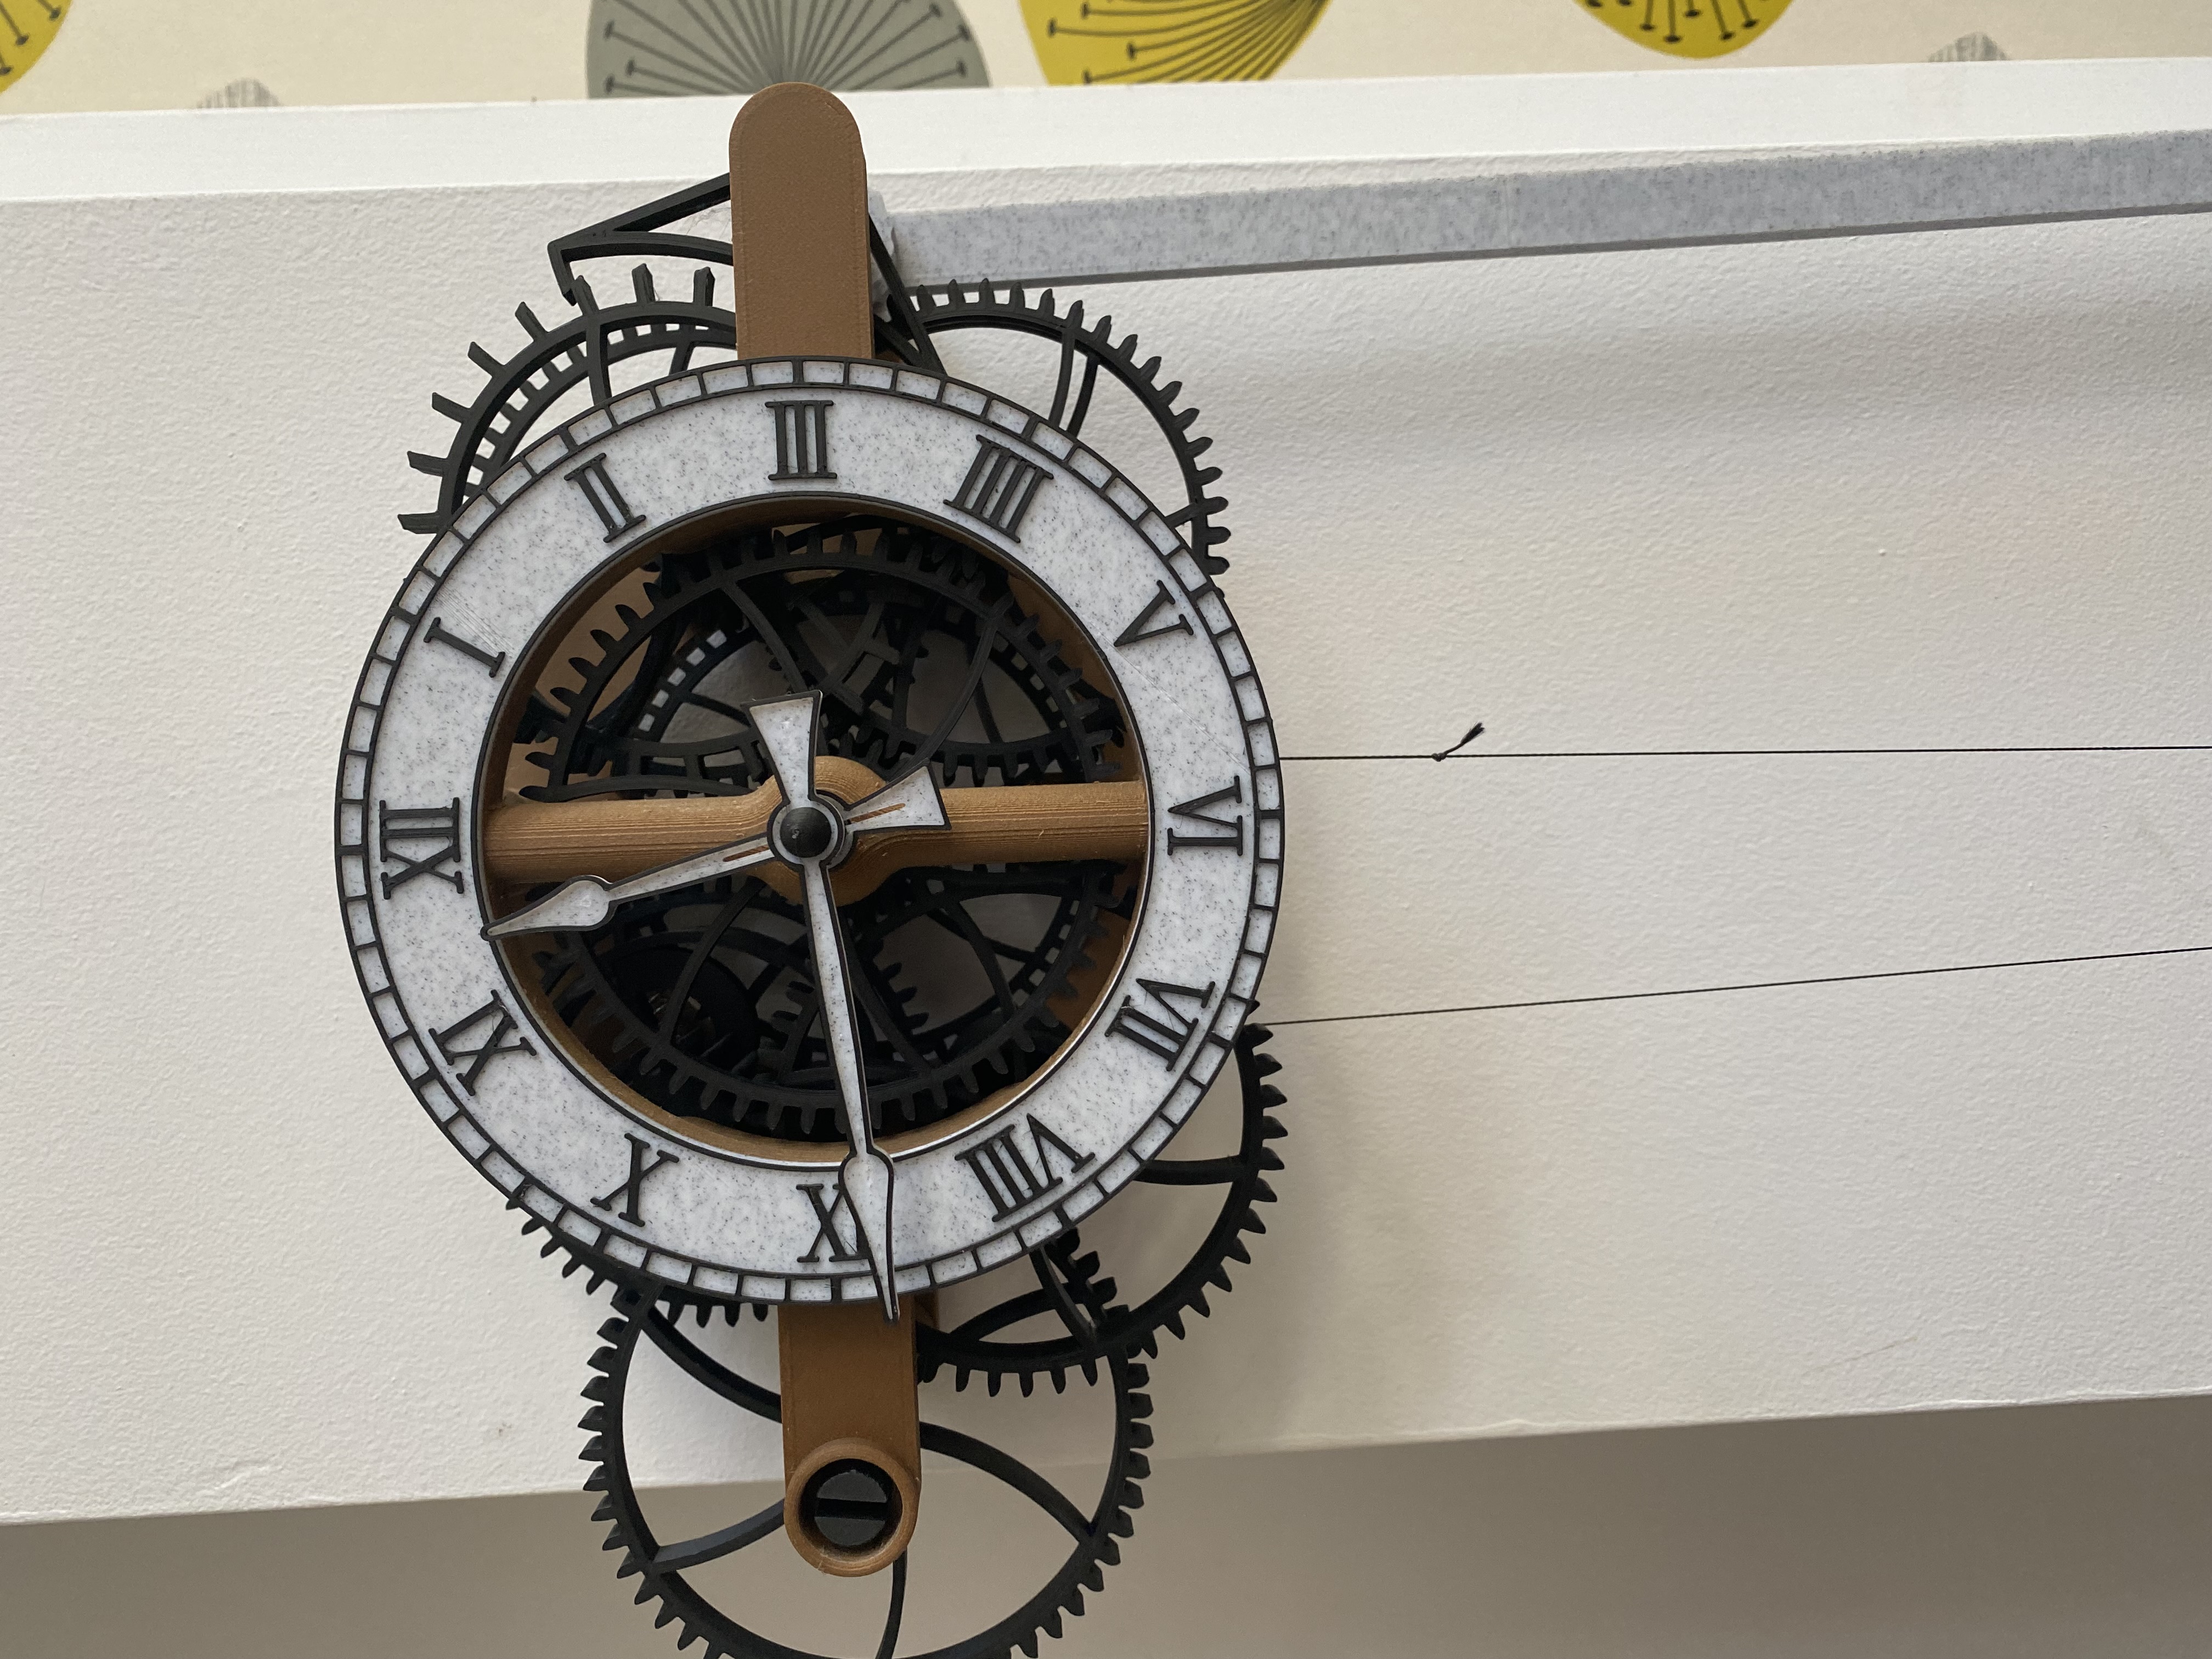
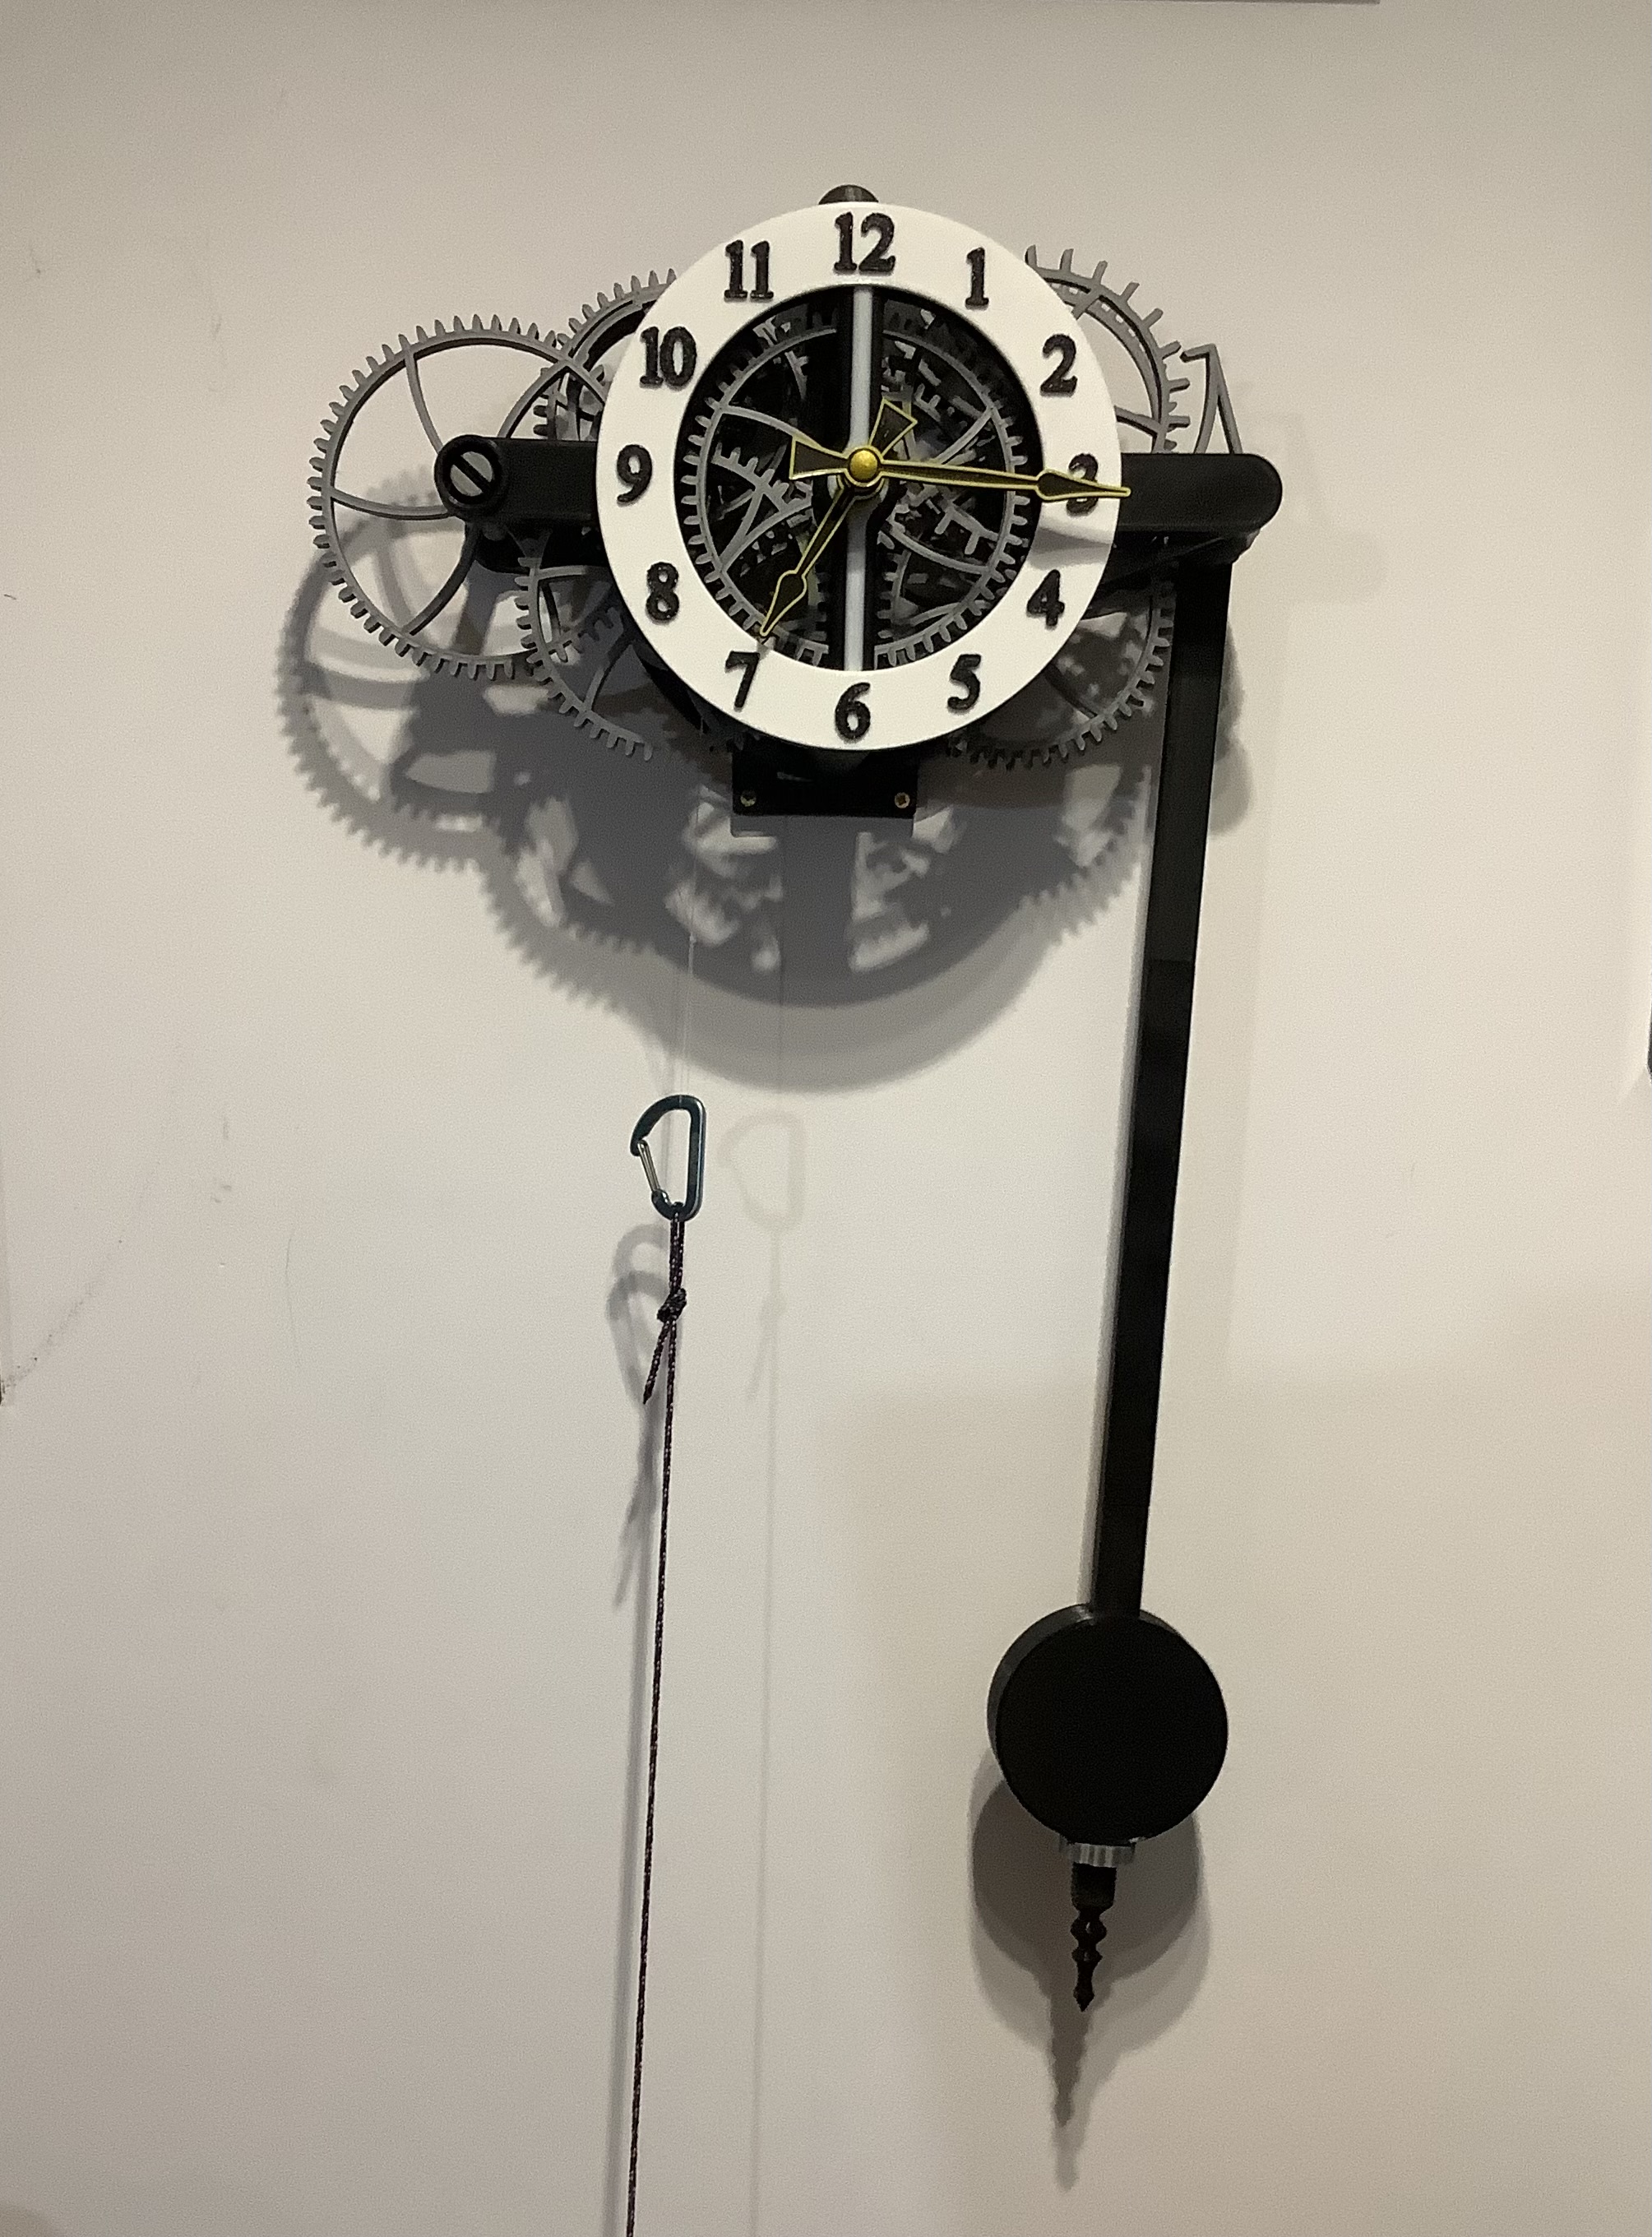
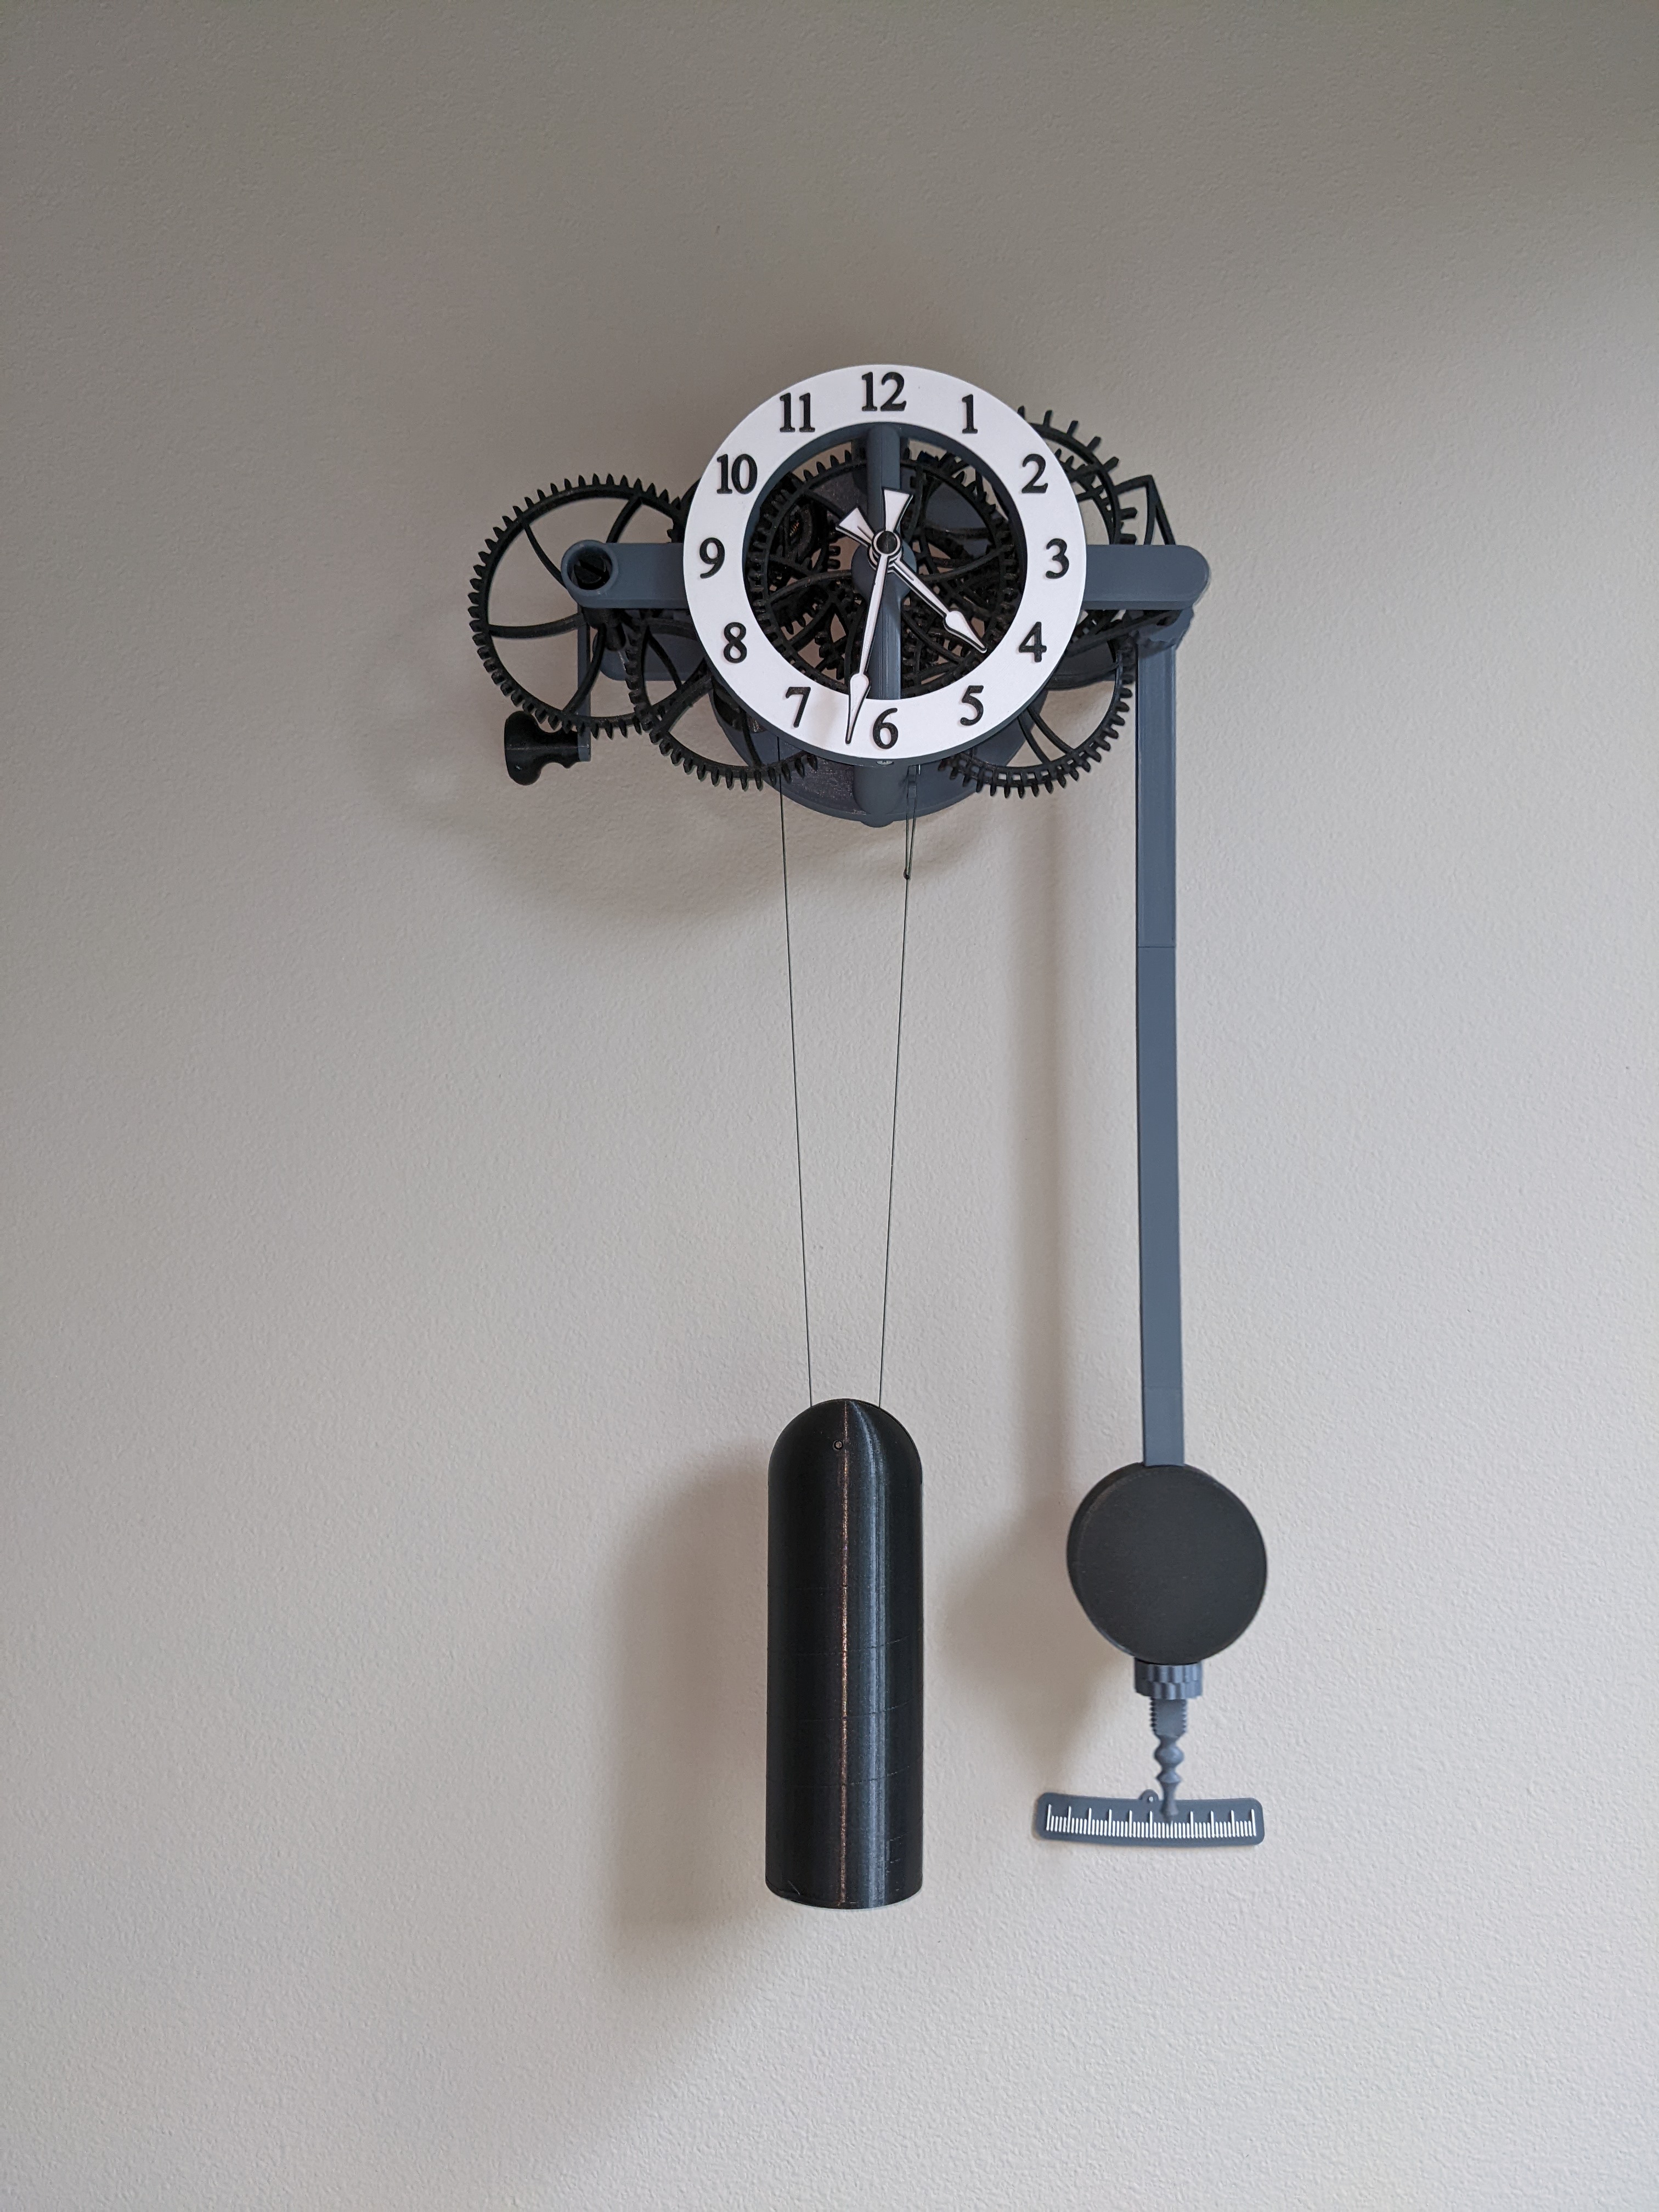
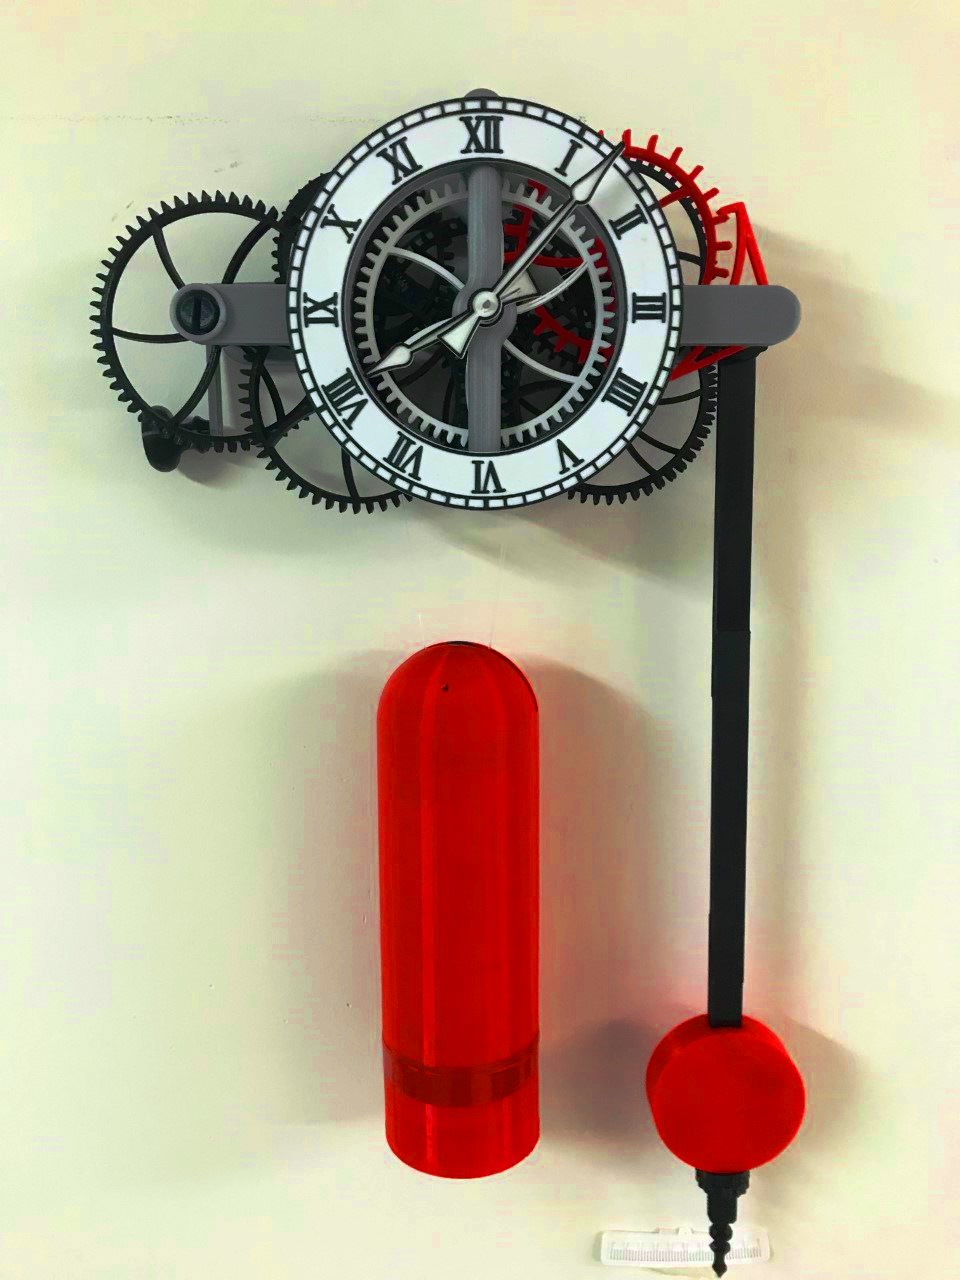
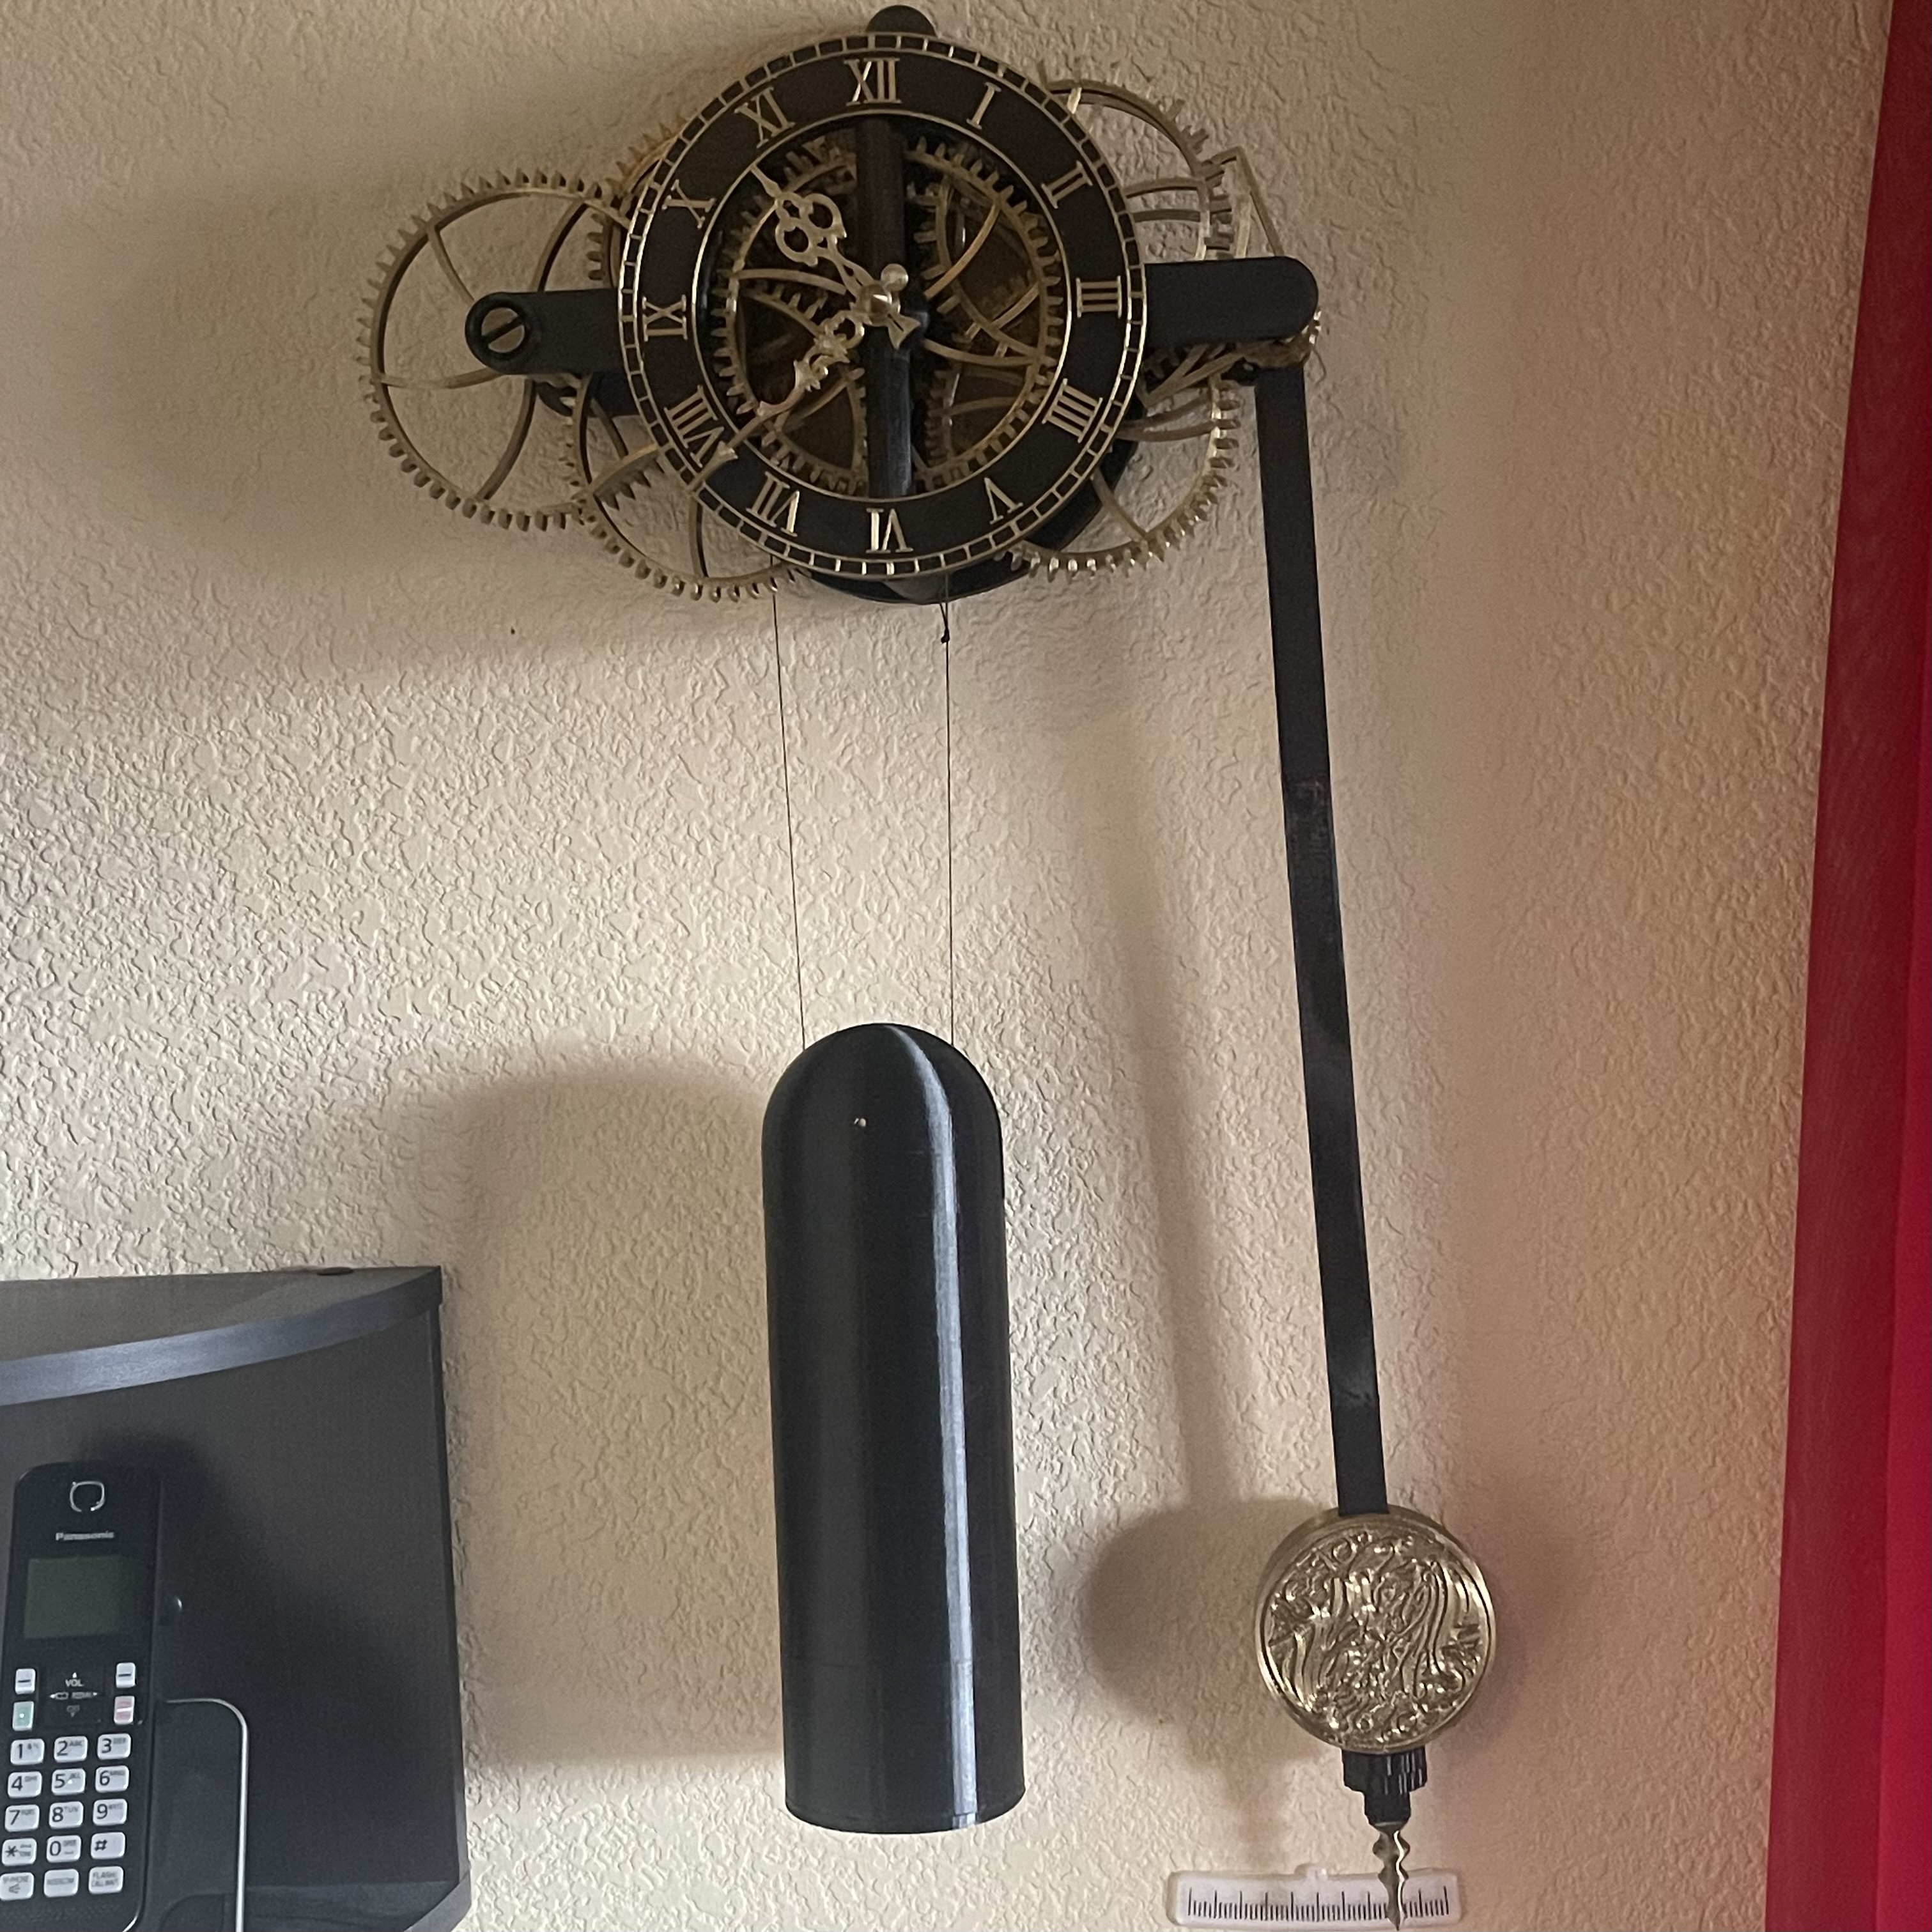
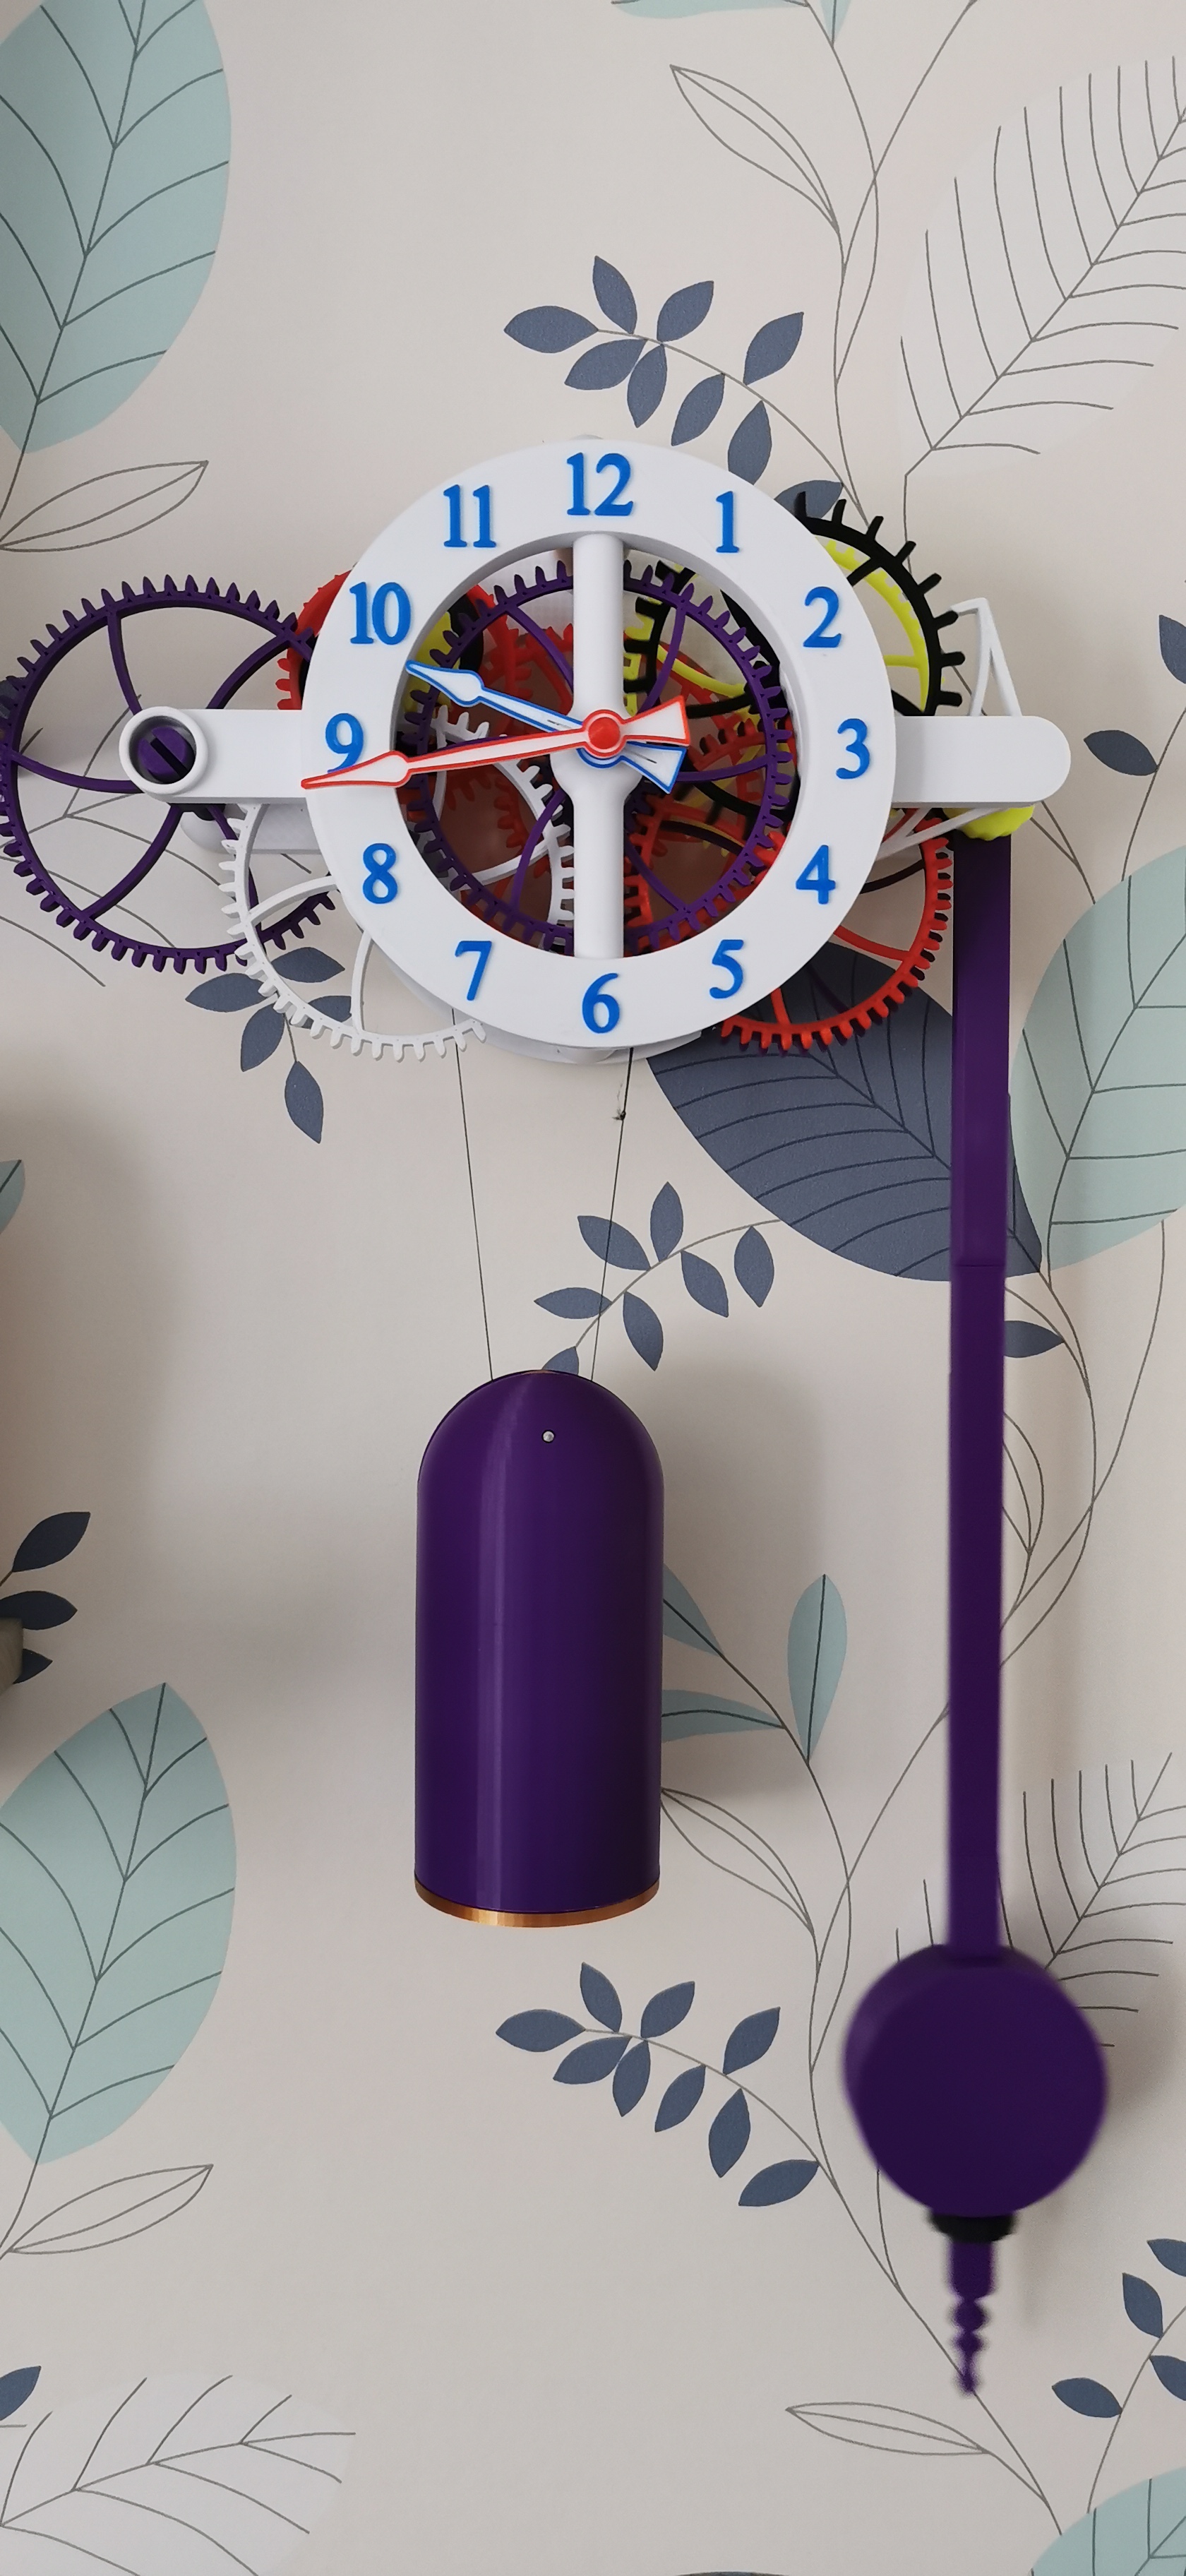
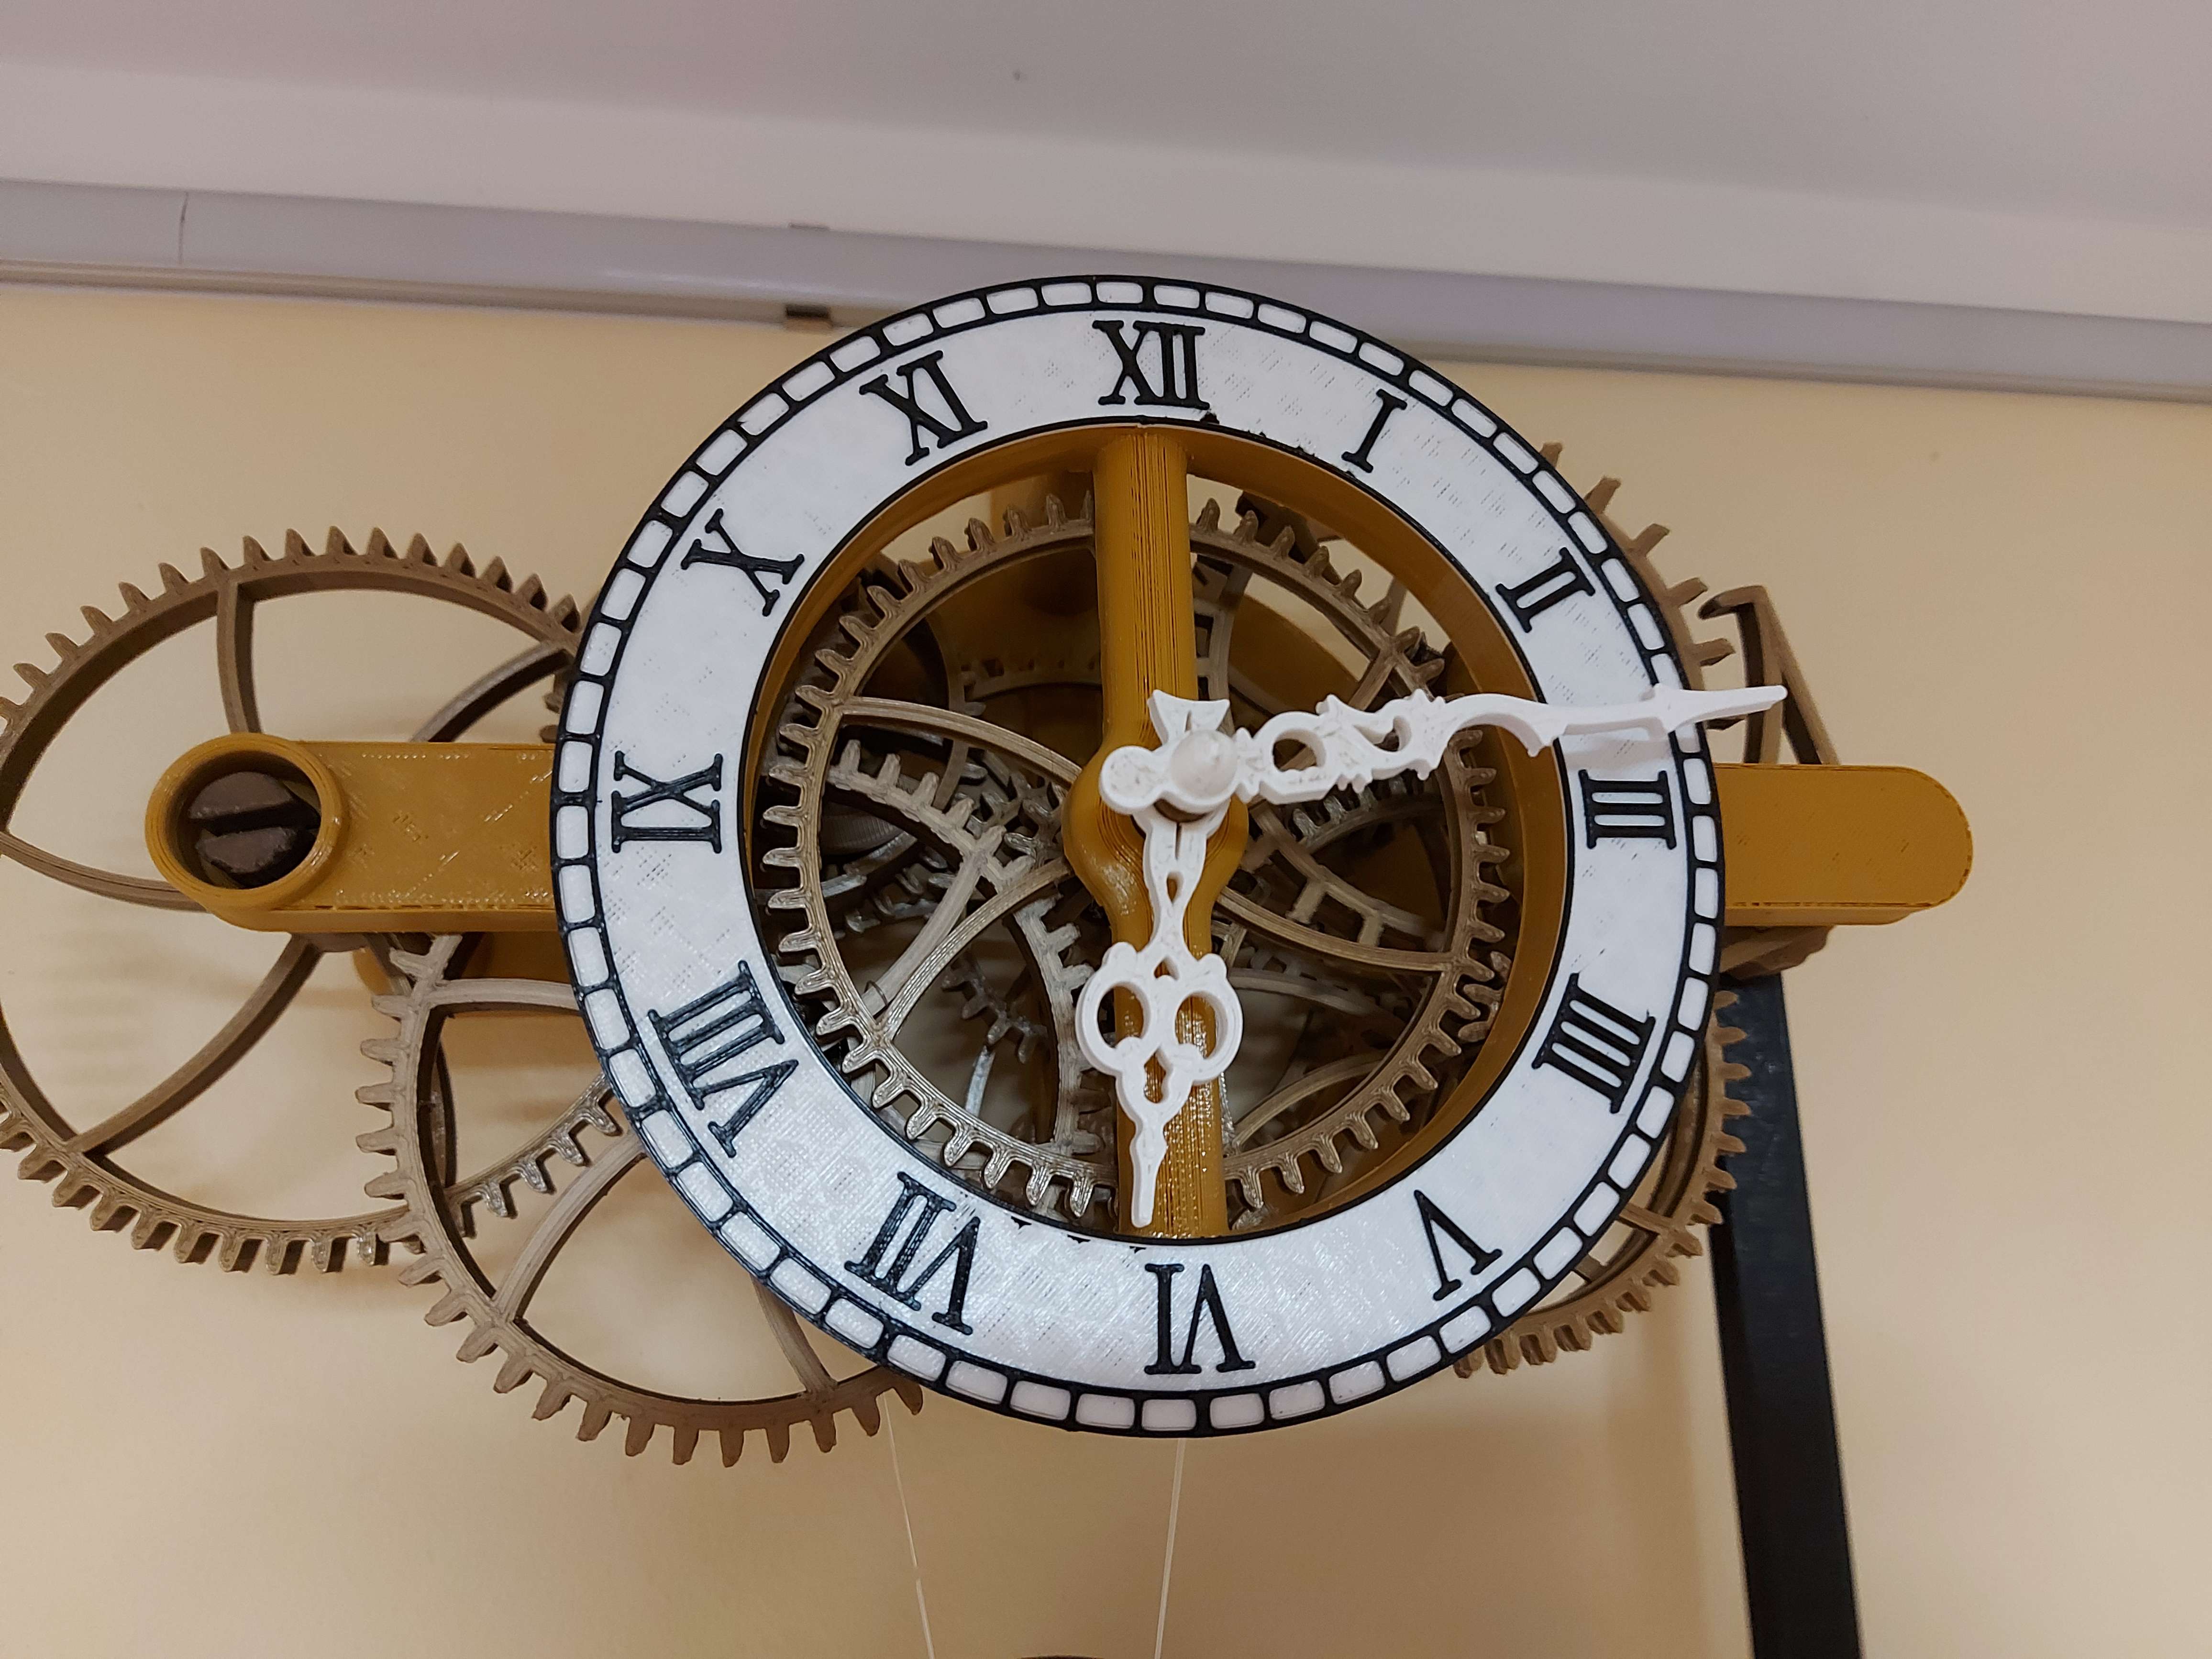
SP5: This is my easiest to build clock with a runtime of up to 32 days. Some of the changes that make this clock to be easy to build also made it more efficient and the runtime was able to be significantly increased.
A video of the clock can be seen at https://youtu.be/djp73Q6tXZA
Go to https://www.stevesclocks.com/sp5 to download the latest assembly guide.
Use the forum at https://www.stevesclocks.com/forum to discuss clock making topics or assembly issues.
Assembly videos:
Part 1 - Subcomponent assembly https://youtu.be/gM1UZuv43u4
Part 2 - Final assembly https://youtu.be/SawrNzYoE2A
Part 3 - Debug hints https://youtu.be/uQcfjhecORE
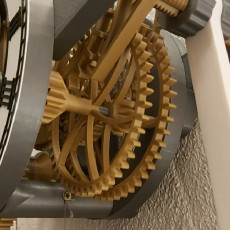
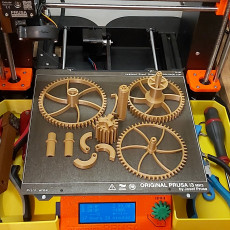
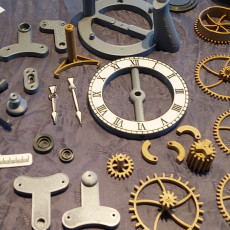
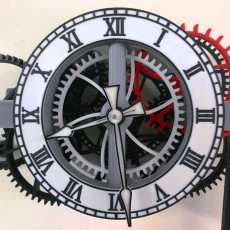
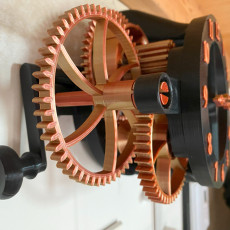
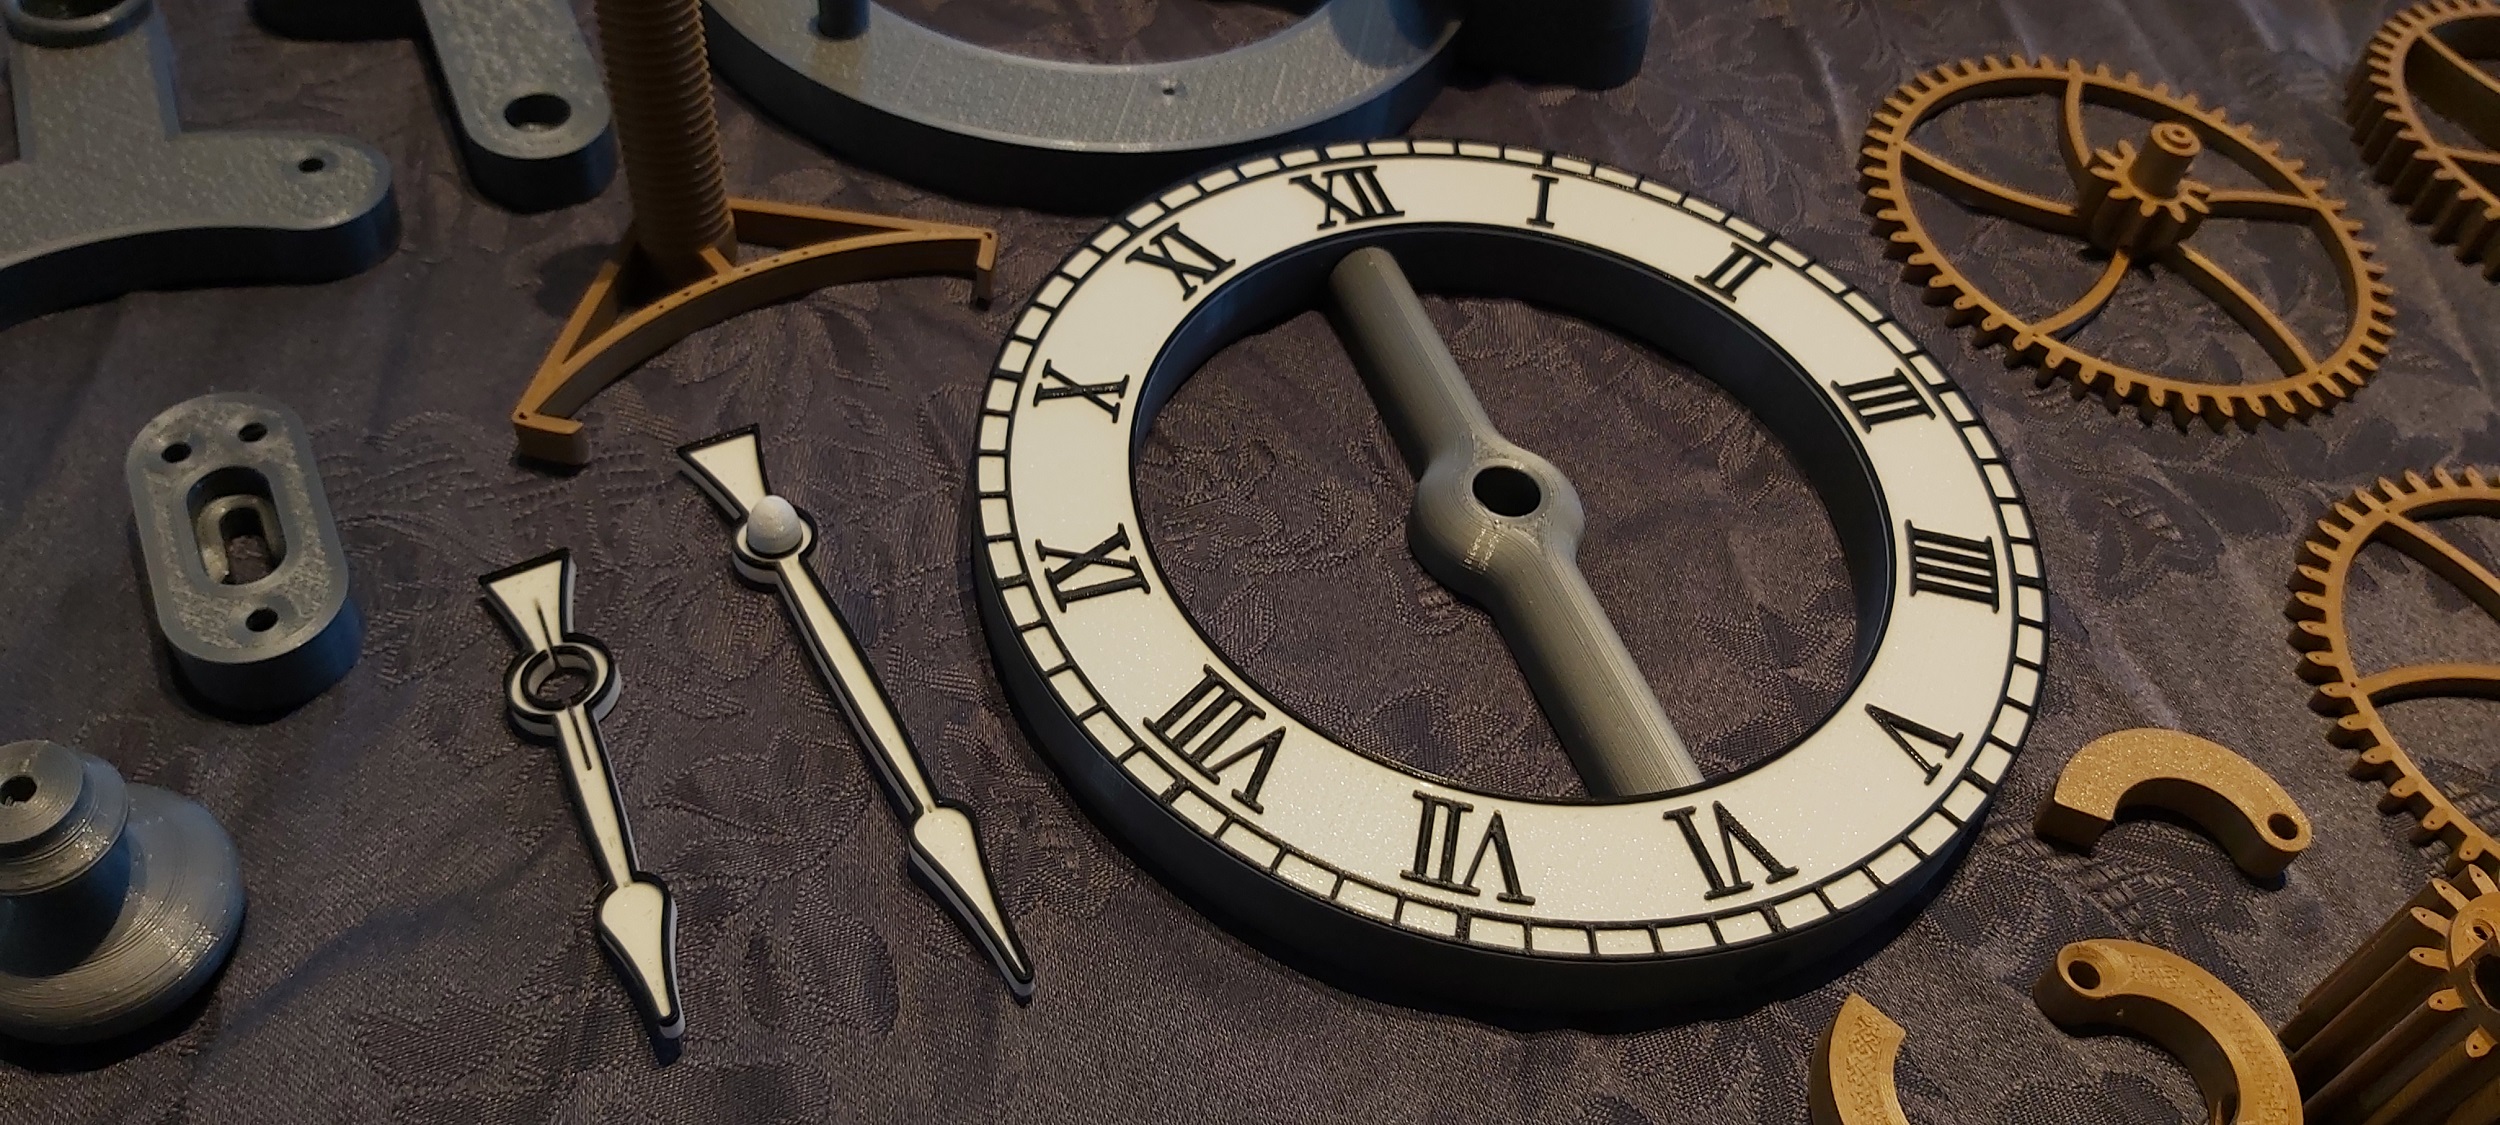
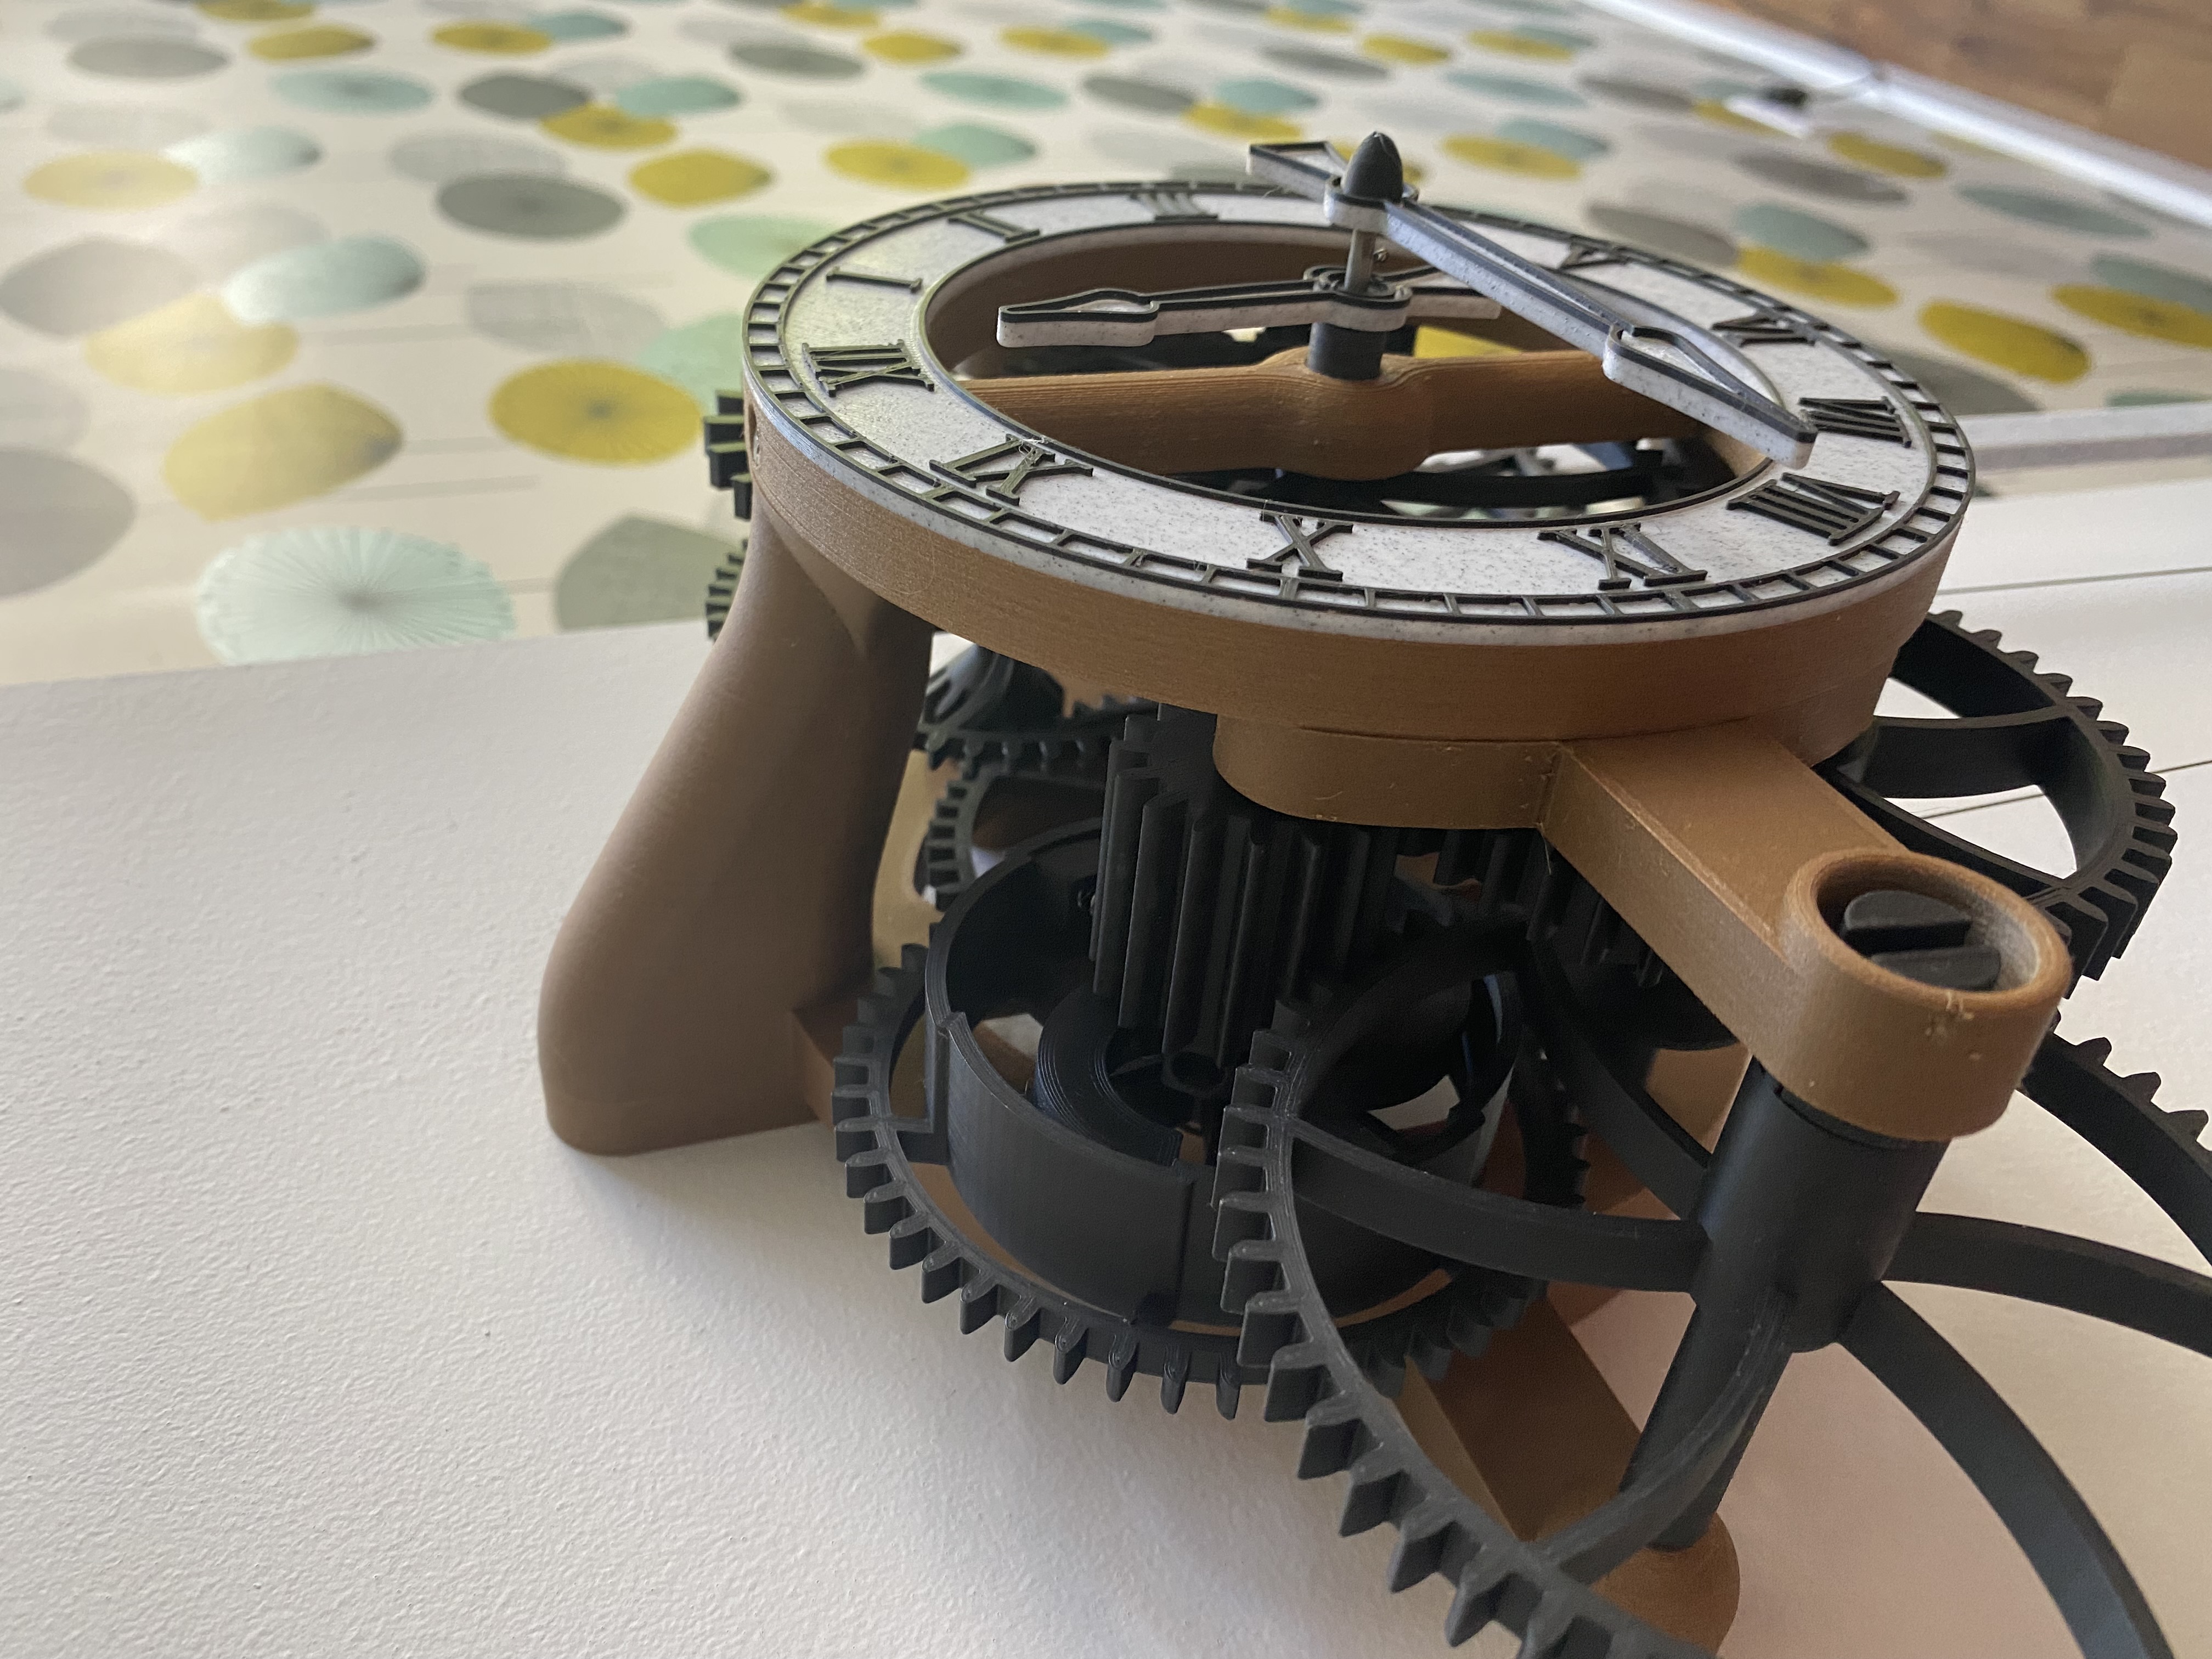
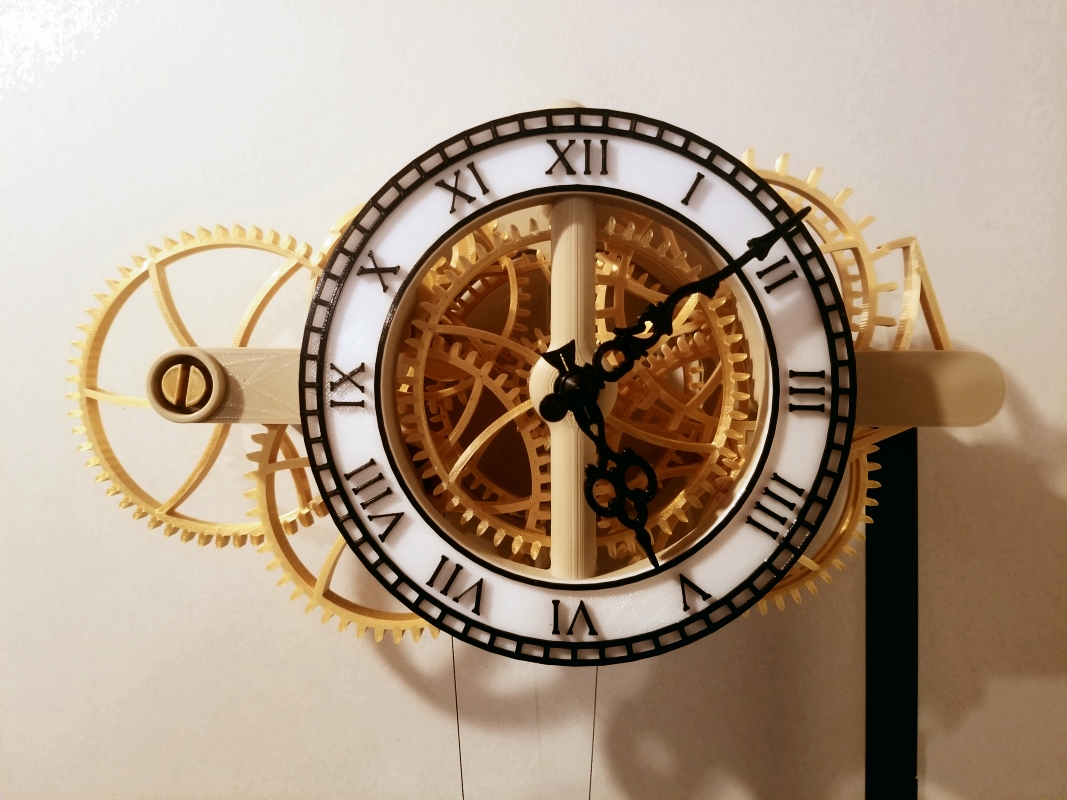
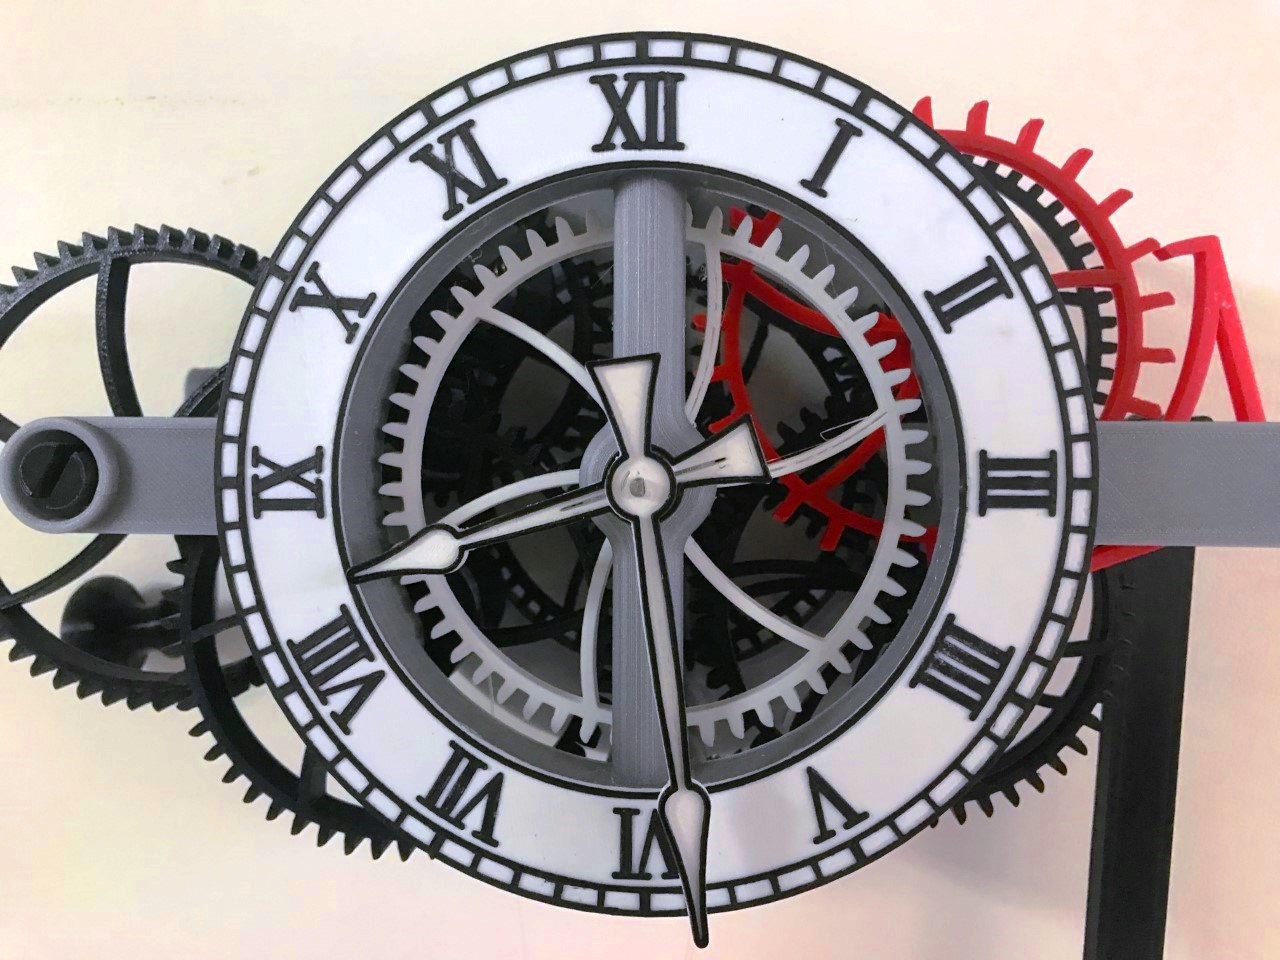
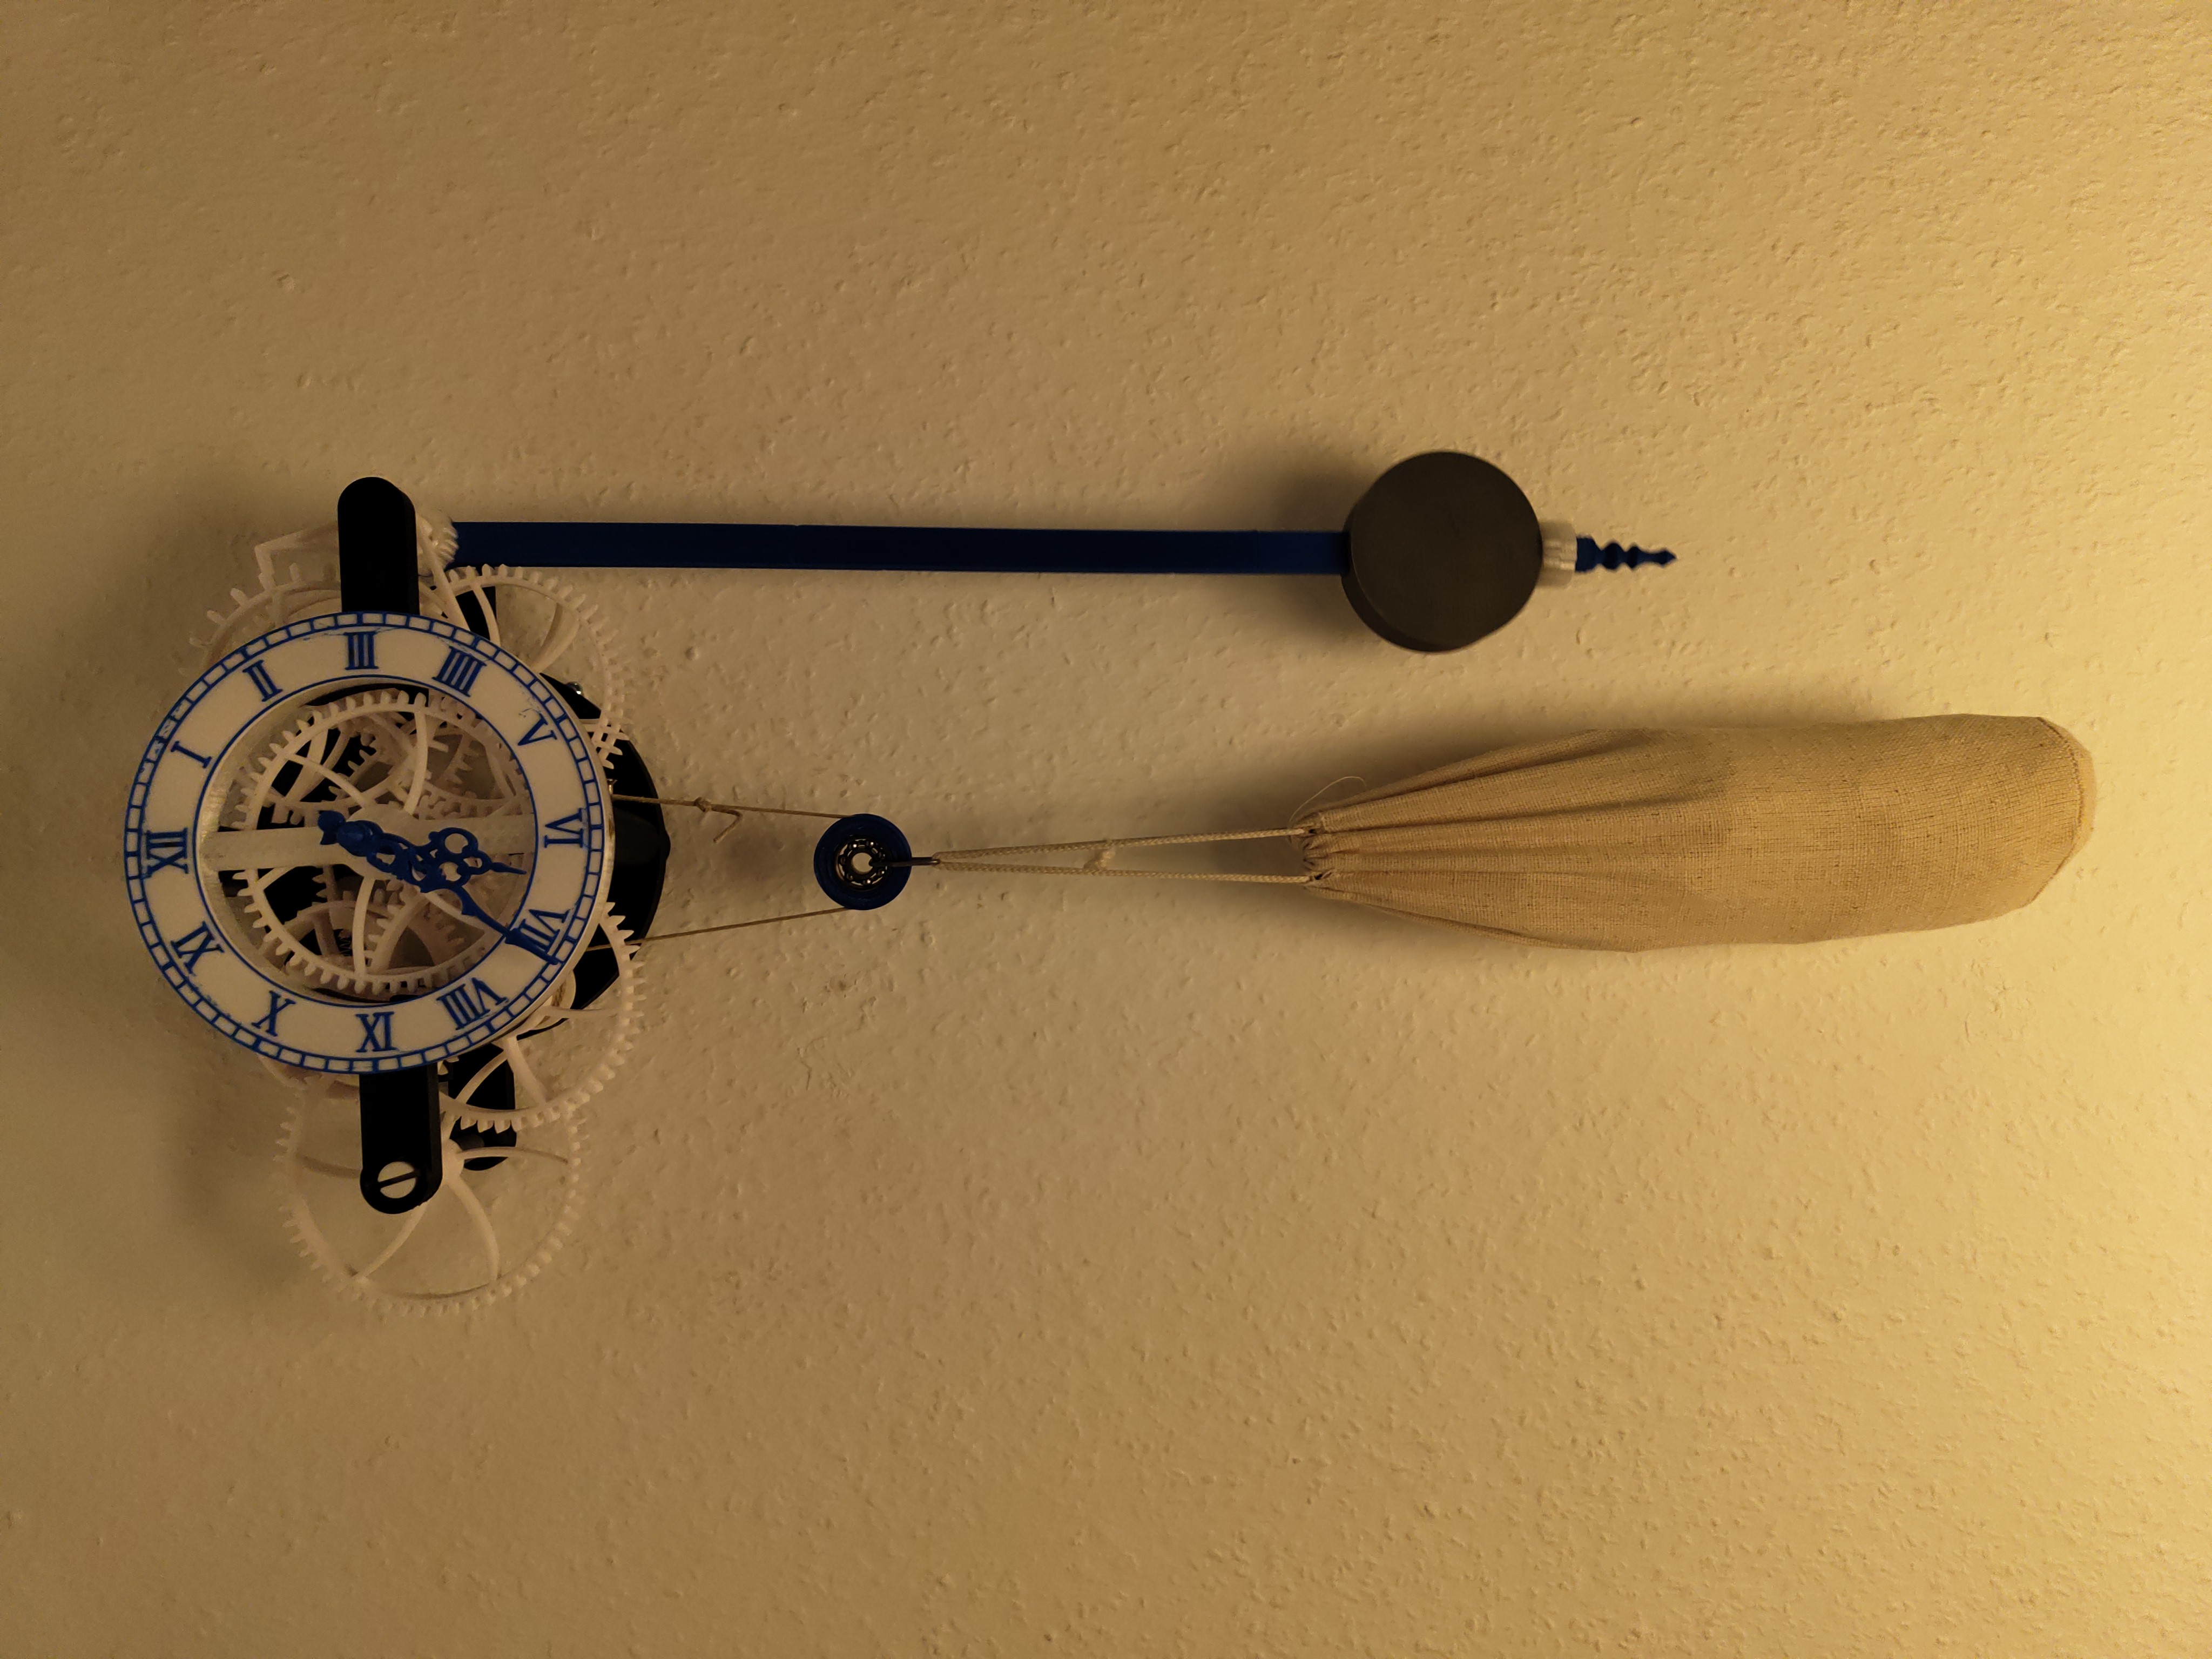
This is a great starter clock because of the simplified construction. Different options are available with runtimes ranging from 7.8 days to 32 days. The longest 32 day option is a bit aggressive and the beat needs to be set accurately for it to run properly. The shorter runtimes will be more reliable and the clock should run using smaller drive weights. Building a clock that only needs to be wound once a week is still pretty impressive. I have noticed that the gears run better when printed using normal PLA, even though silk PLA can produce really nice looking gears. The list of non-printed components is half the size of my other designs.
The complete bill of materials is:
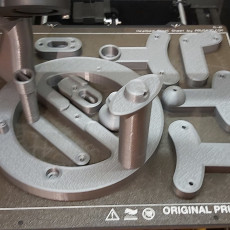
~850g PLA filament in multiple colors
25 6x3/4" wood screws
18" 3mm metal rod
9" 1.5mm or 1/16" metal rod
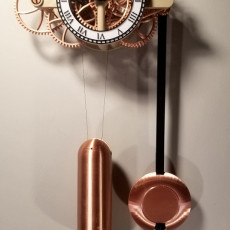
12' fishing line
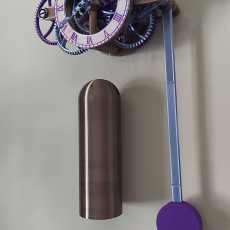
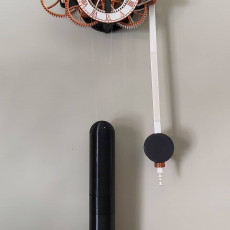
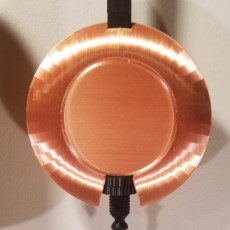
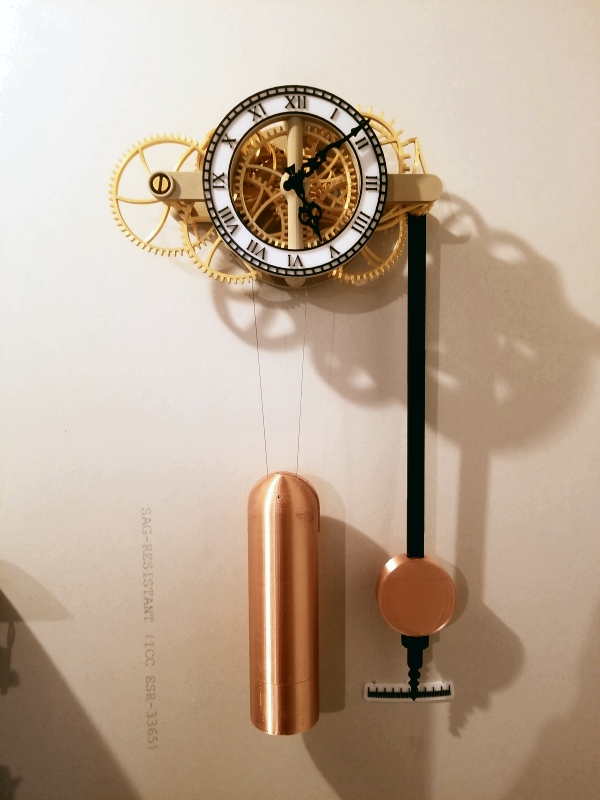
5-10 lb. BBs or lead shot for the weight shell
5 623RS (3x10.4mm) bearings
4 springs from a ball point pen
Parts can be sourced locally through Amazon, eBay, Ace Hardware, etc. I also have put together some parts kits at https://www.etsy.com/listing/1680180262 if you prefer.
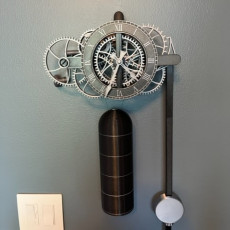
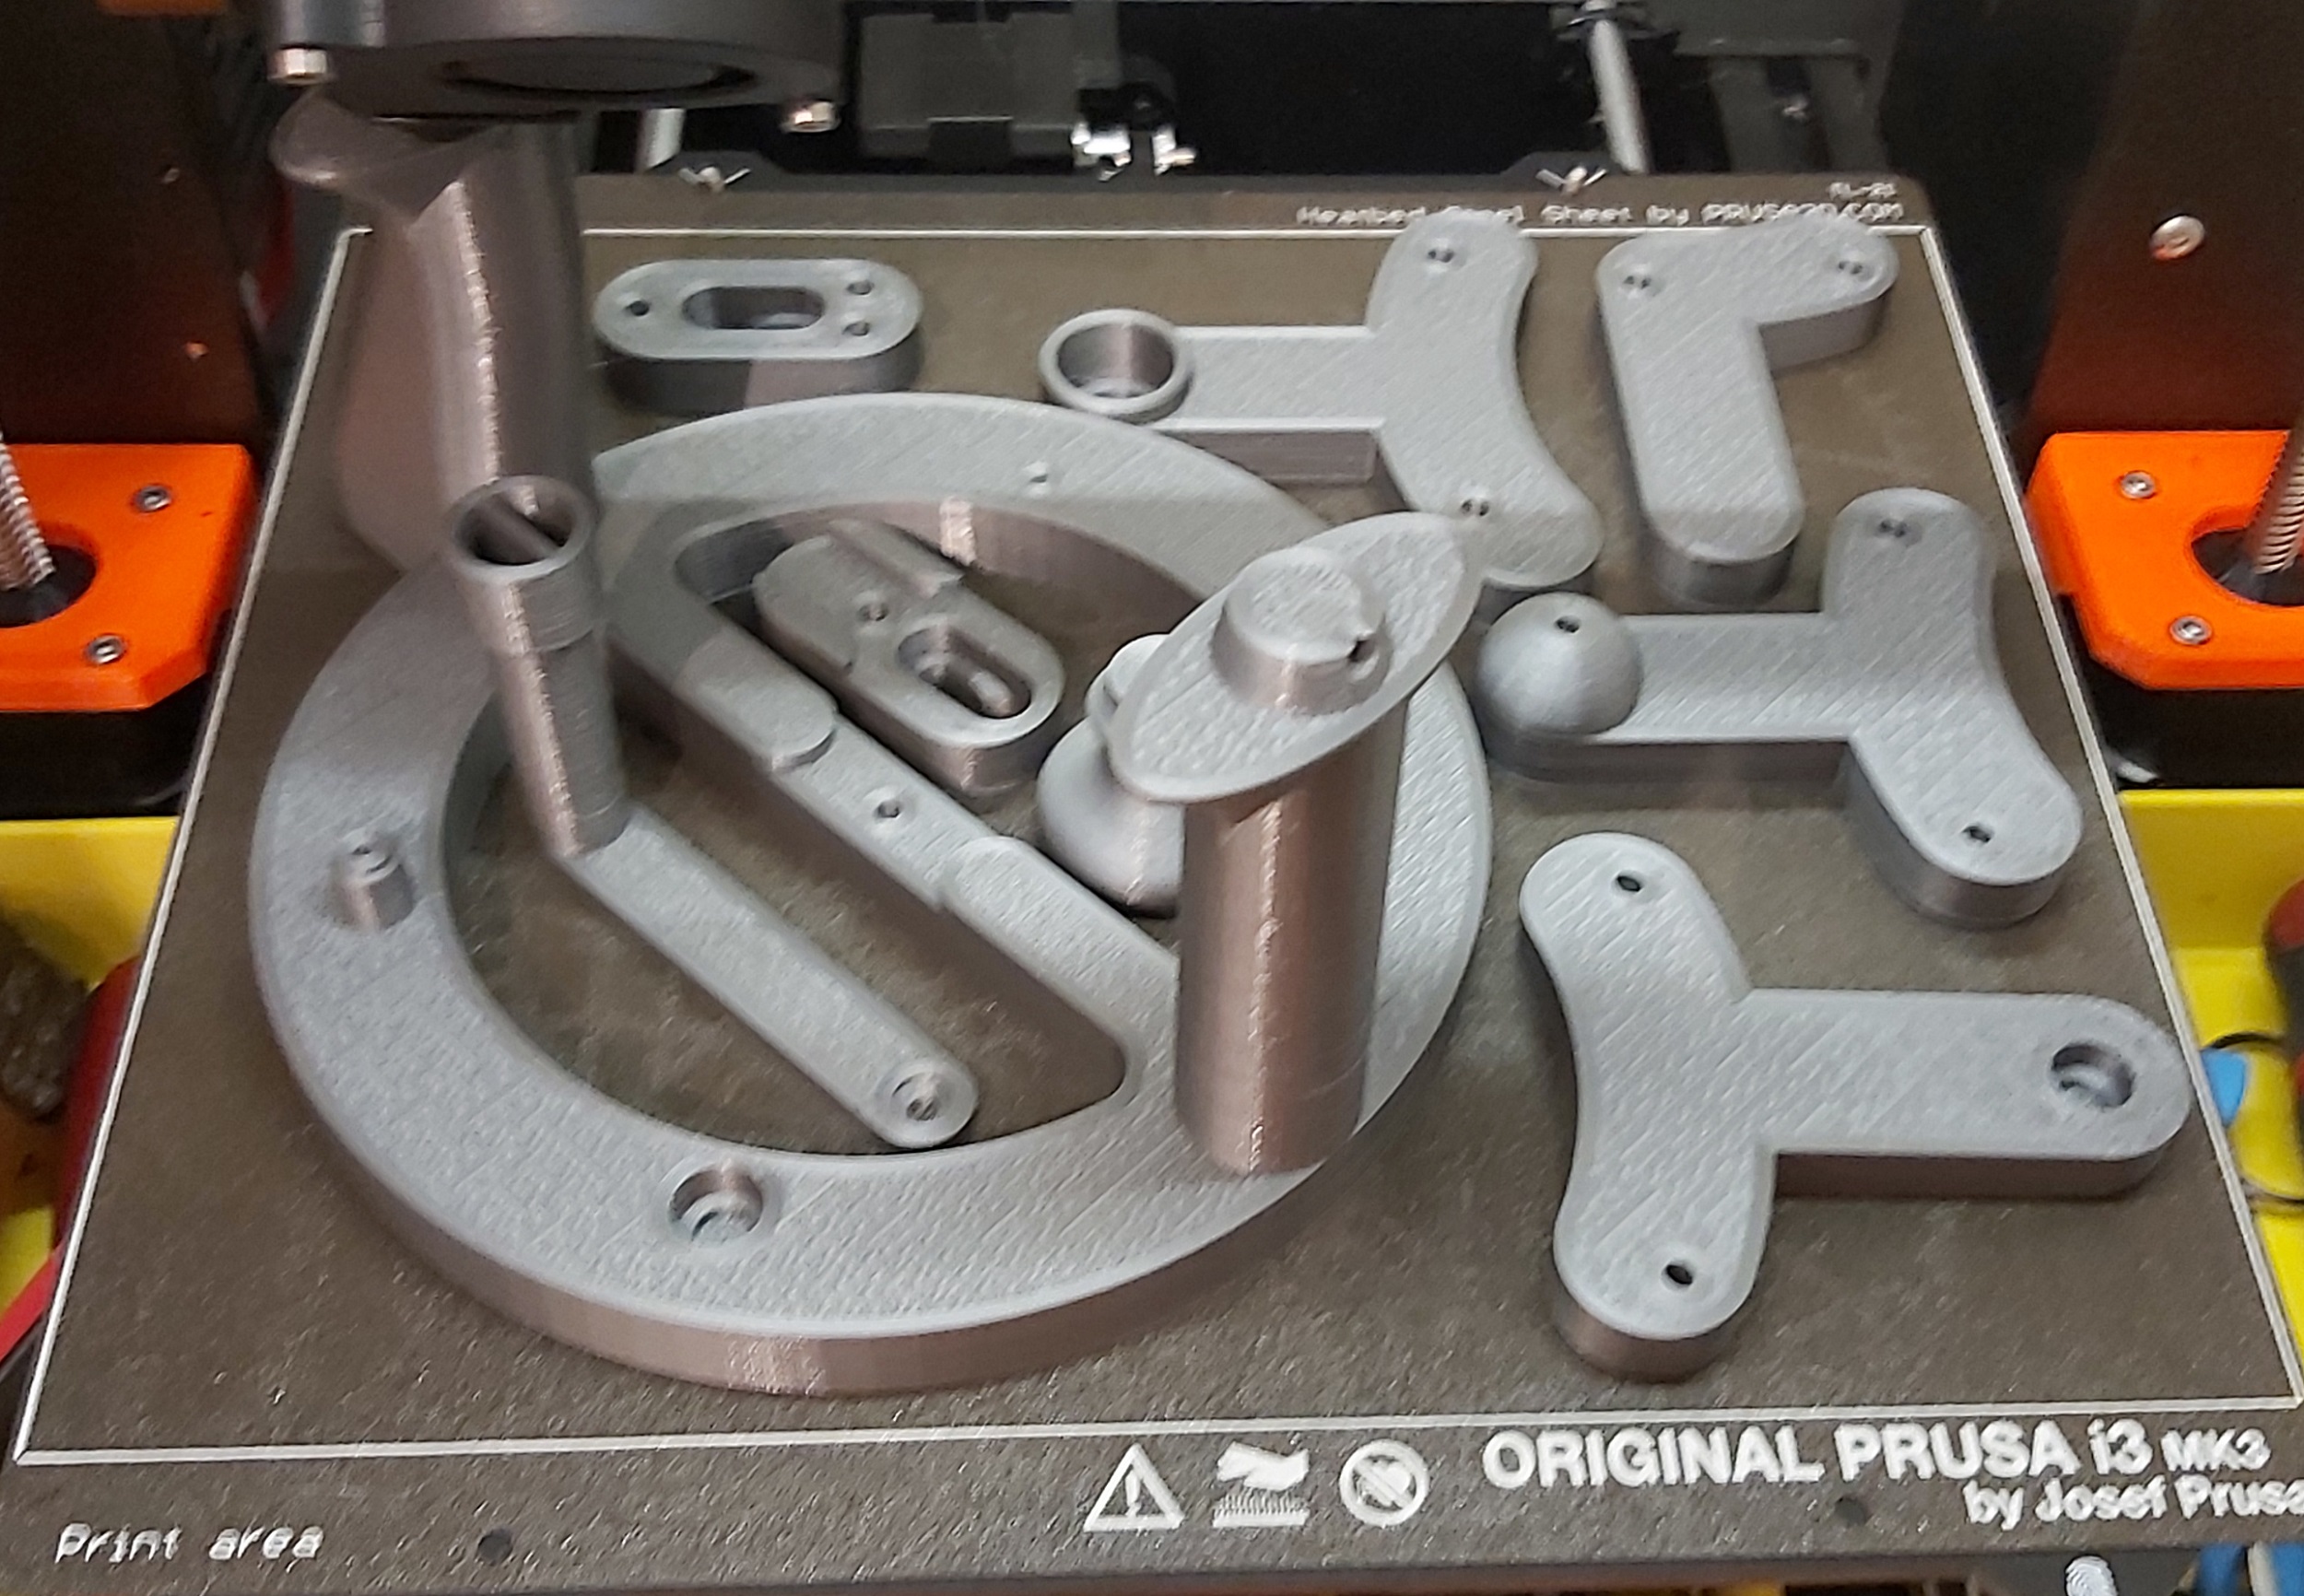
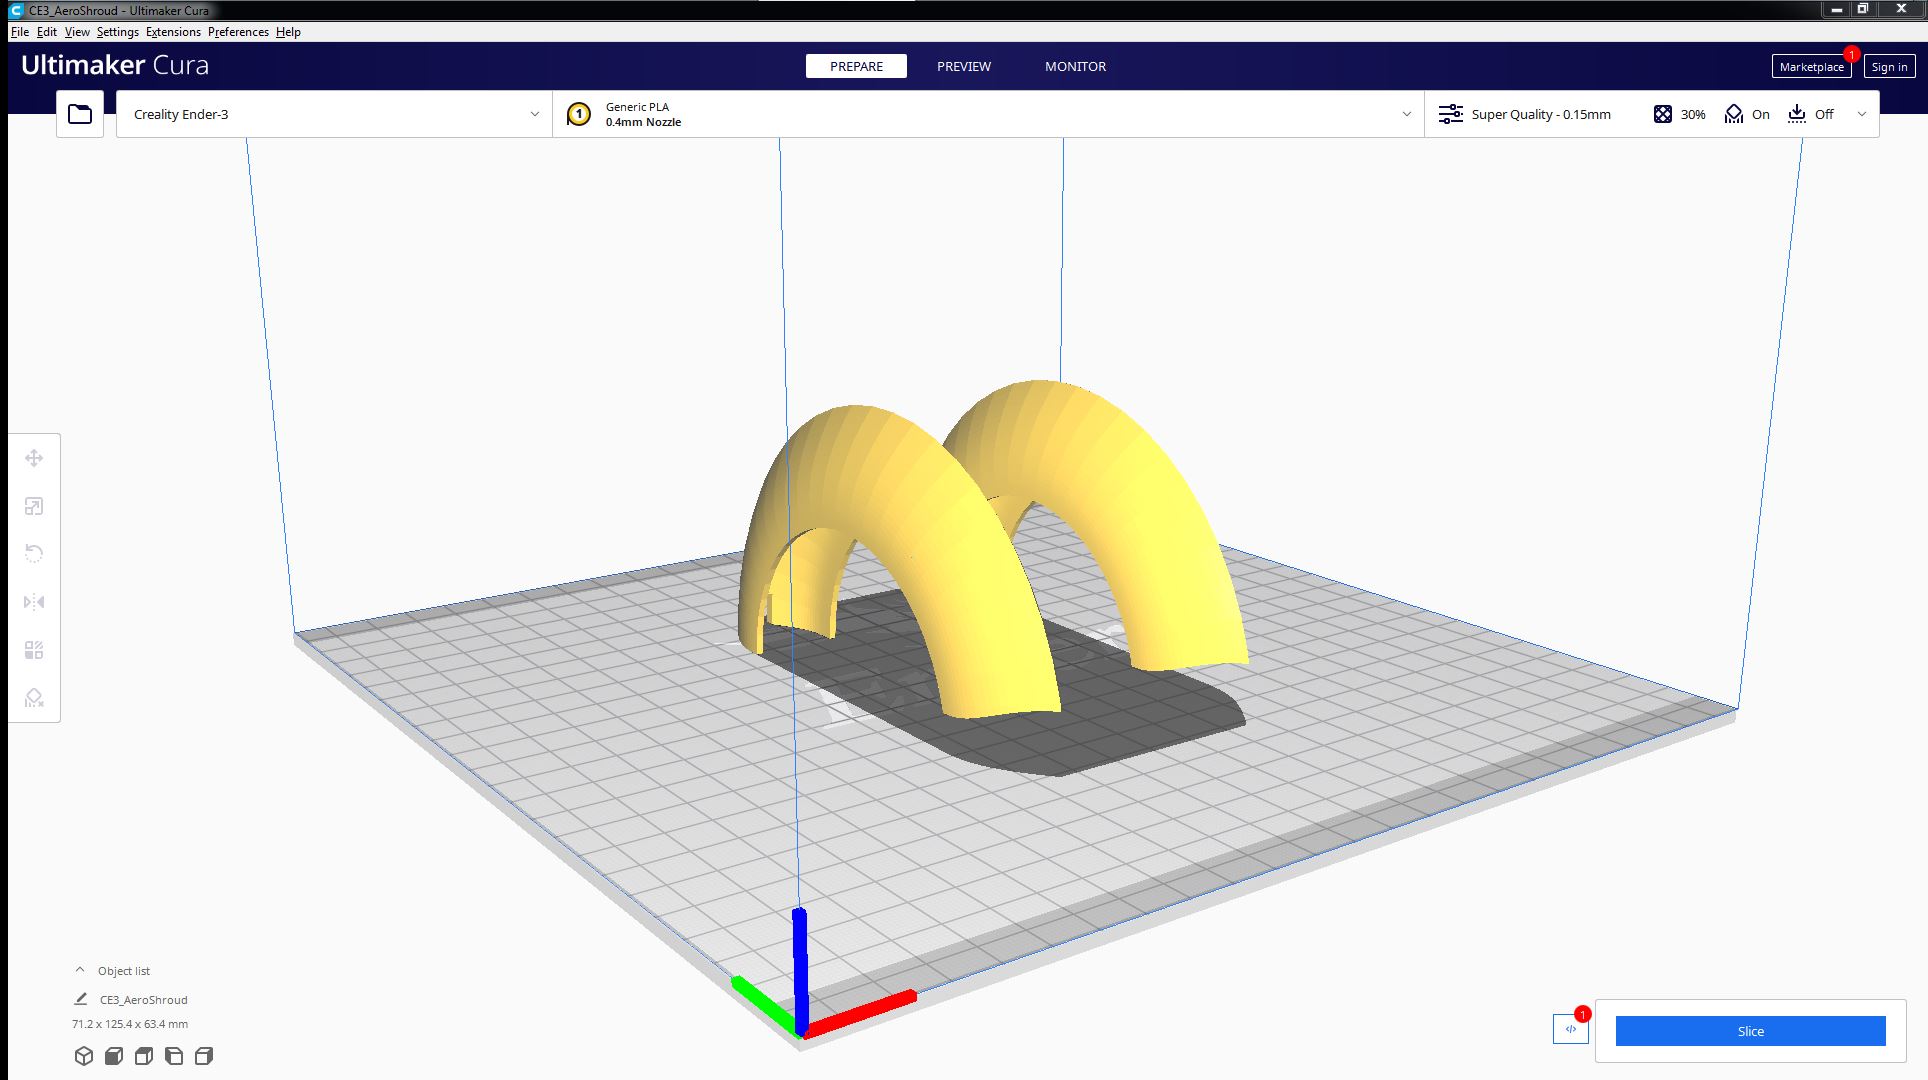
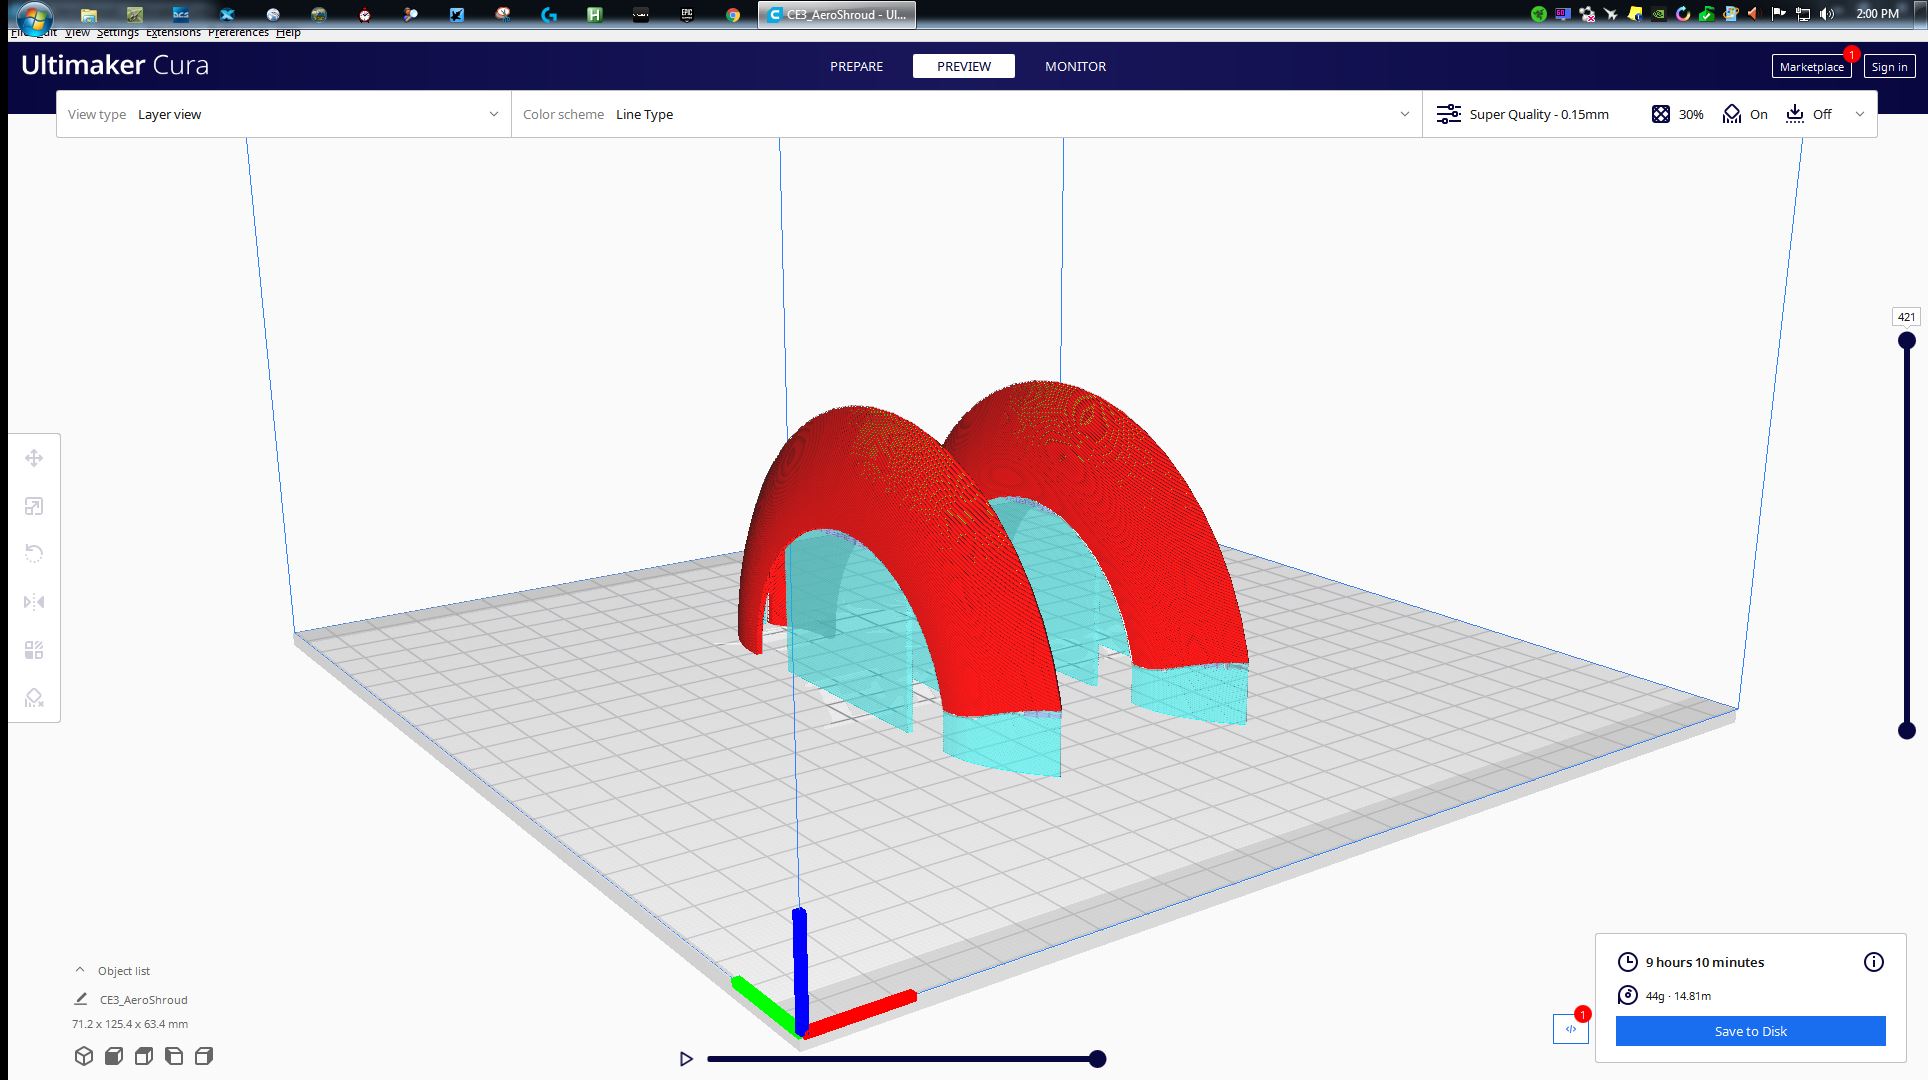
Total print time is around 80-85 hours. This design was printed on a Prusa MK3S, but will easily fit on a Prusa Mini or any machine with a print volume of at least 160x160x150mm.
Steve
Update 01-Jul-21: Added frame_back_left_hook.stl as an optional frame component with a small hook for storing the winding key behind gear 9. It can be printed instead of frame_back_left.stl. Also, a small typo was identified in the assembly notes. The notes call for nut_0p25.stl and nut_0p40.stl, but the included files are knob_0p25.stl and knob_0p40.stl.
Update 10-Apr-22: Refreshed gears 3 and 4 to add a slight helical angle so gear 3 pushes away from the escapement. This change will significantly reduce the possibility of the escapement stalling and stopping the clock. The gears affected are gear3_50_12_1.stl and gear4_54_??_??day_1.stl. The file names have a "_1" suffixe added by MyMiniFactory to indicate a revision. It is worth downloading these gears and re-printing them even if you have a functional clock.
Update 02-Sep-23: Added Rev 2 updates to completely isolate the escapement from gear 3. This is an even better fix than the previous helical gear update and is recommended for all new designs and as a retrofit for existing clocks. Also gear 4b has an optional set screw for easier assembly. All new files have a "rev2" suffix in the file names. A complete description is in the rev2 addendum pdf. The files can also be found at https://www.myminifactory.com/object/3d-print-wall-clock-rev-2-updates-321782
| 发表的日期 | 26/02/2021 |
| Price | $12.00 |
| 支持自定义 | YES |

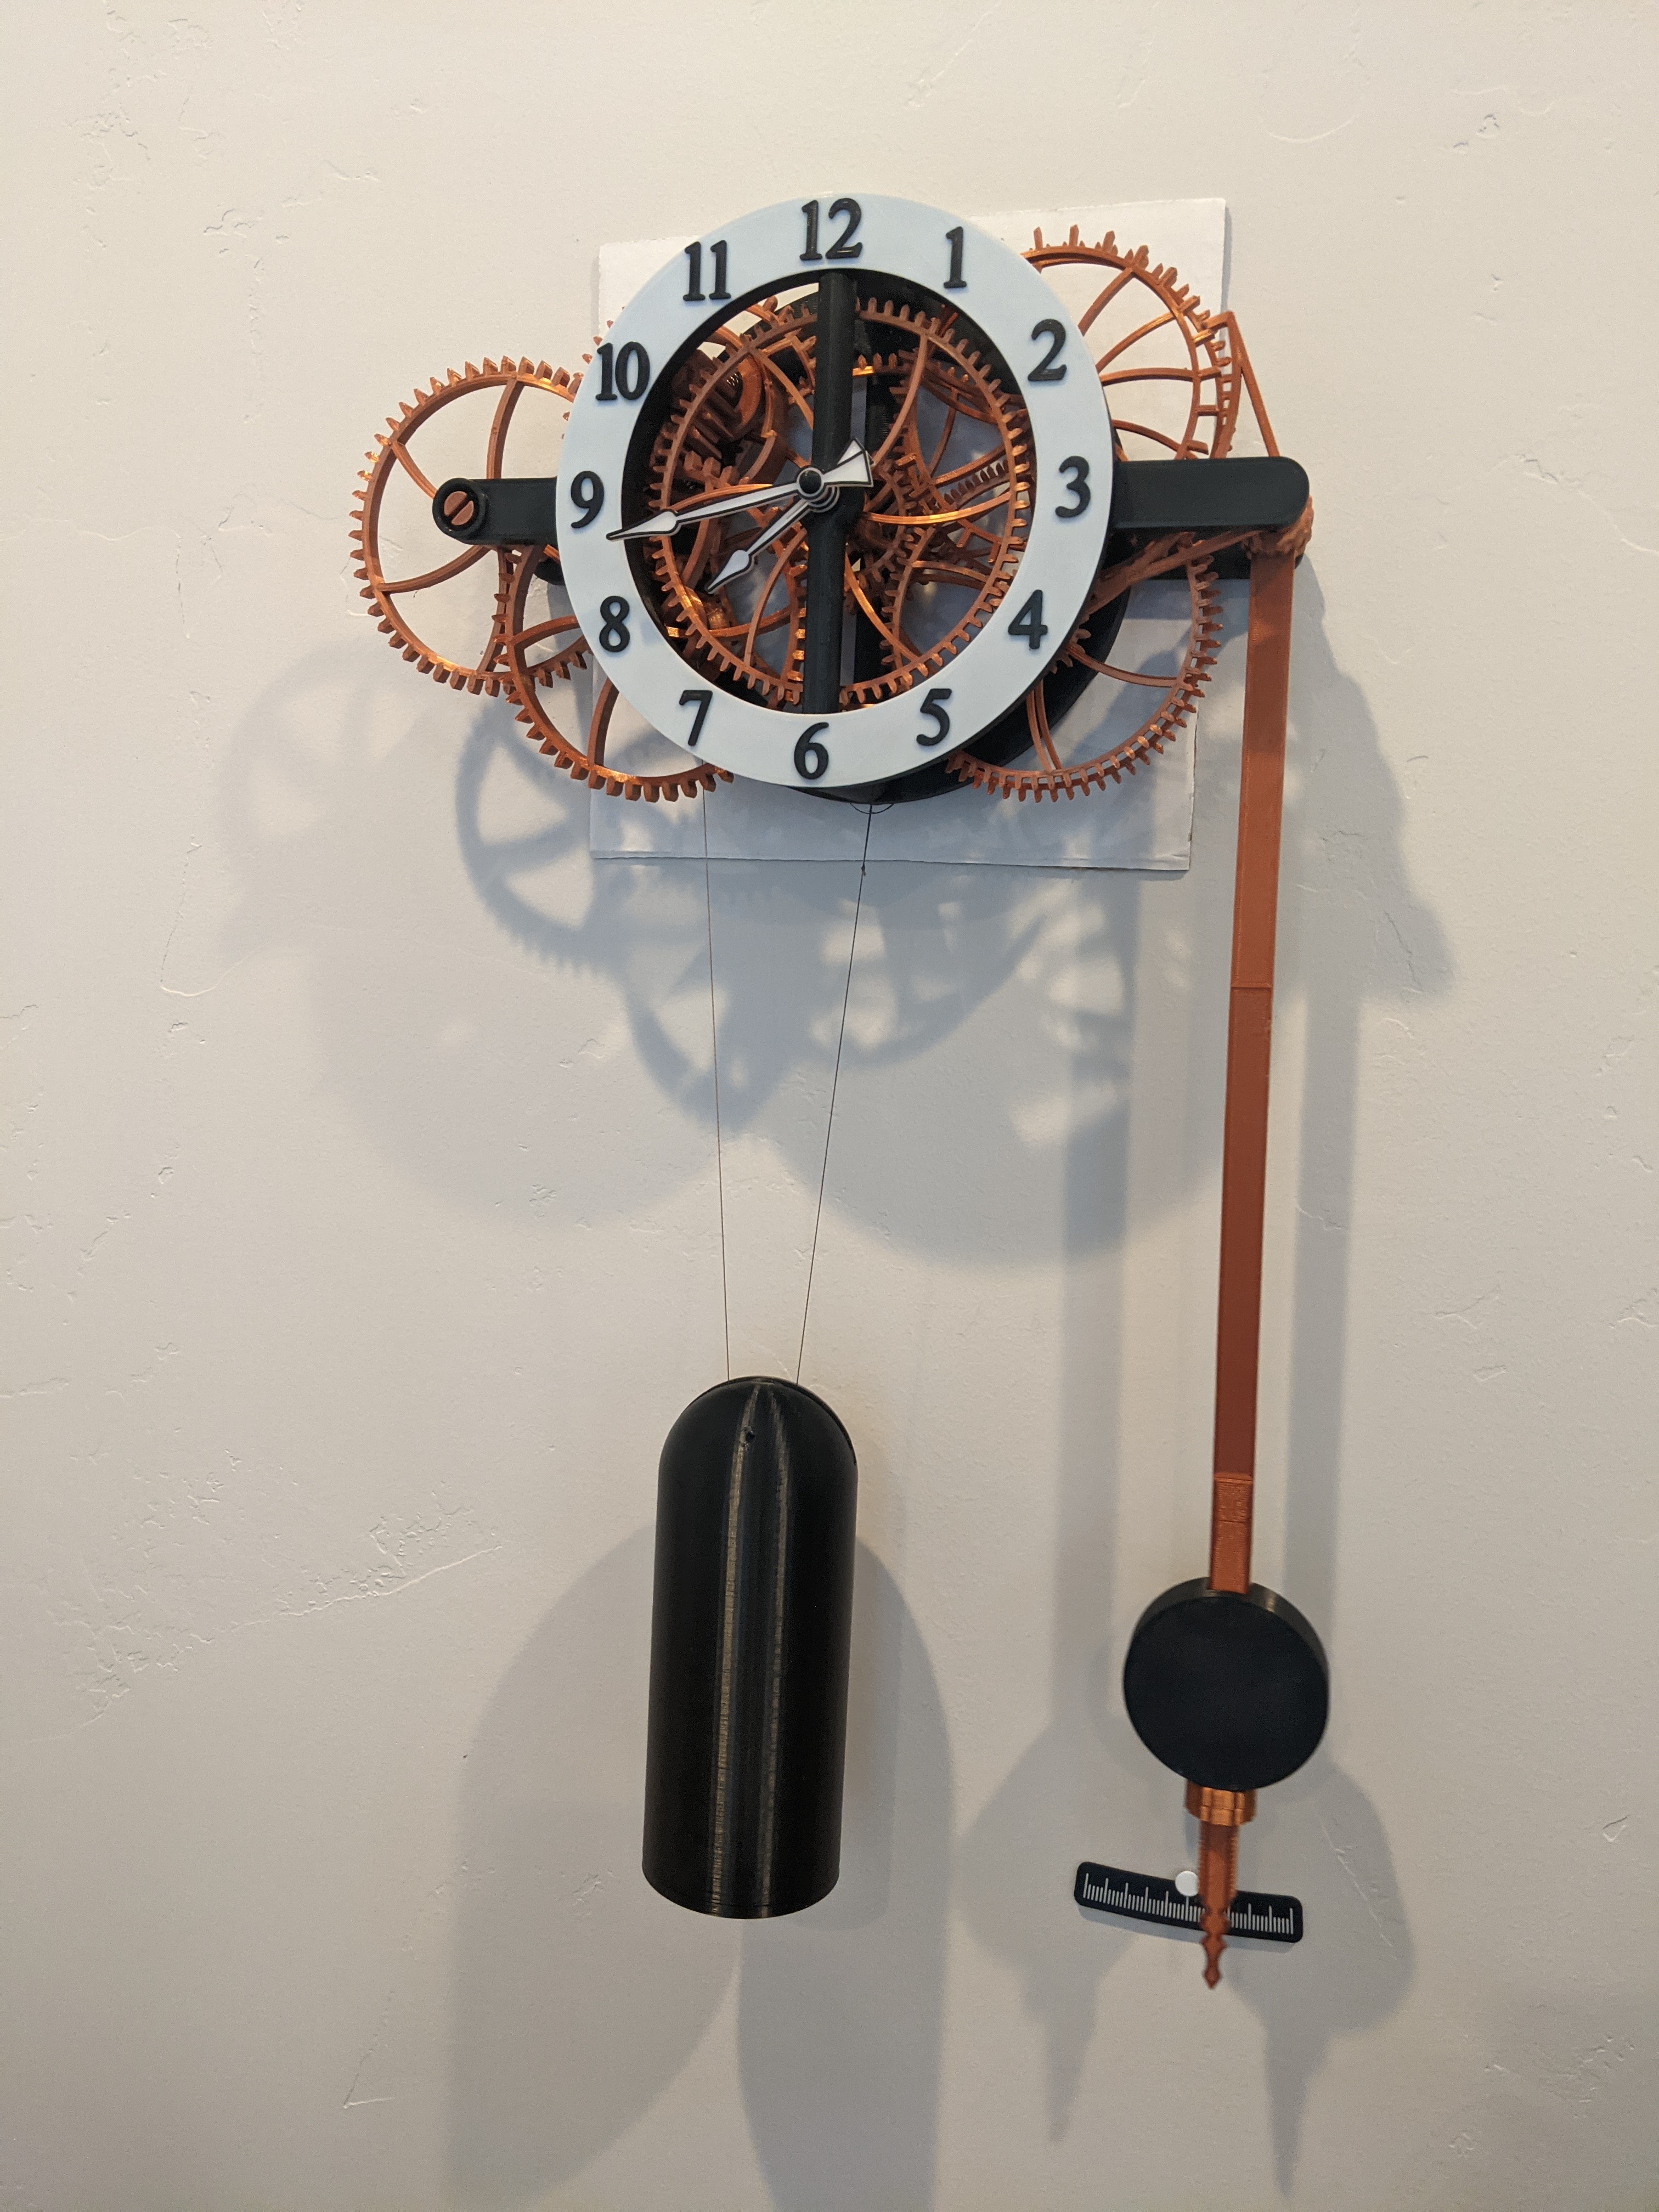
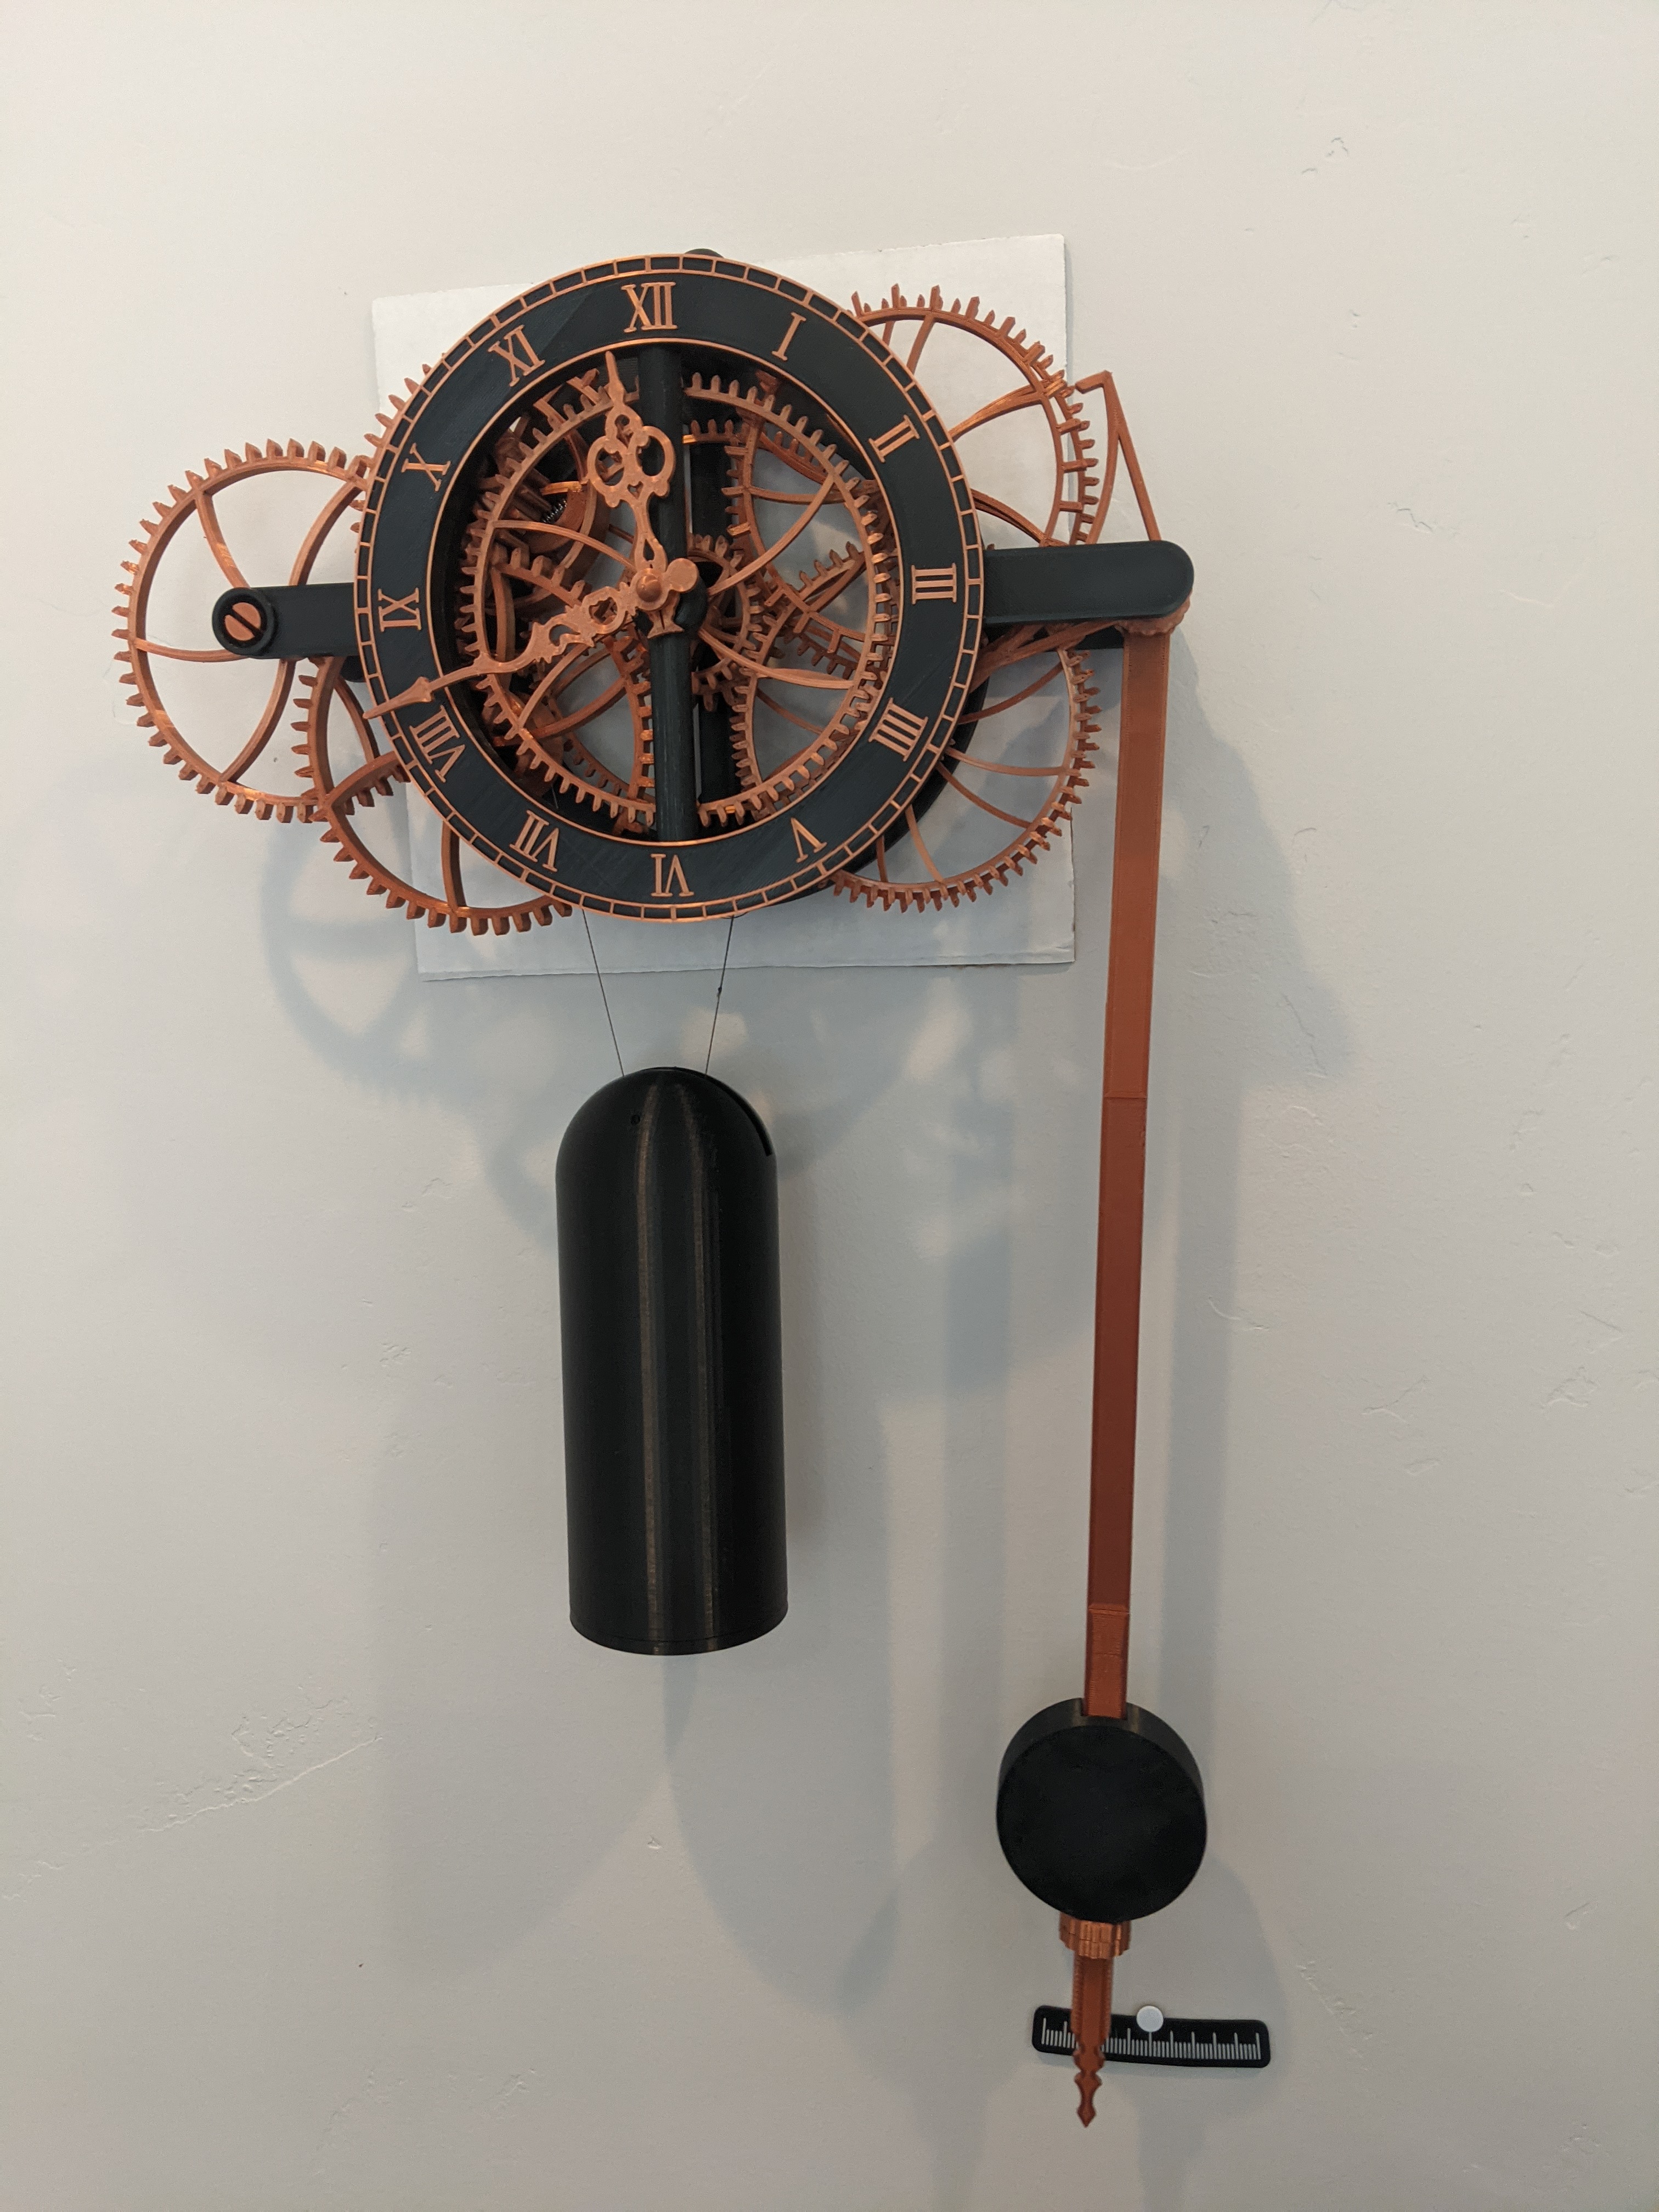


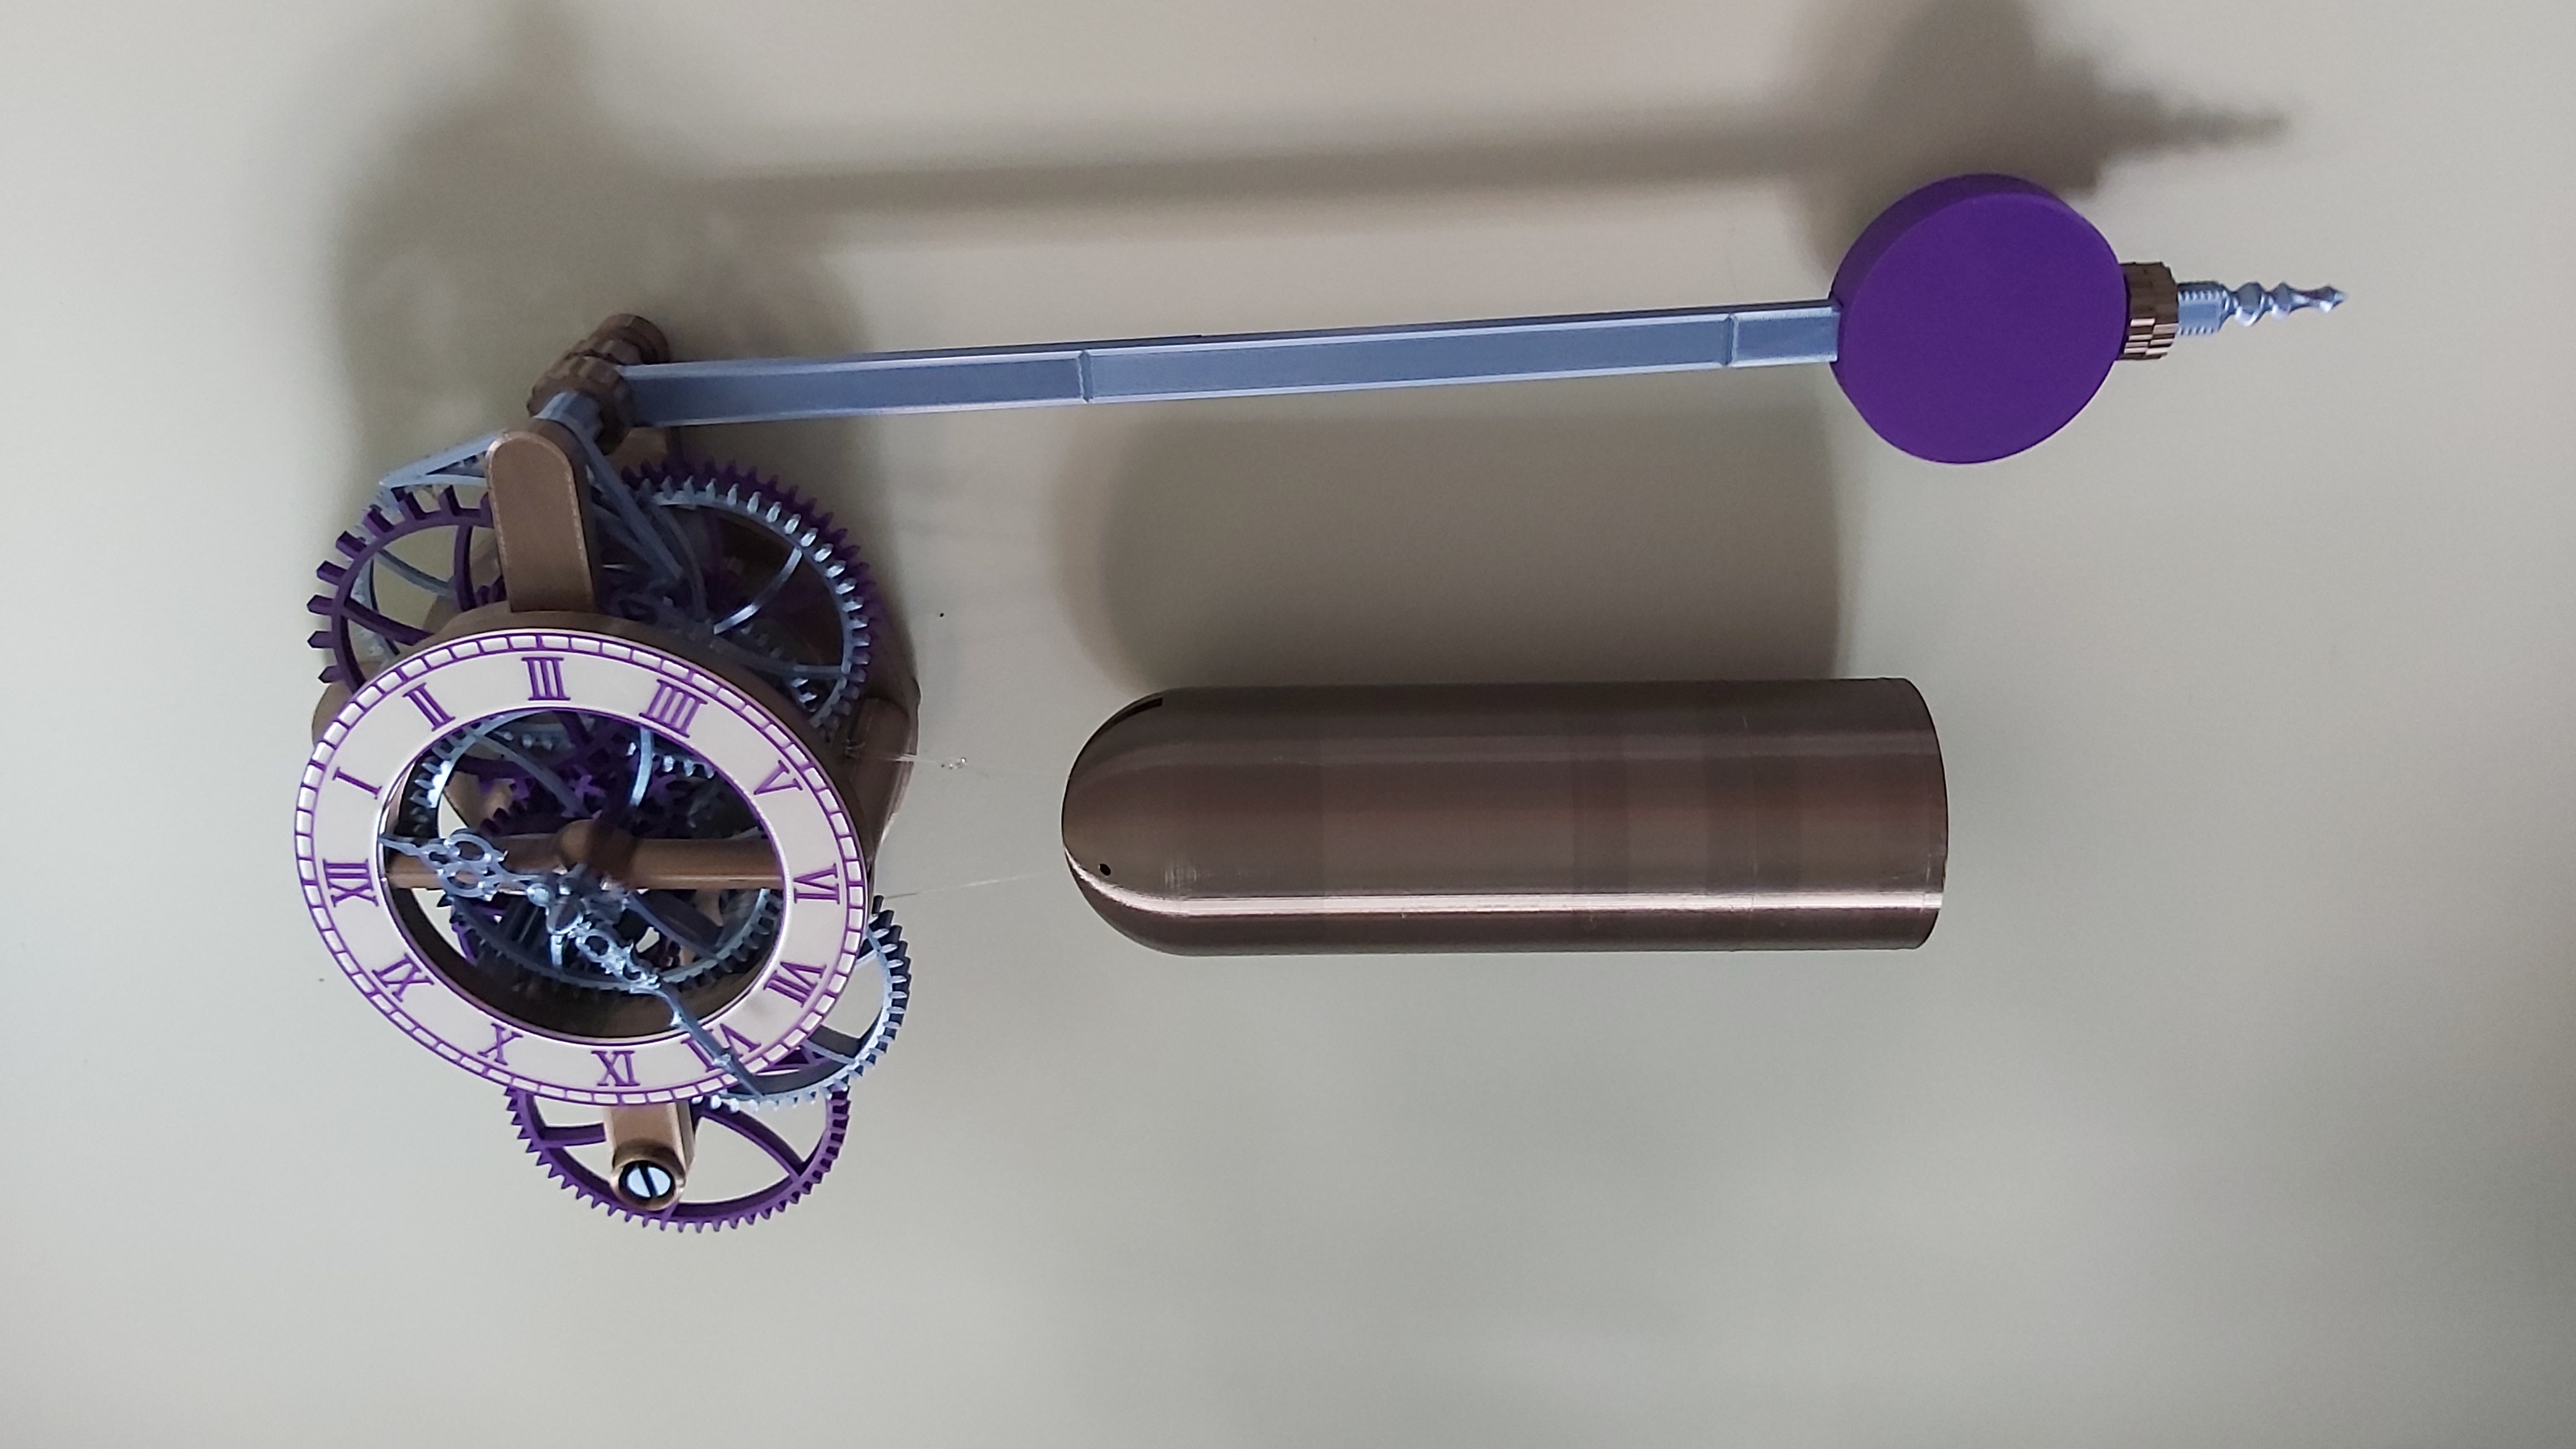


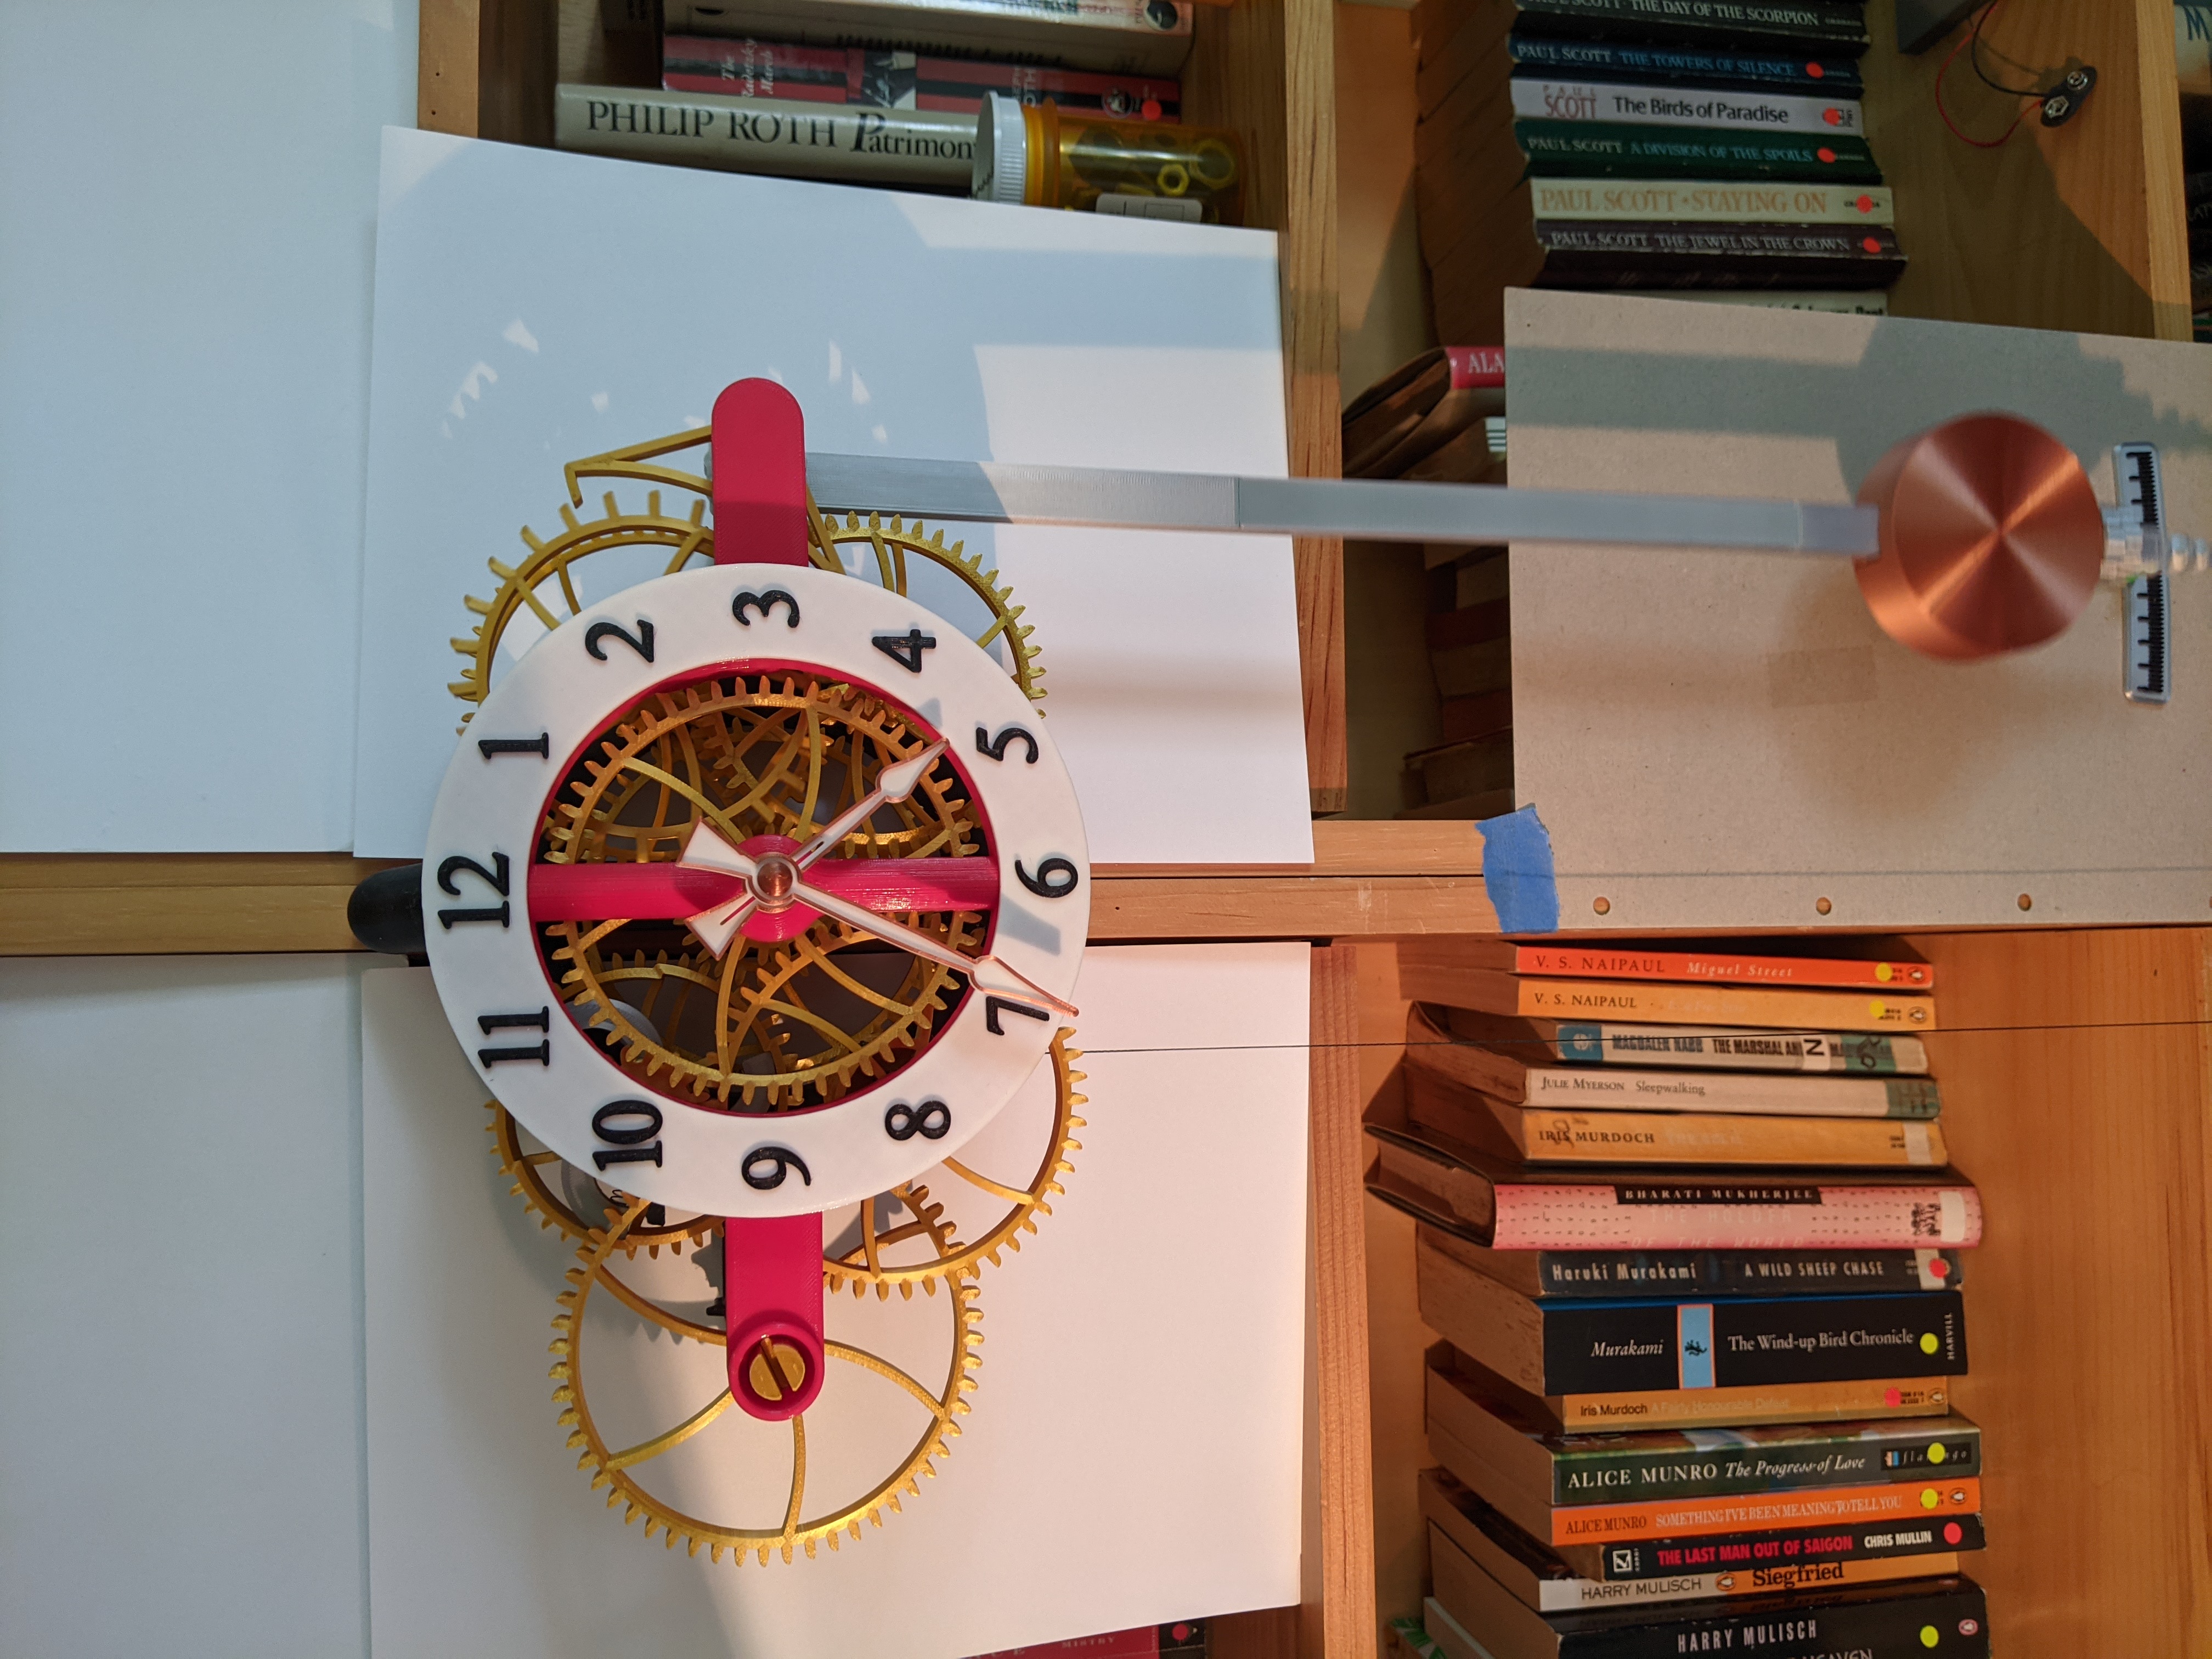

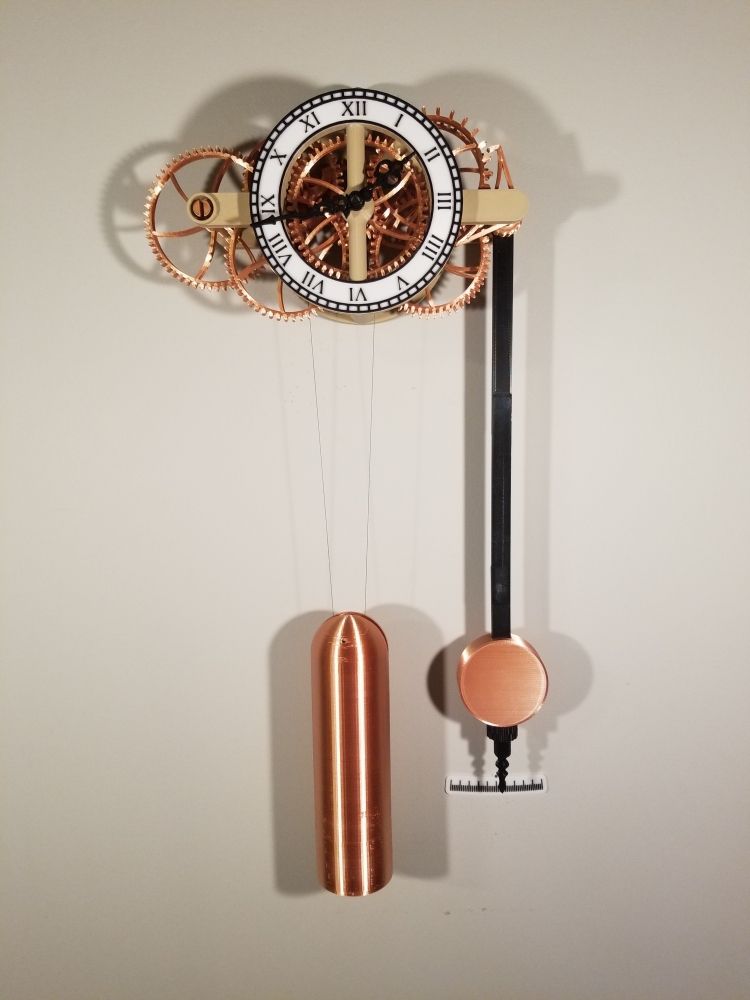
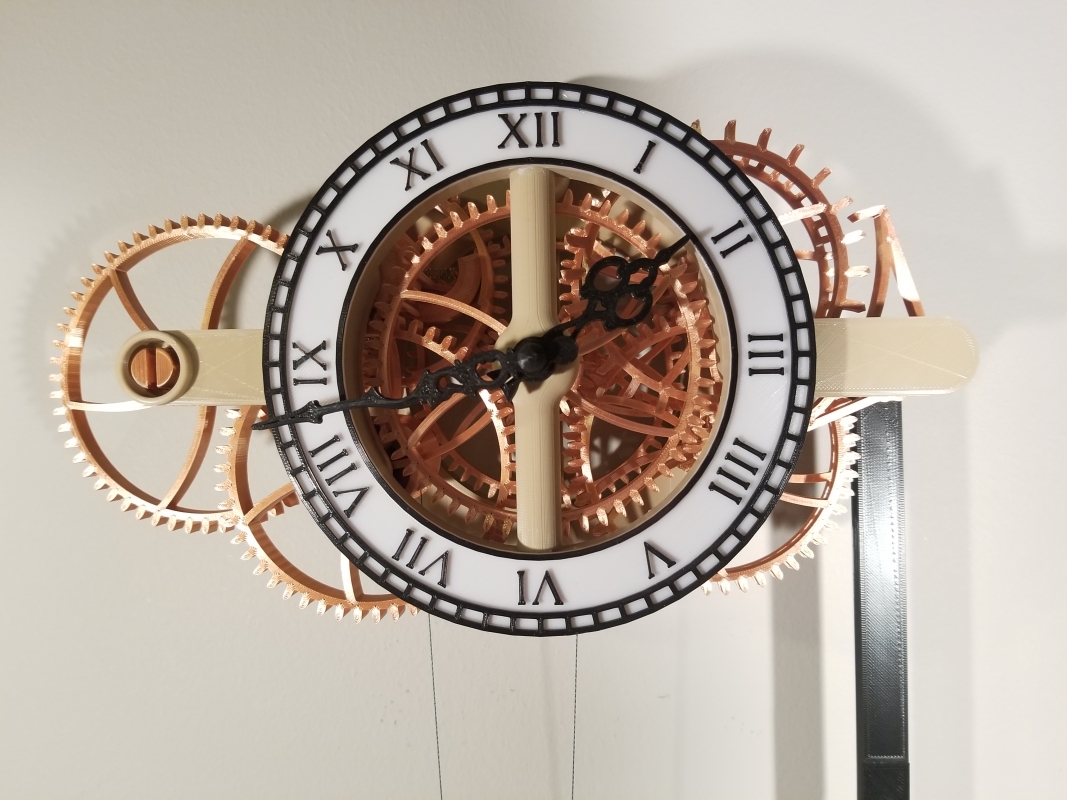
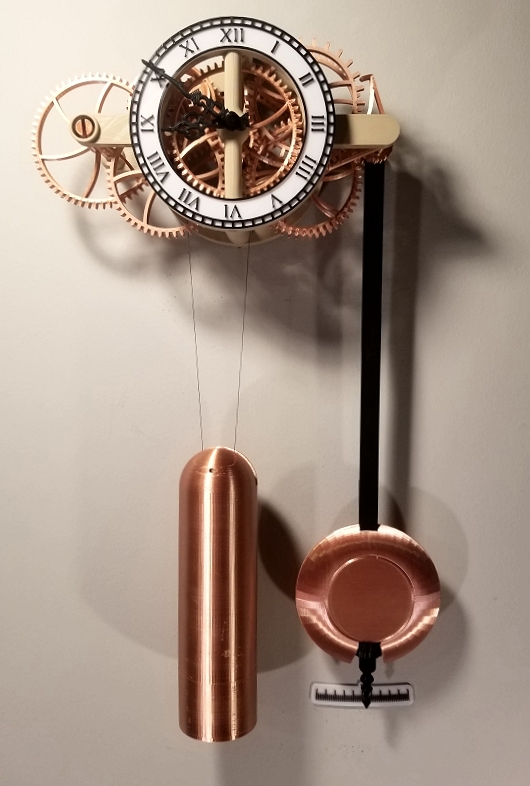
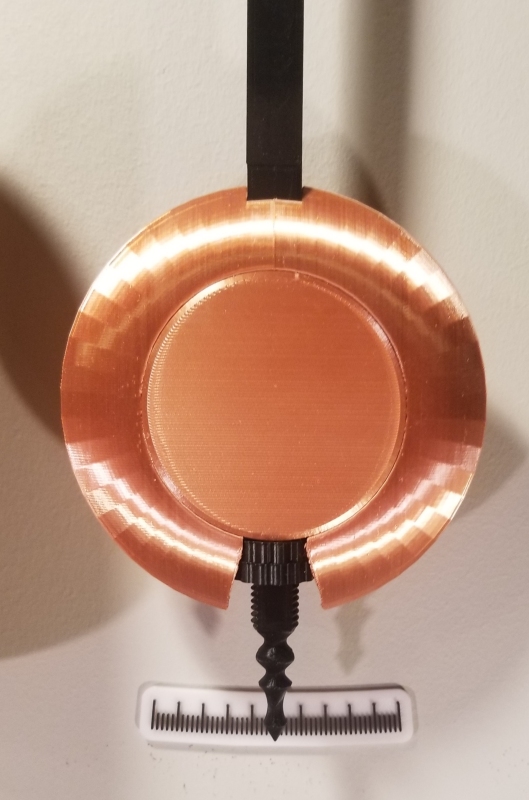
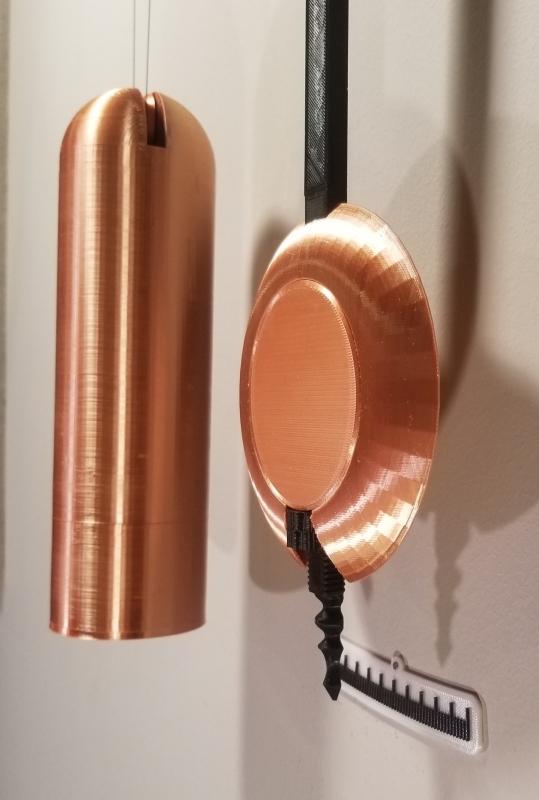
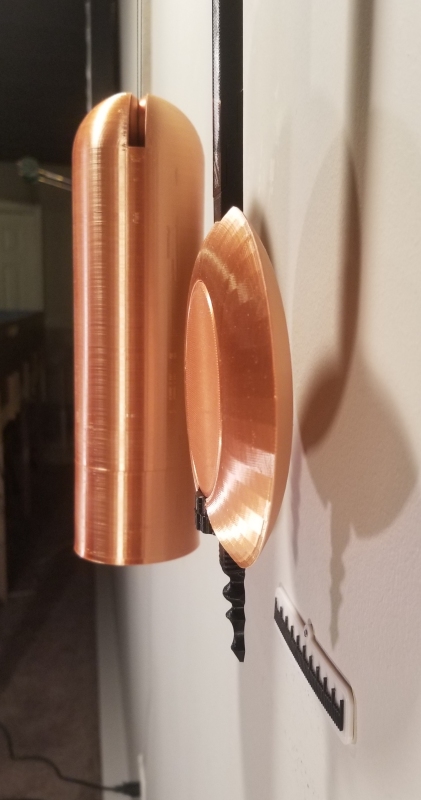
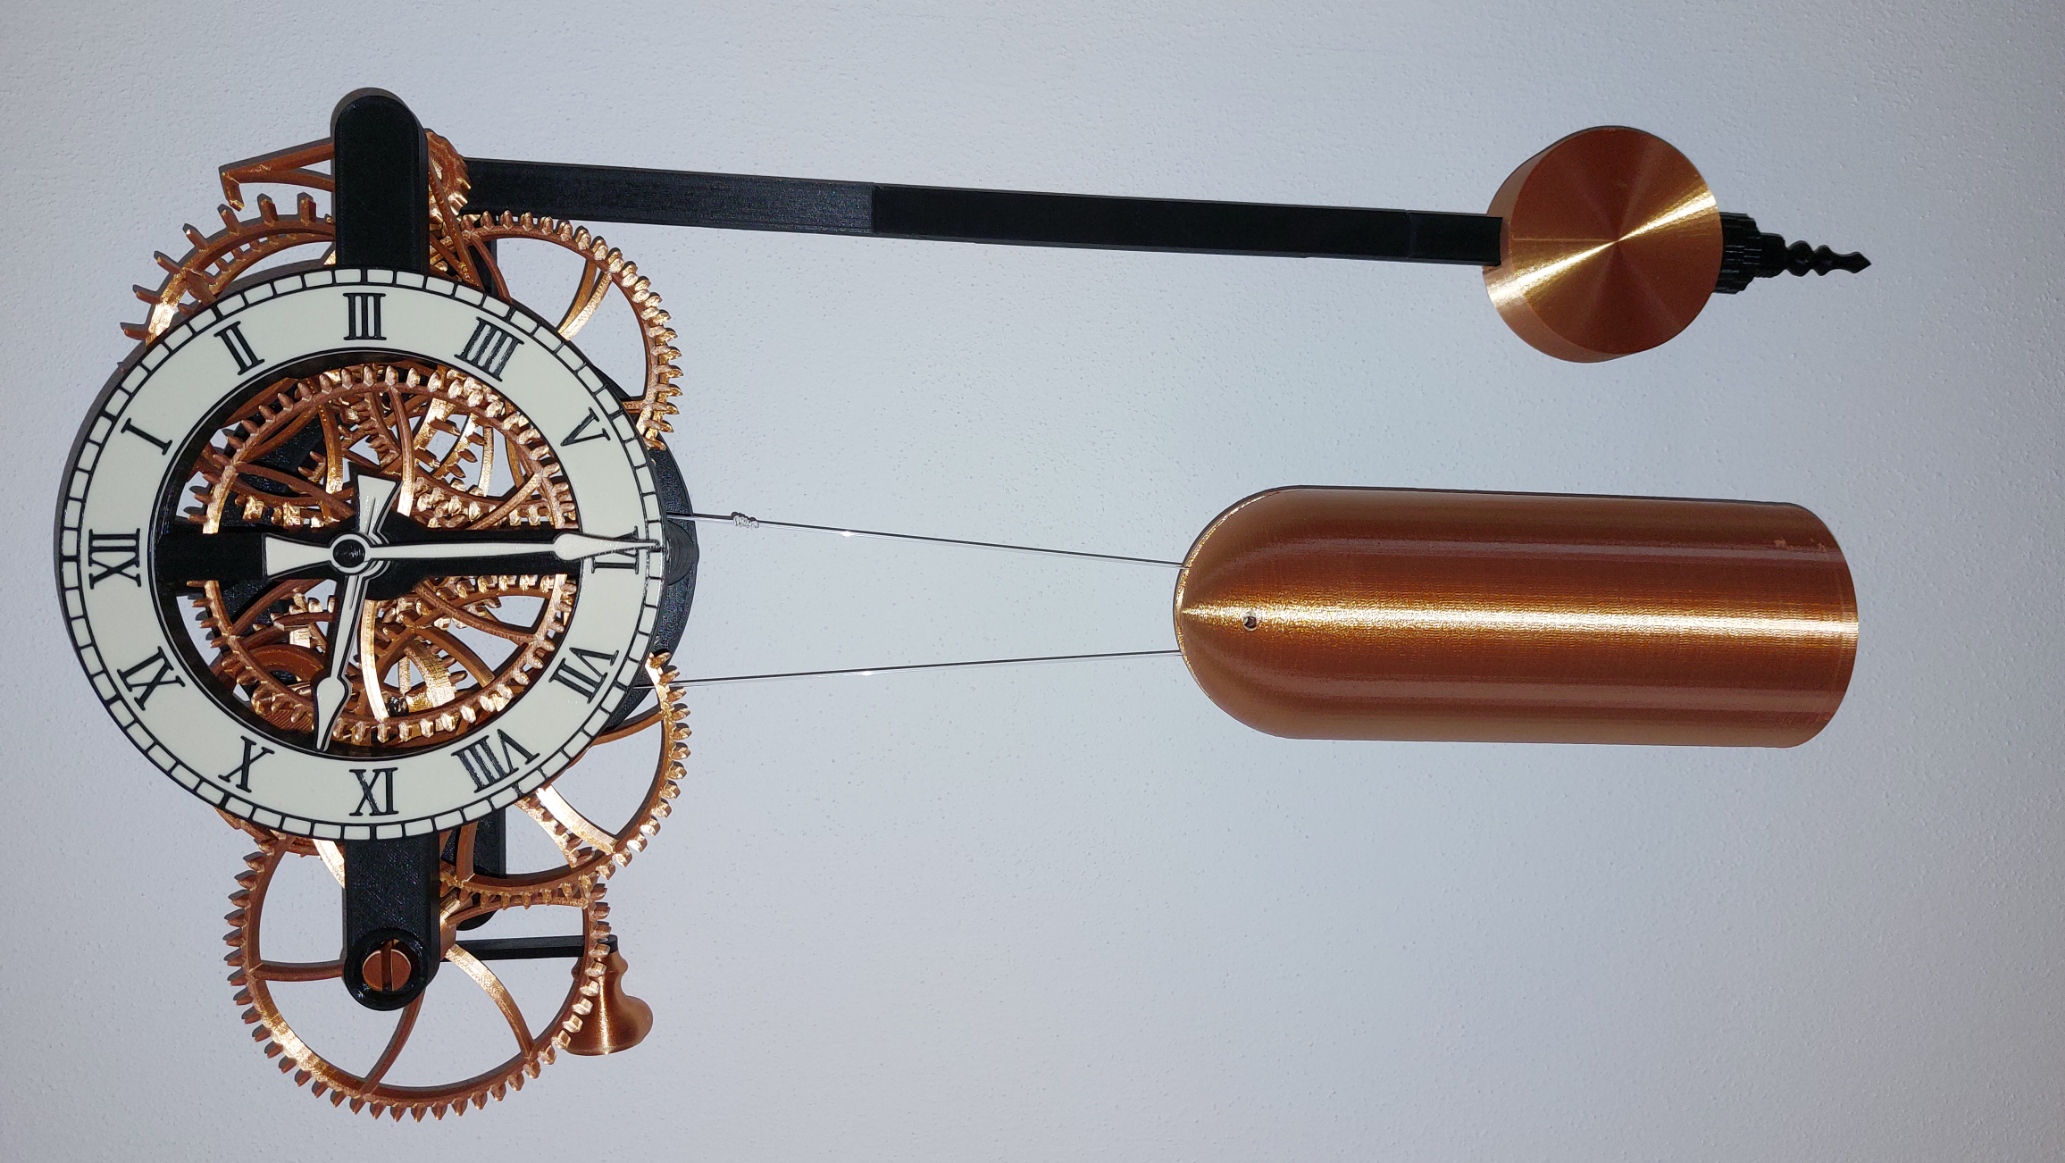


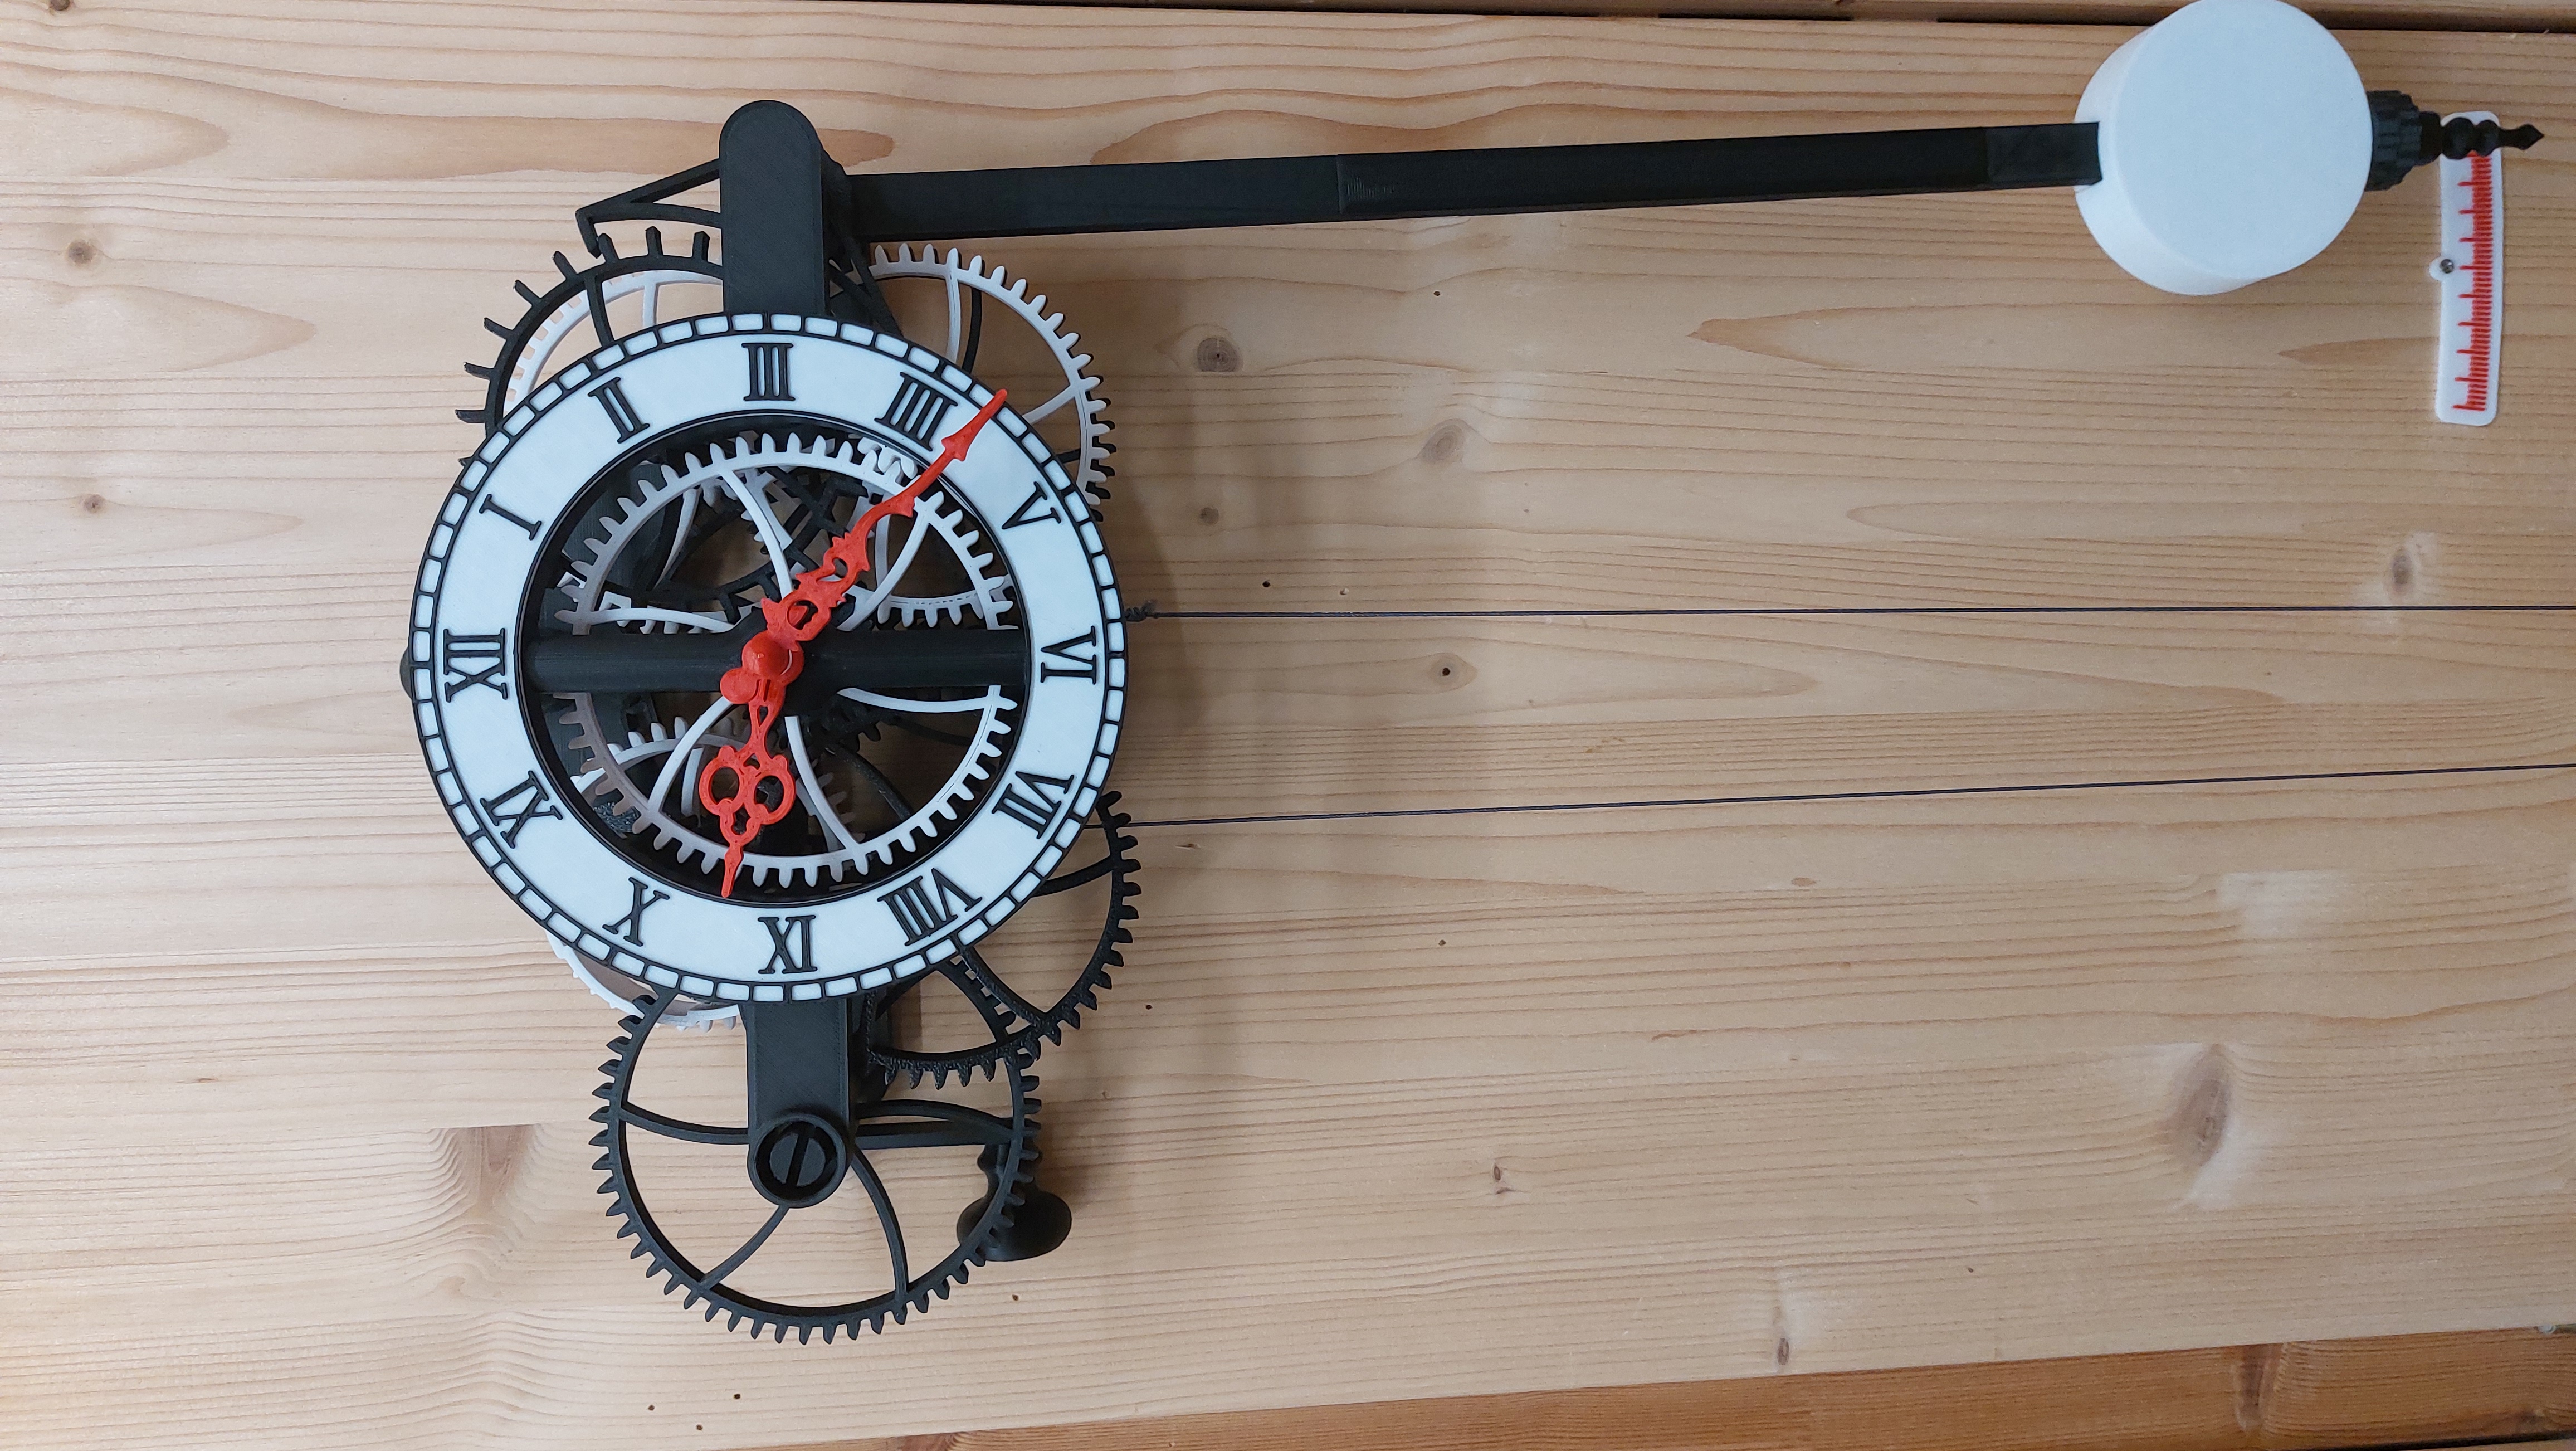
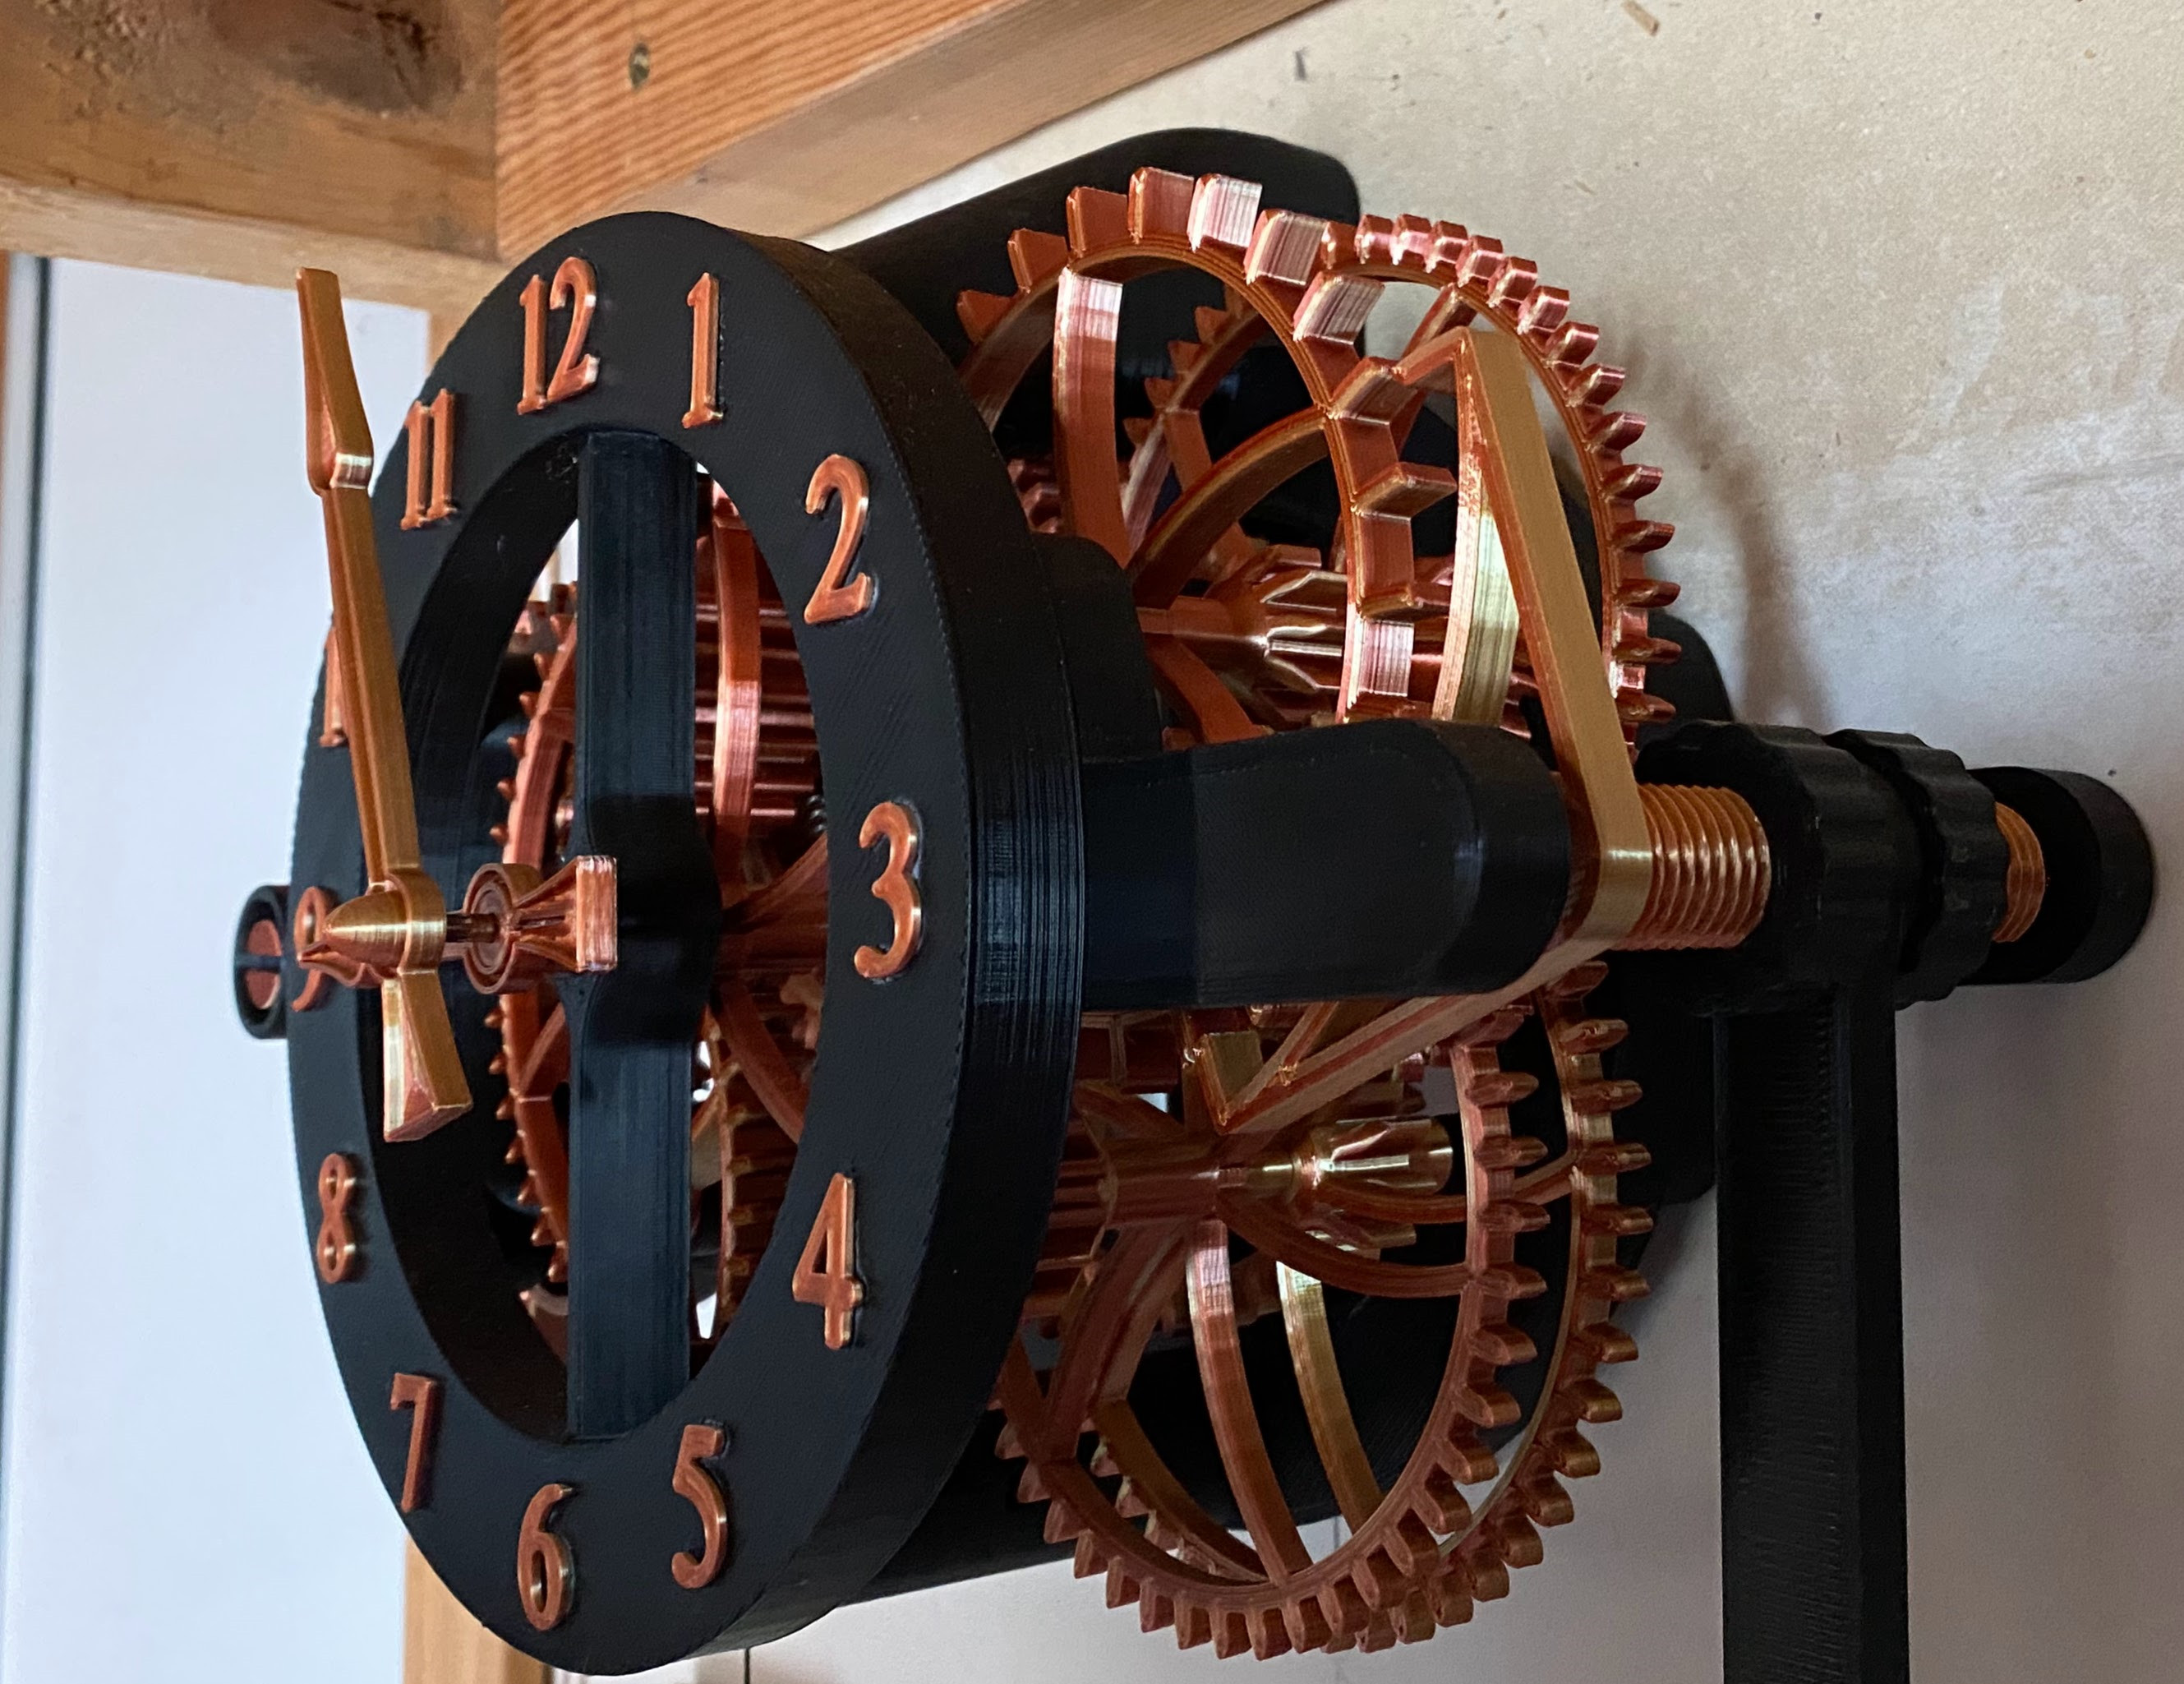
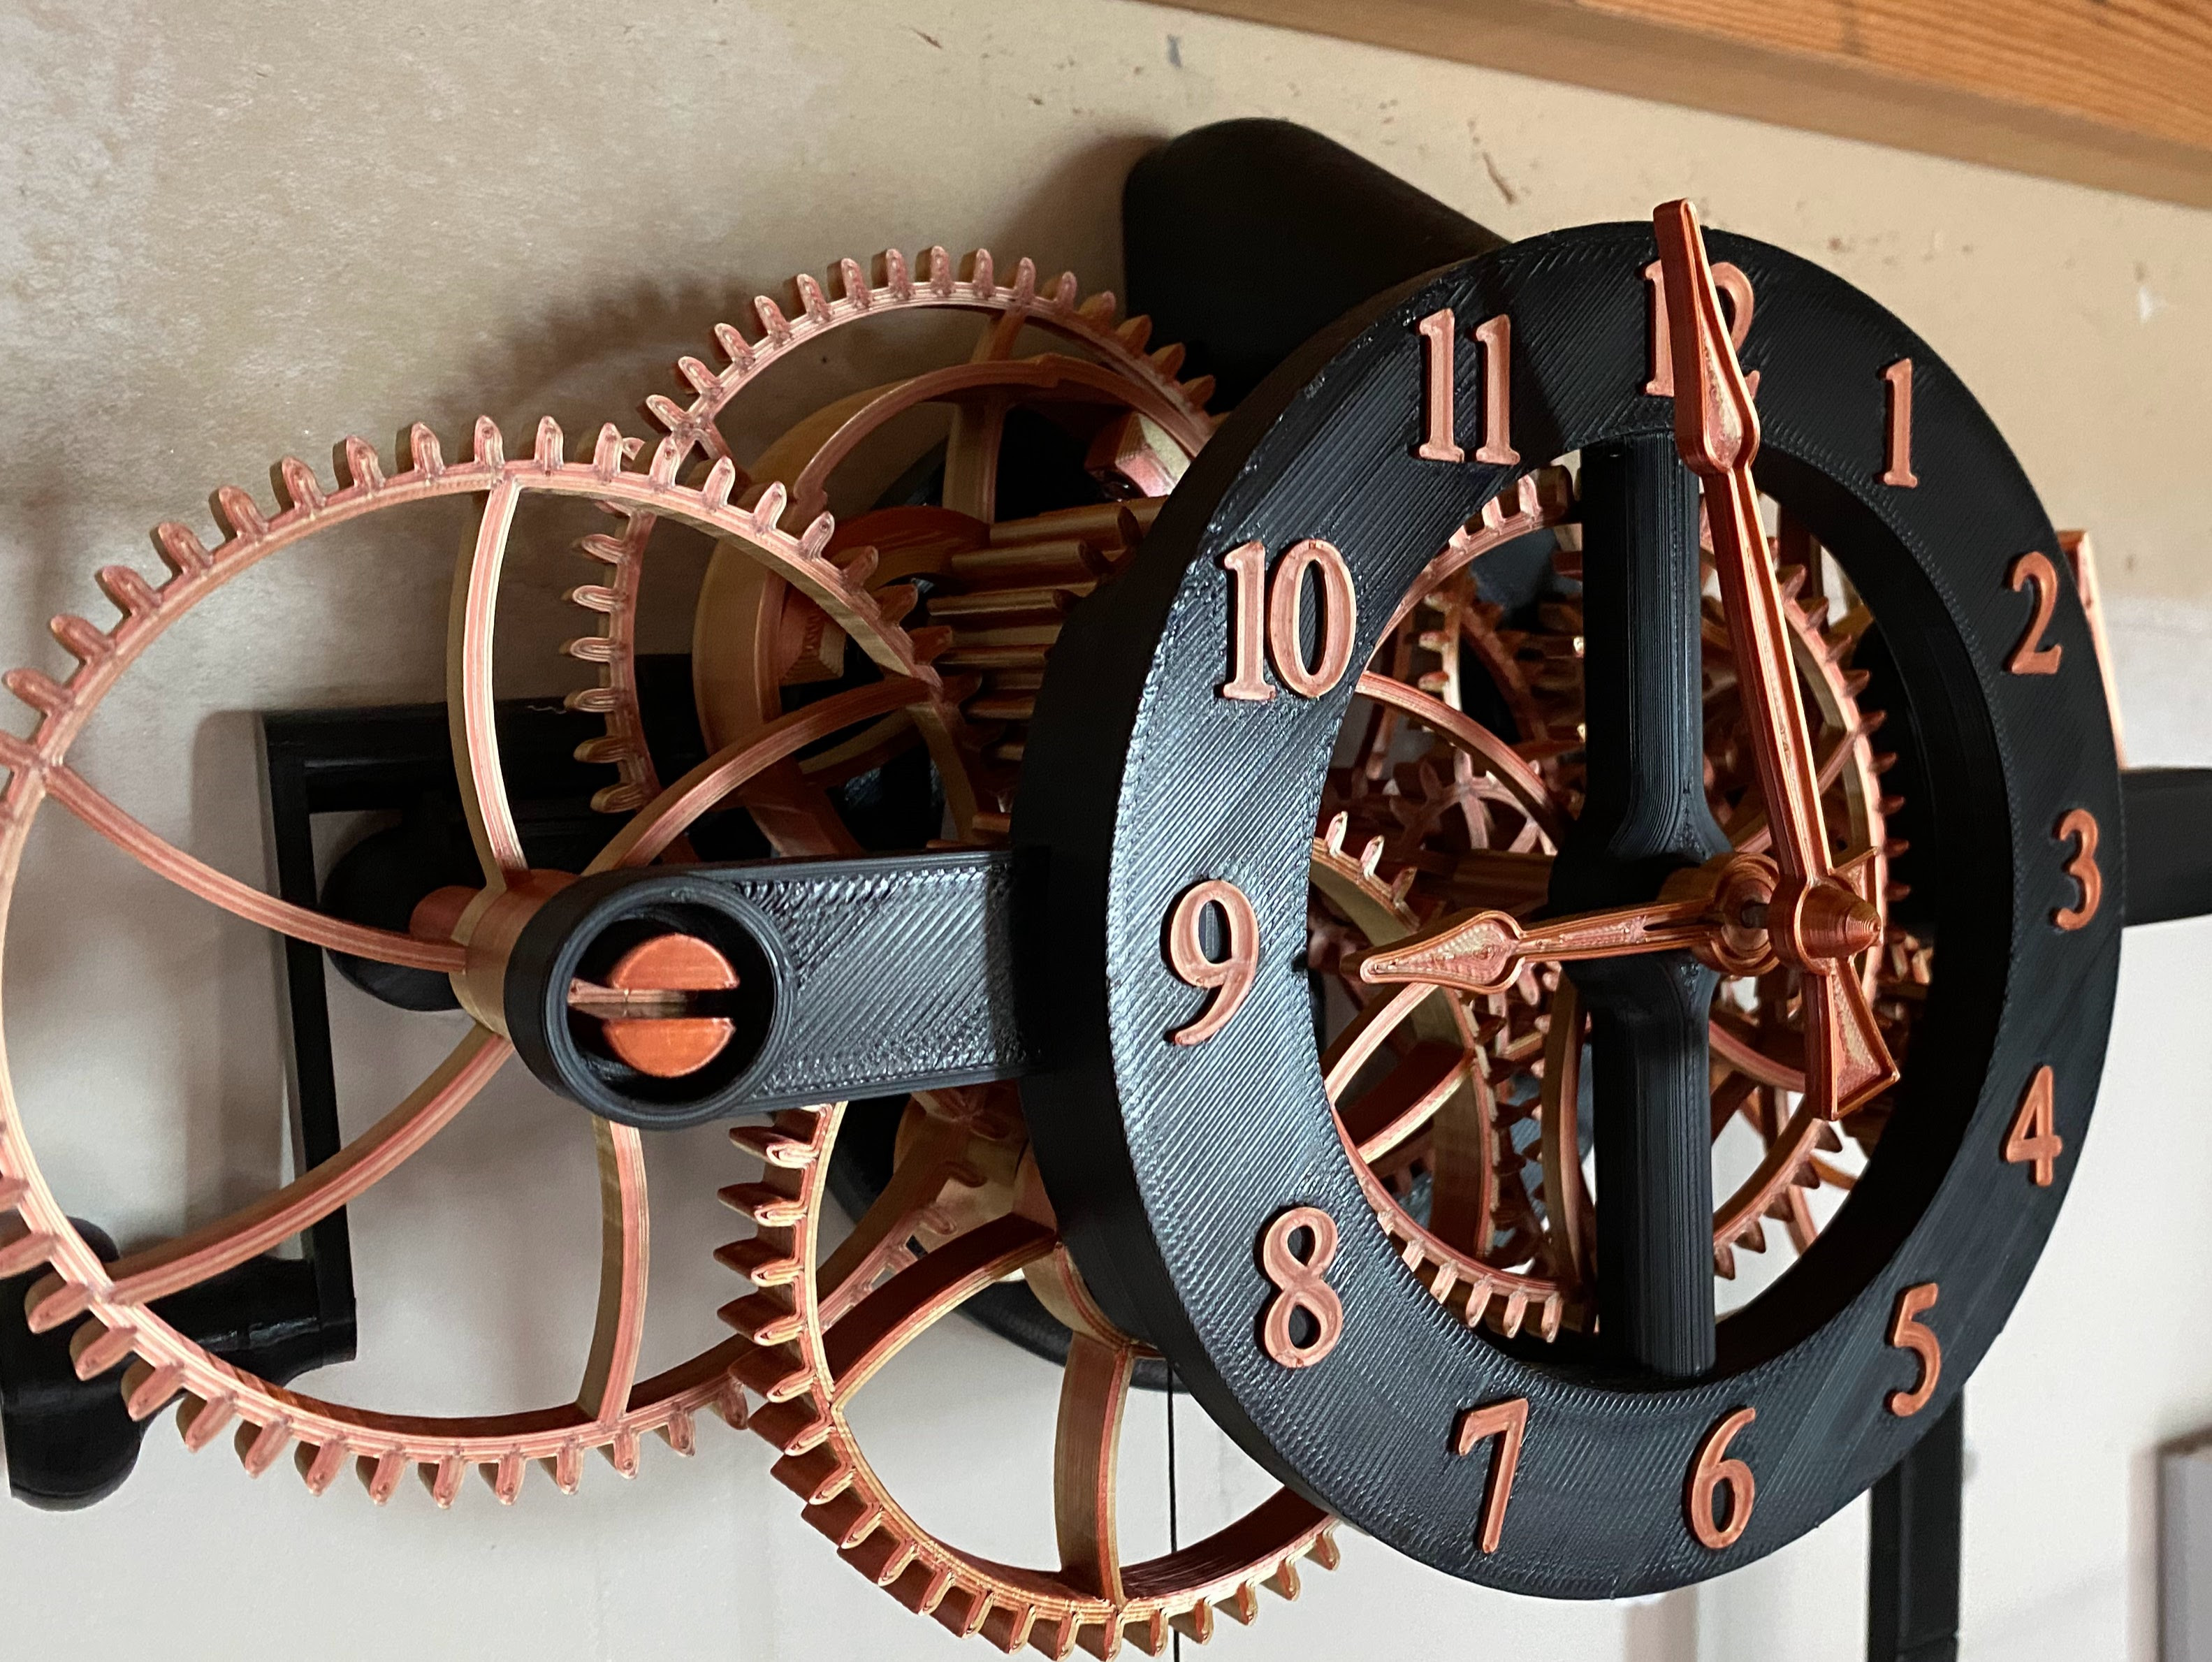
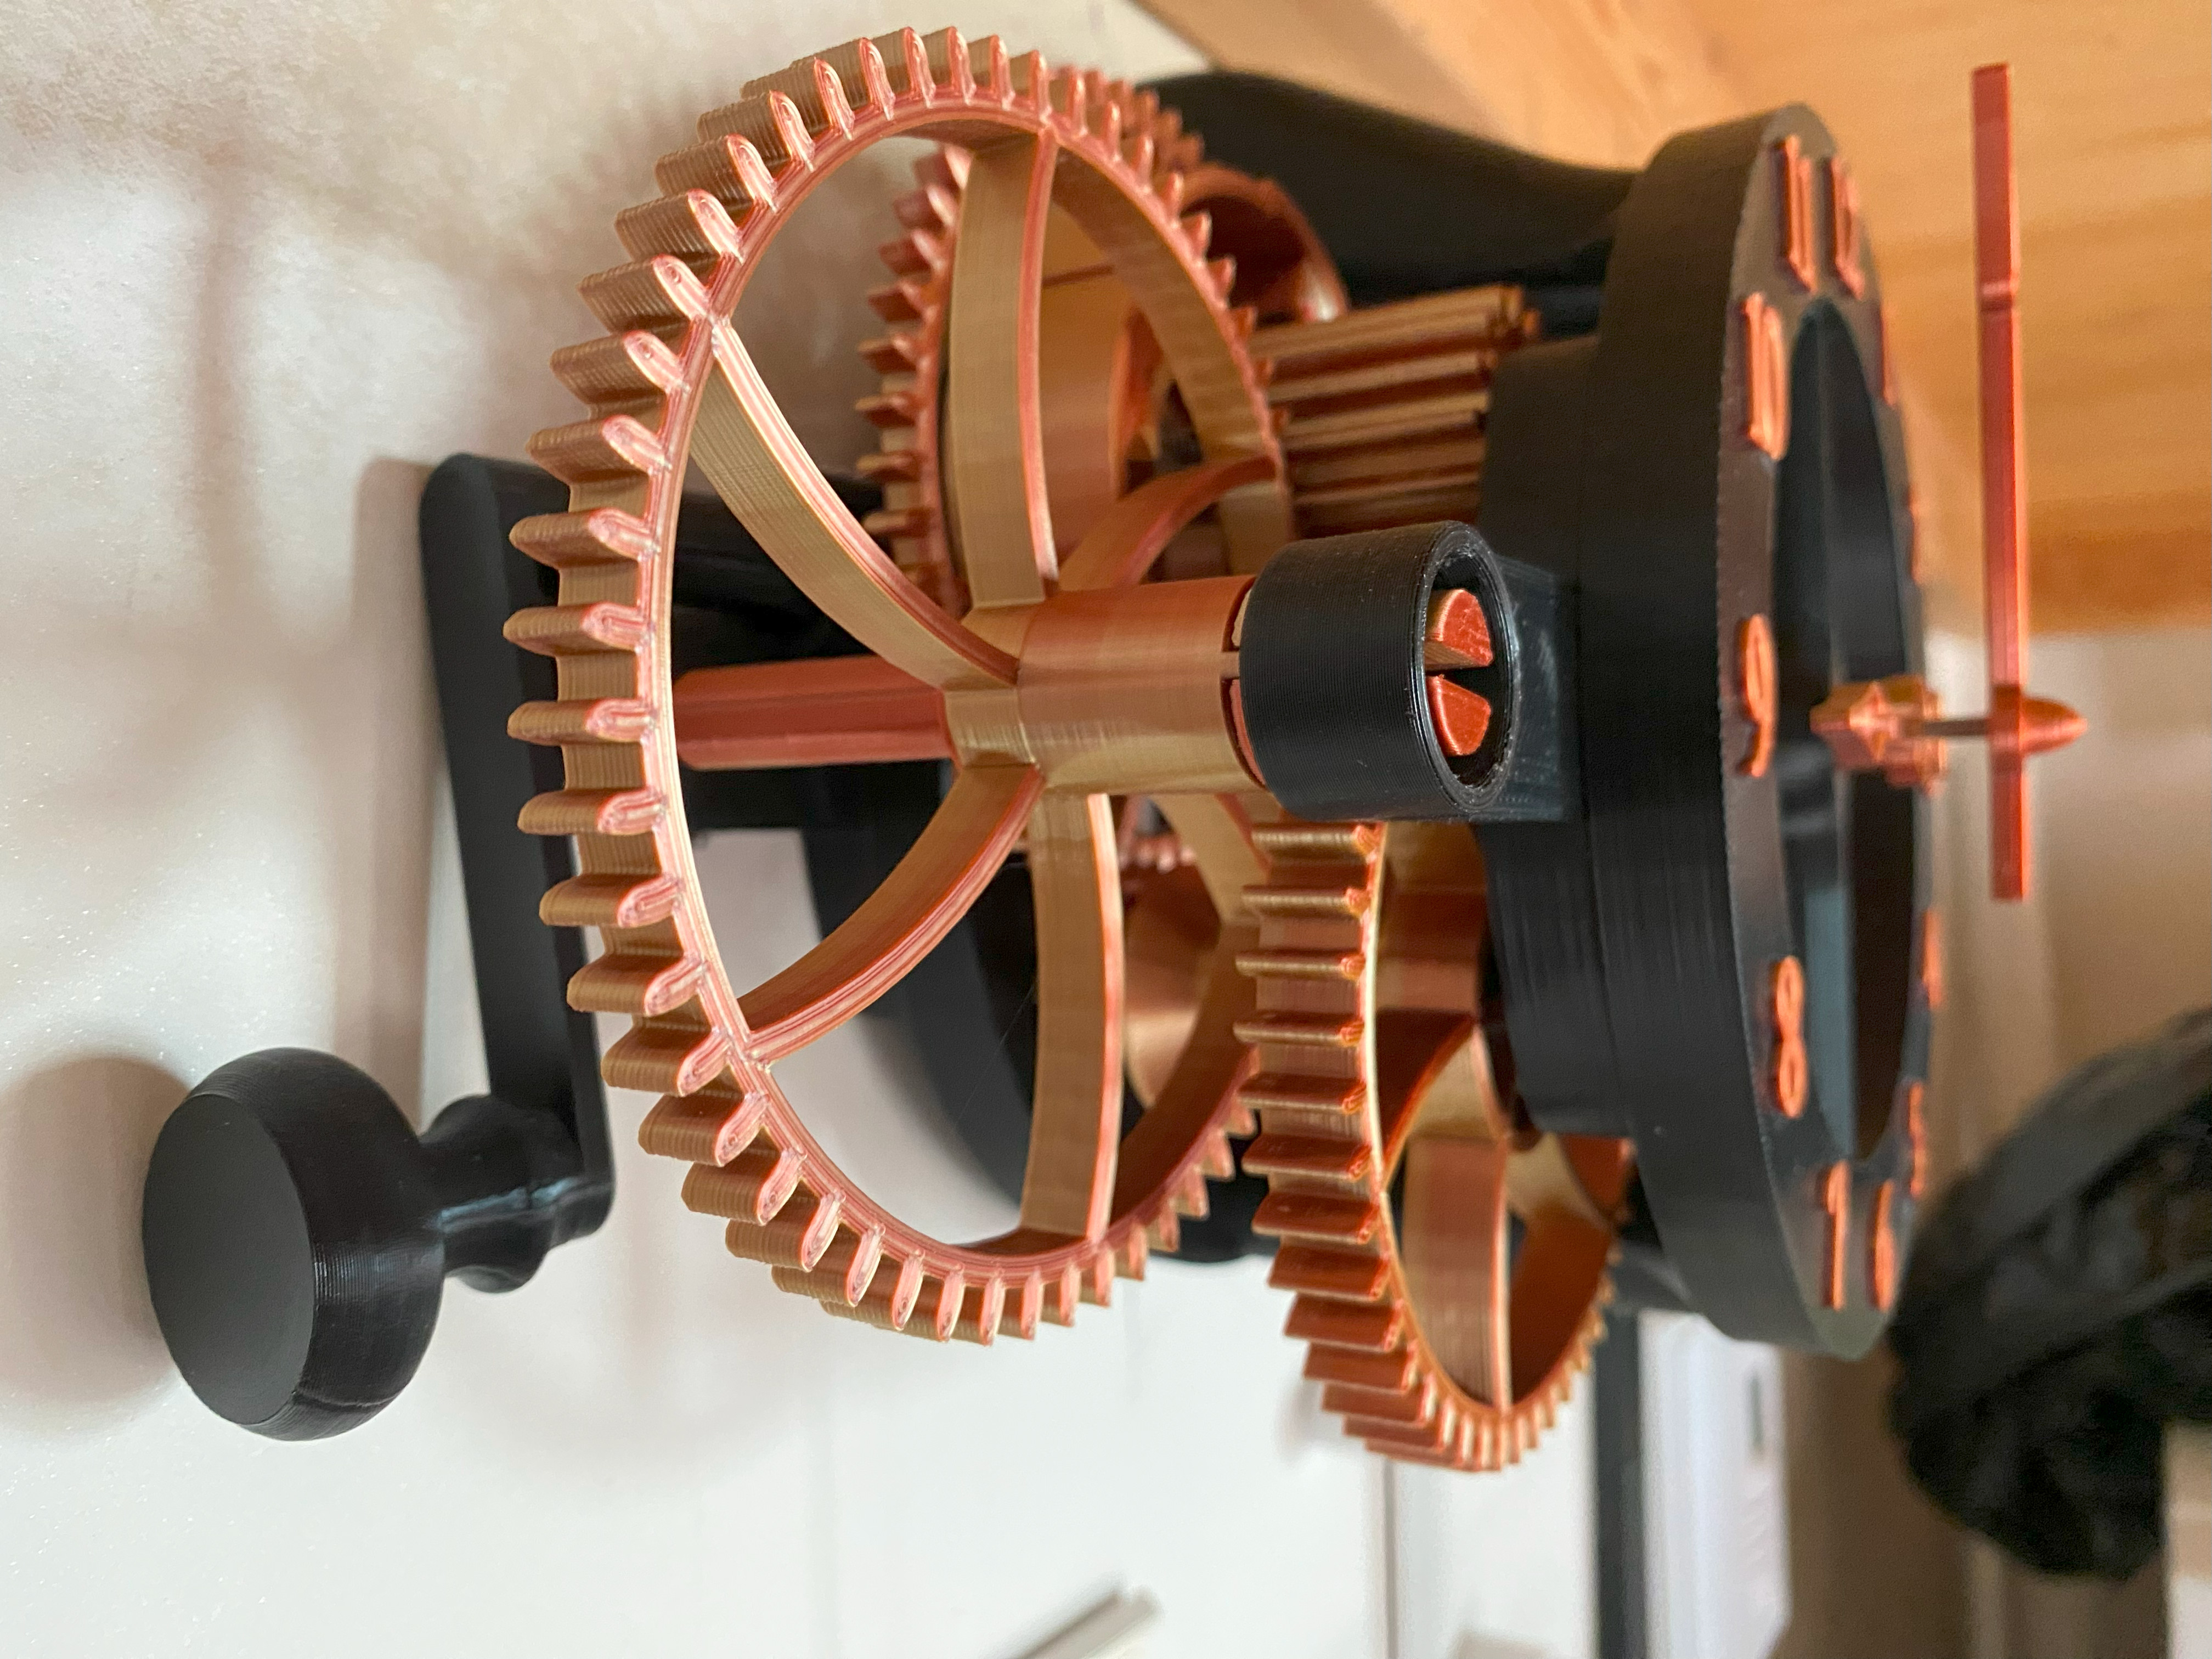
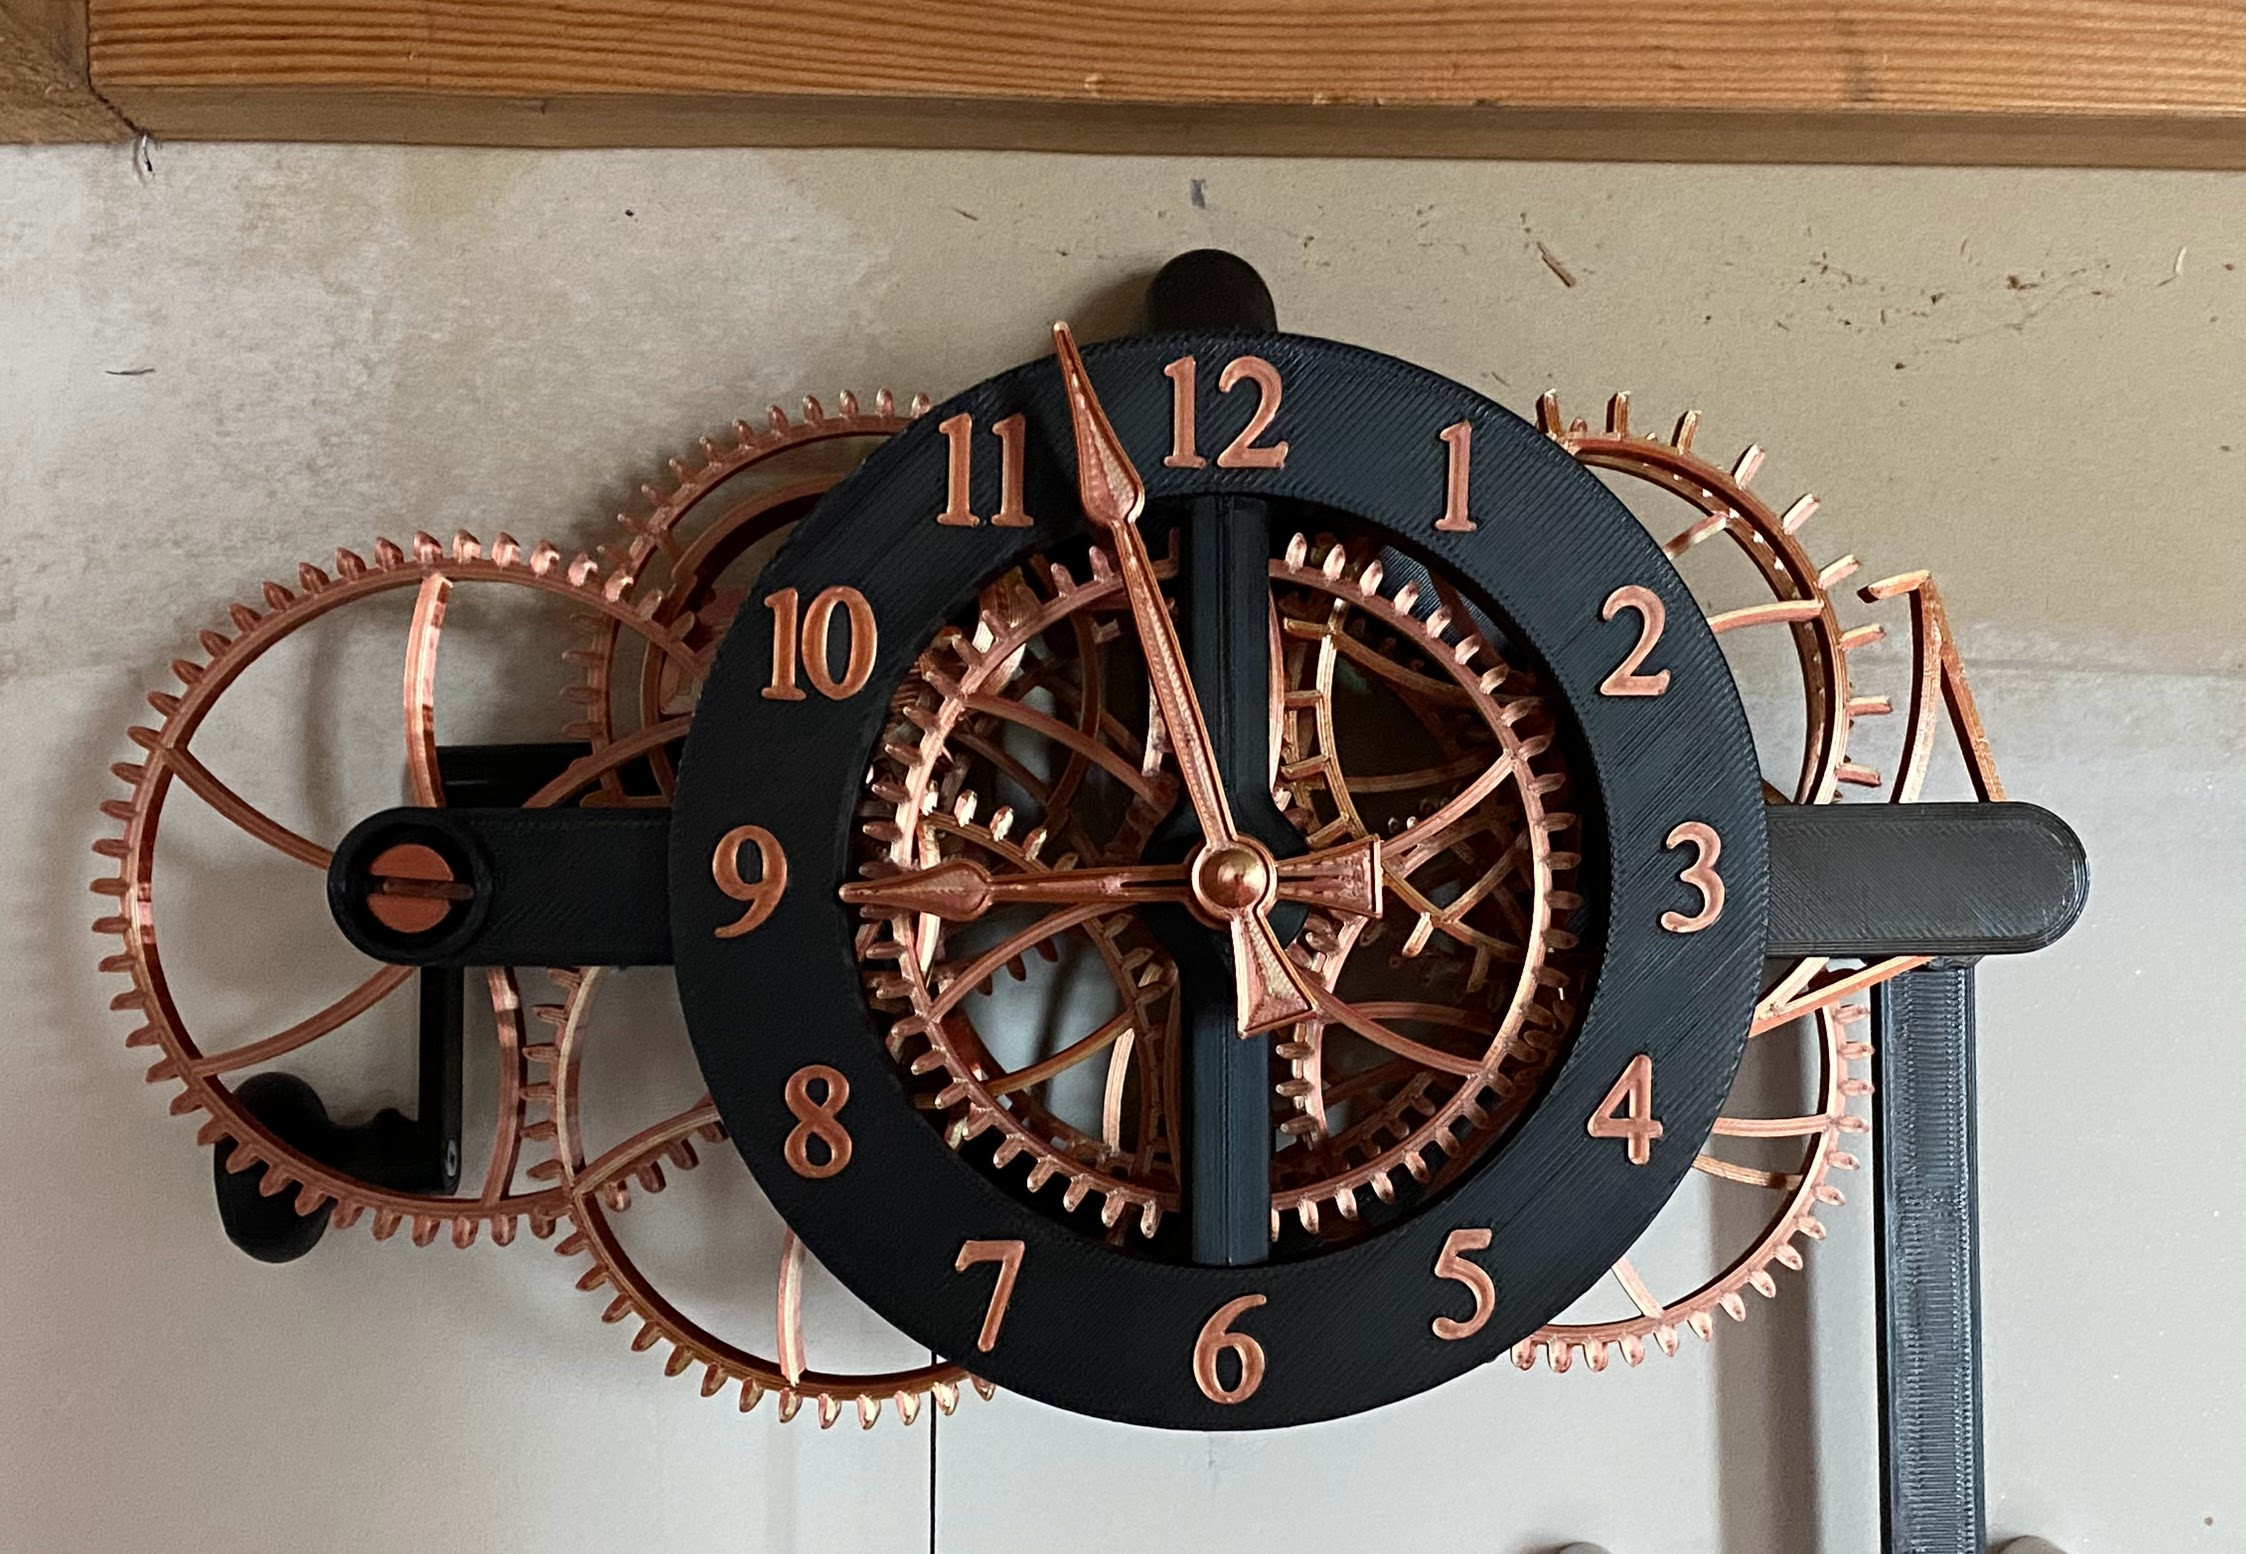

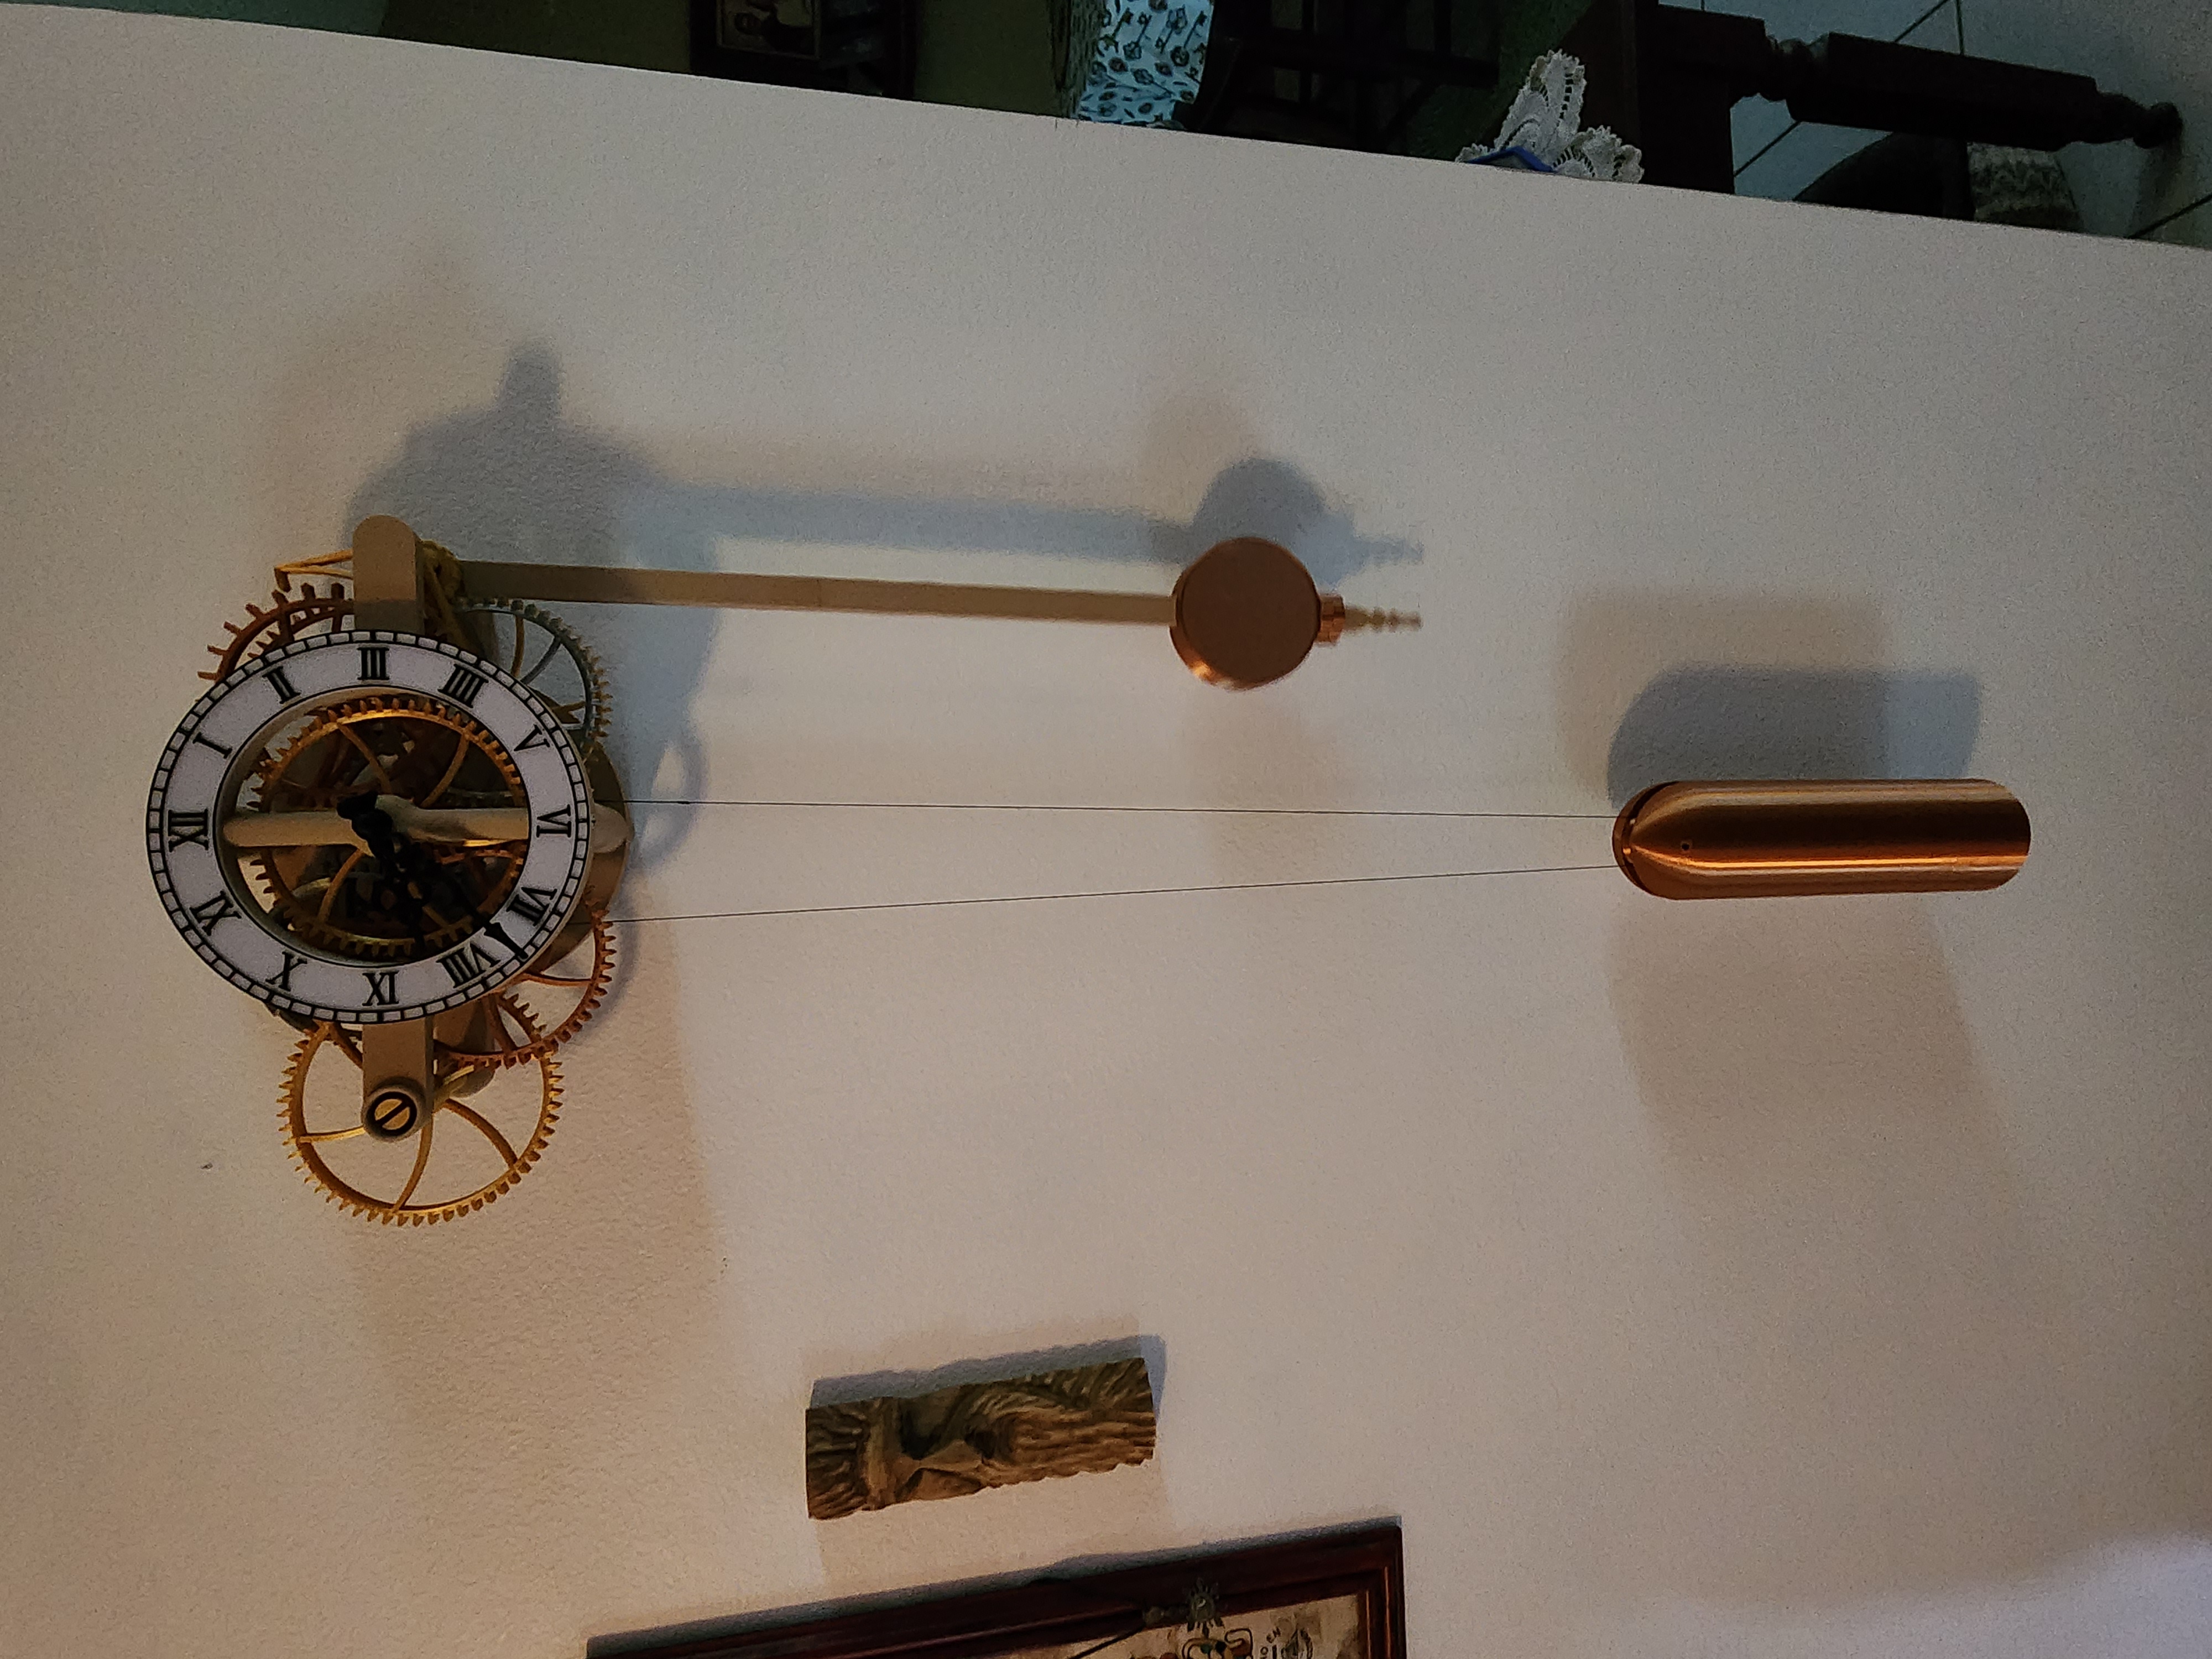
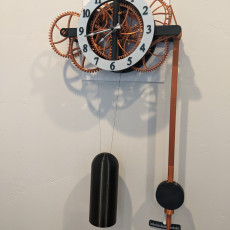
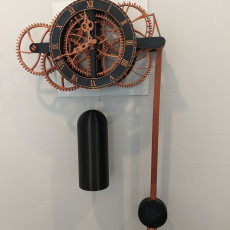
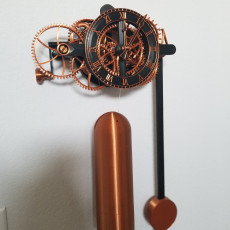
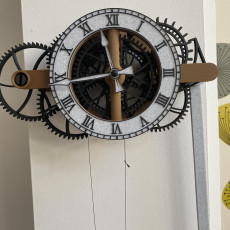
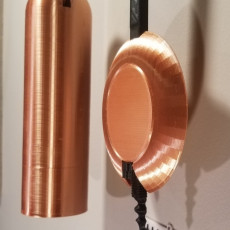
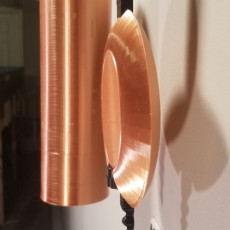
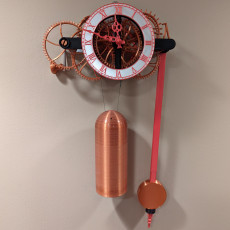
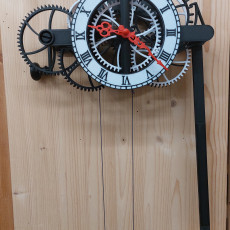
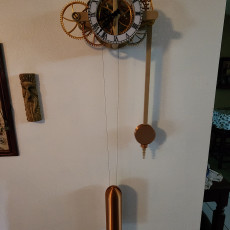
Large Clock. Copper gears with black frame. Artillery Genius printer.