Doctor Who Orange Space suit helmet build


Doctor Who Orange Space suit helmet build
Published 2019-11-04T19:29:23+00:00
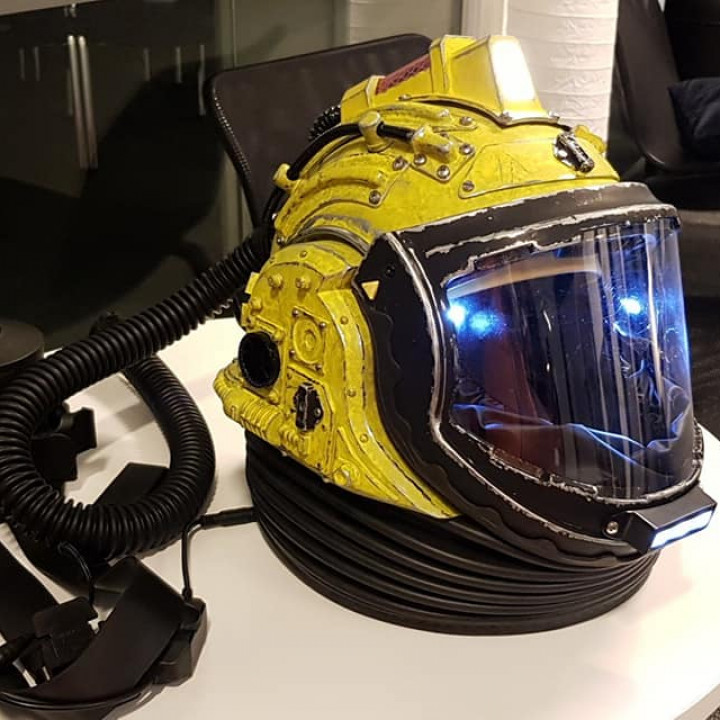
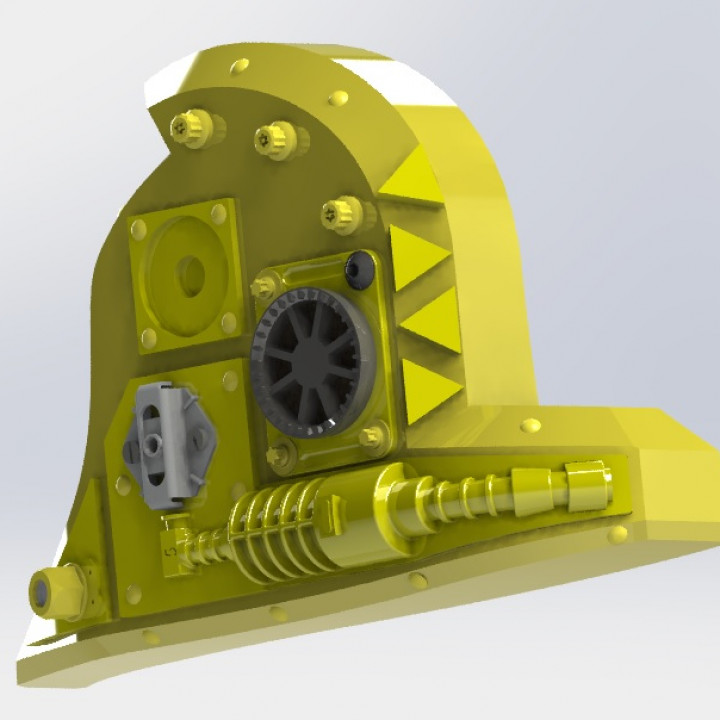
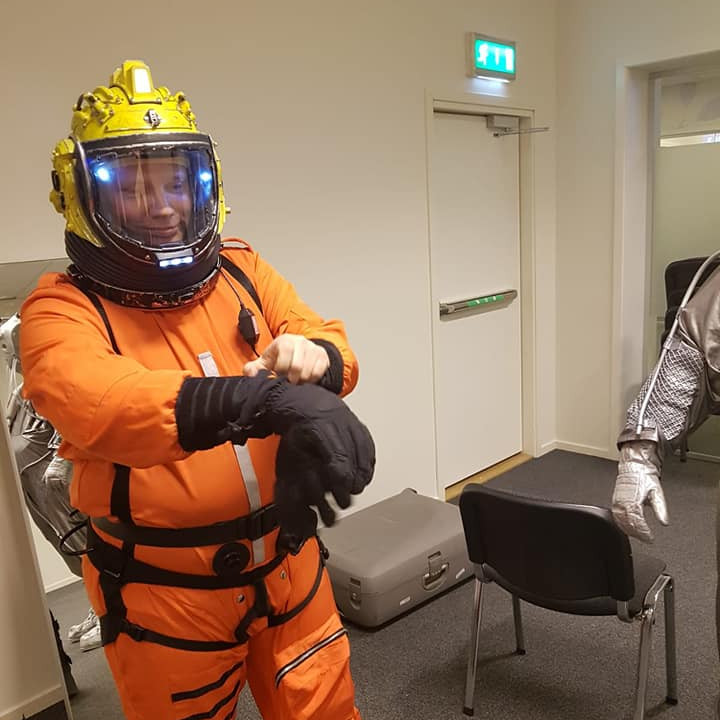
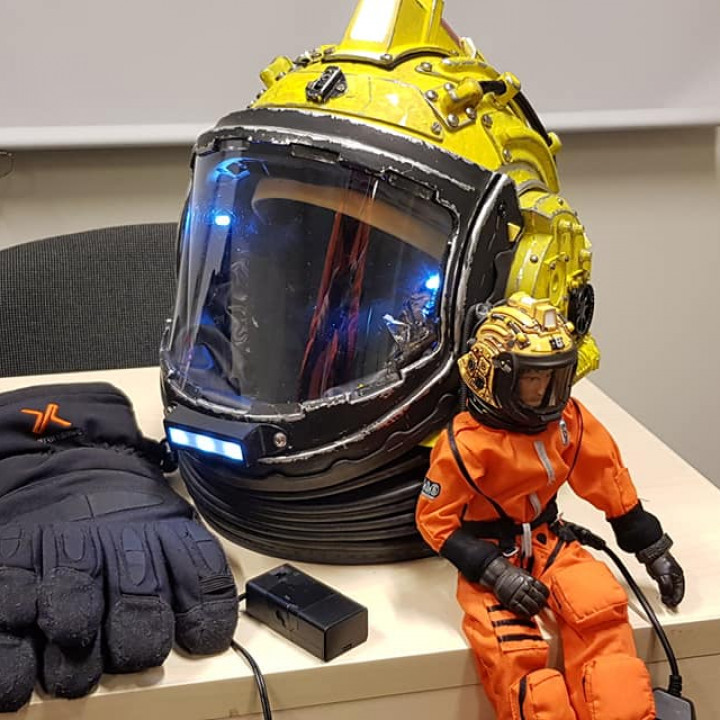
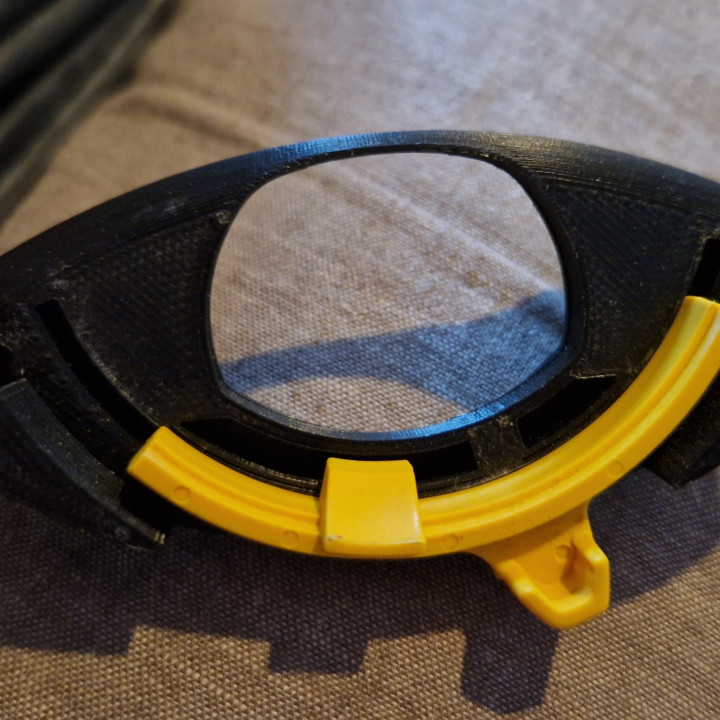
This is a set of models to print and mount on a Scott Procap Welding Helmet to make the Orange spacesuit helmet from modern Doctor Who.
The helmet was used by 3 consecutive Doctors spanning from David Tennat in 2006 who used it figting a huge Demon at Sanctuary Base 6, then in several episodes by Matt Smith and last it was used in Peter Capaldi era episodes such as "Kill the Moon" and "Listen".
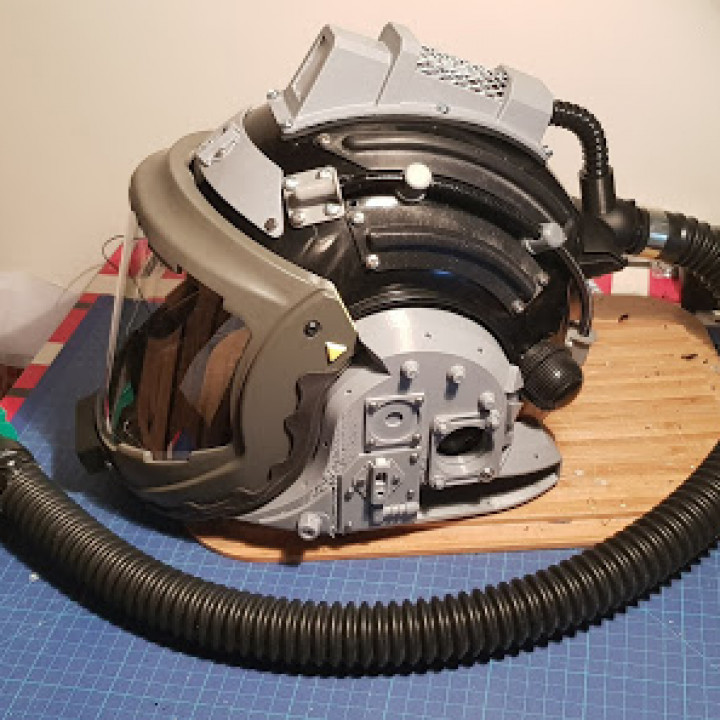
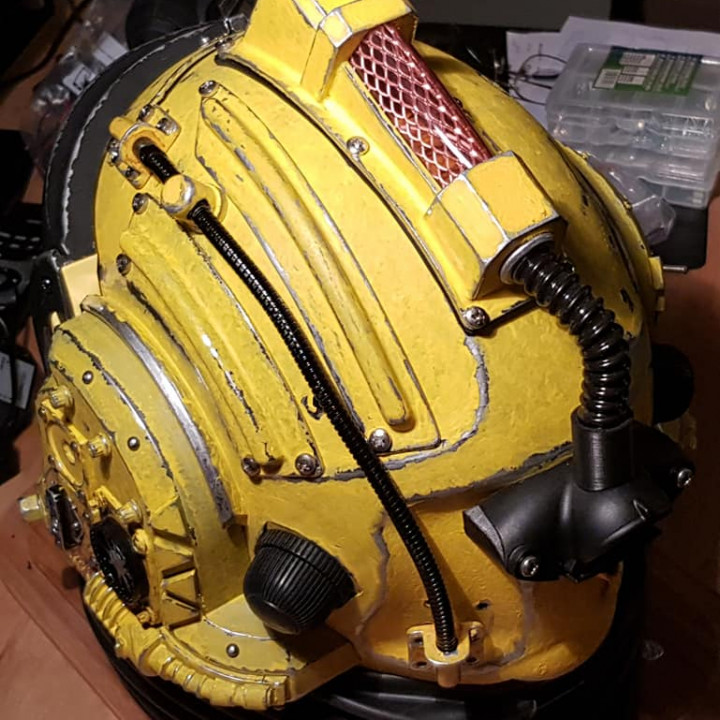
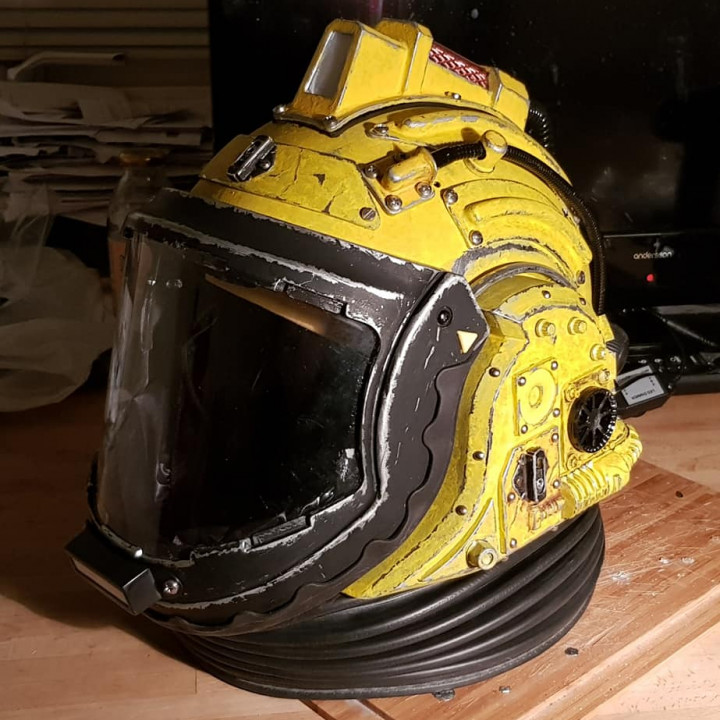
You need the "SCOTT Safety Welding Helmet" and "Scott Tornado Respirator" and hose as well as a bellows used for truck and motor home gaps and soem sheet Kydex to make the bellows top ring that keeps it in the helmet for the complete the build seen in the photos. Without the Respirator the helmet is only wearable for minutes at a time and with it you can wear it all day at a Con. I usually do. :)
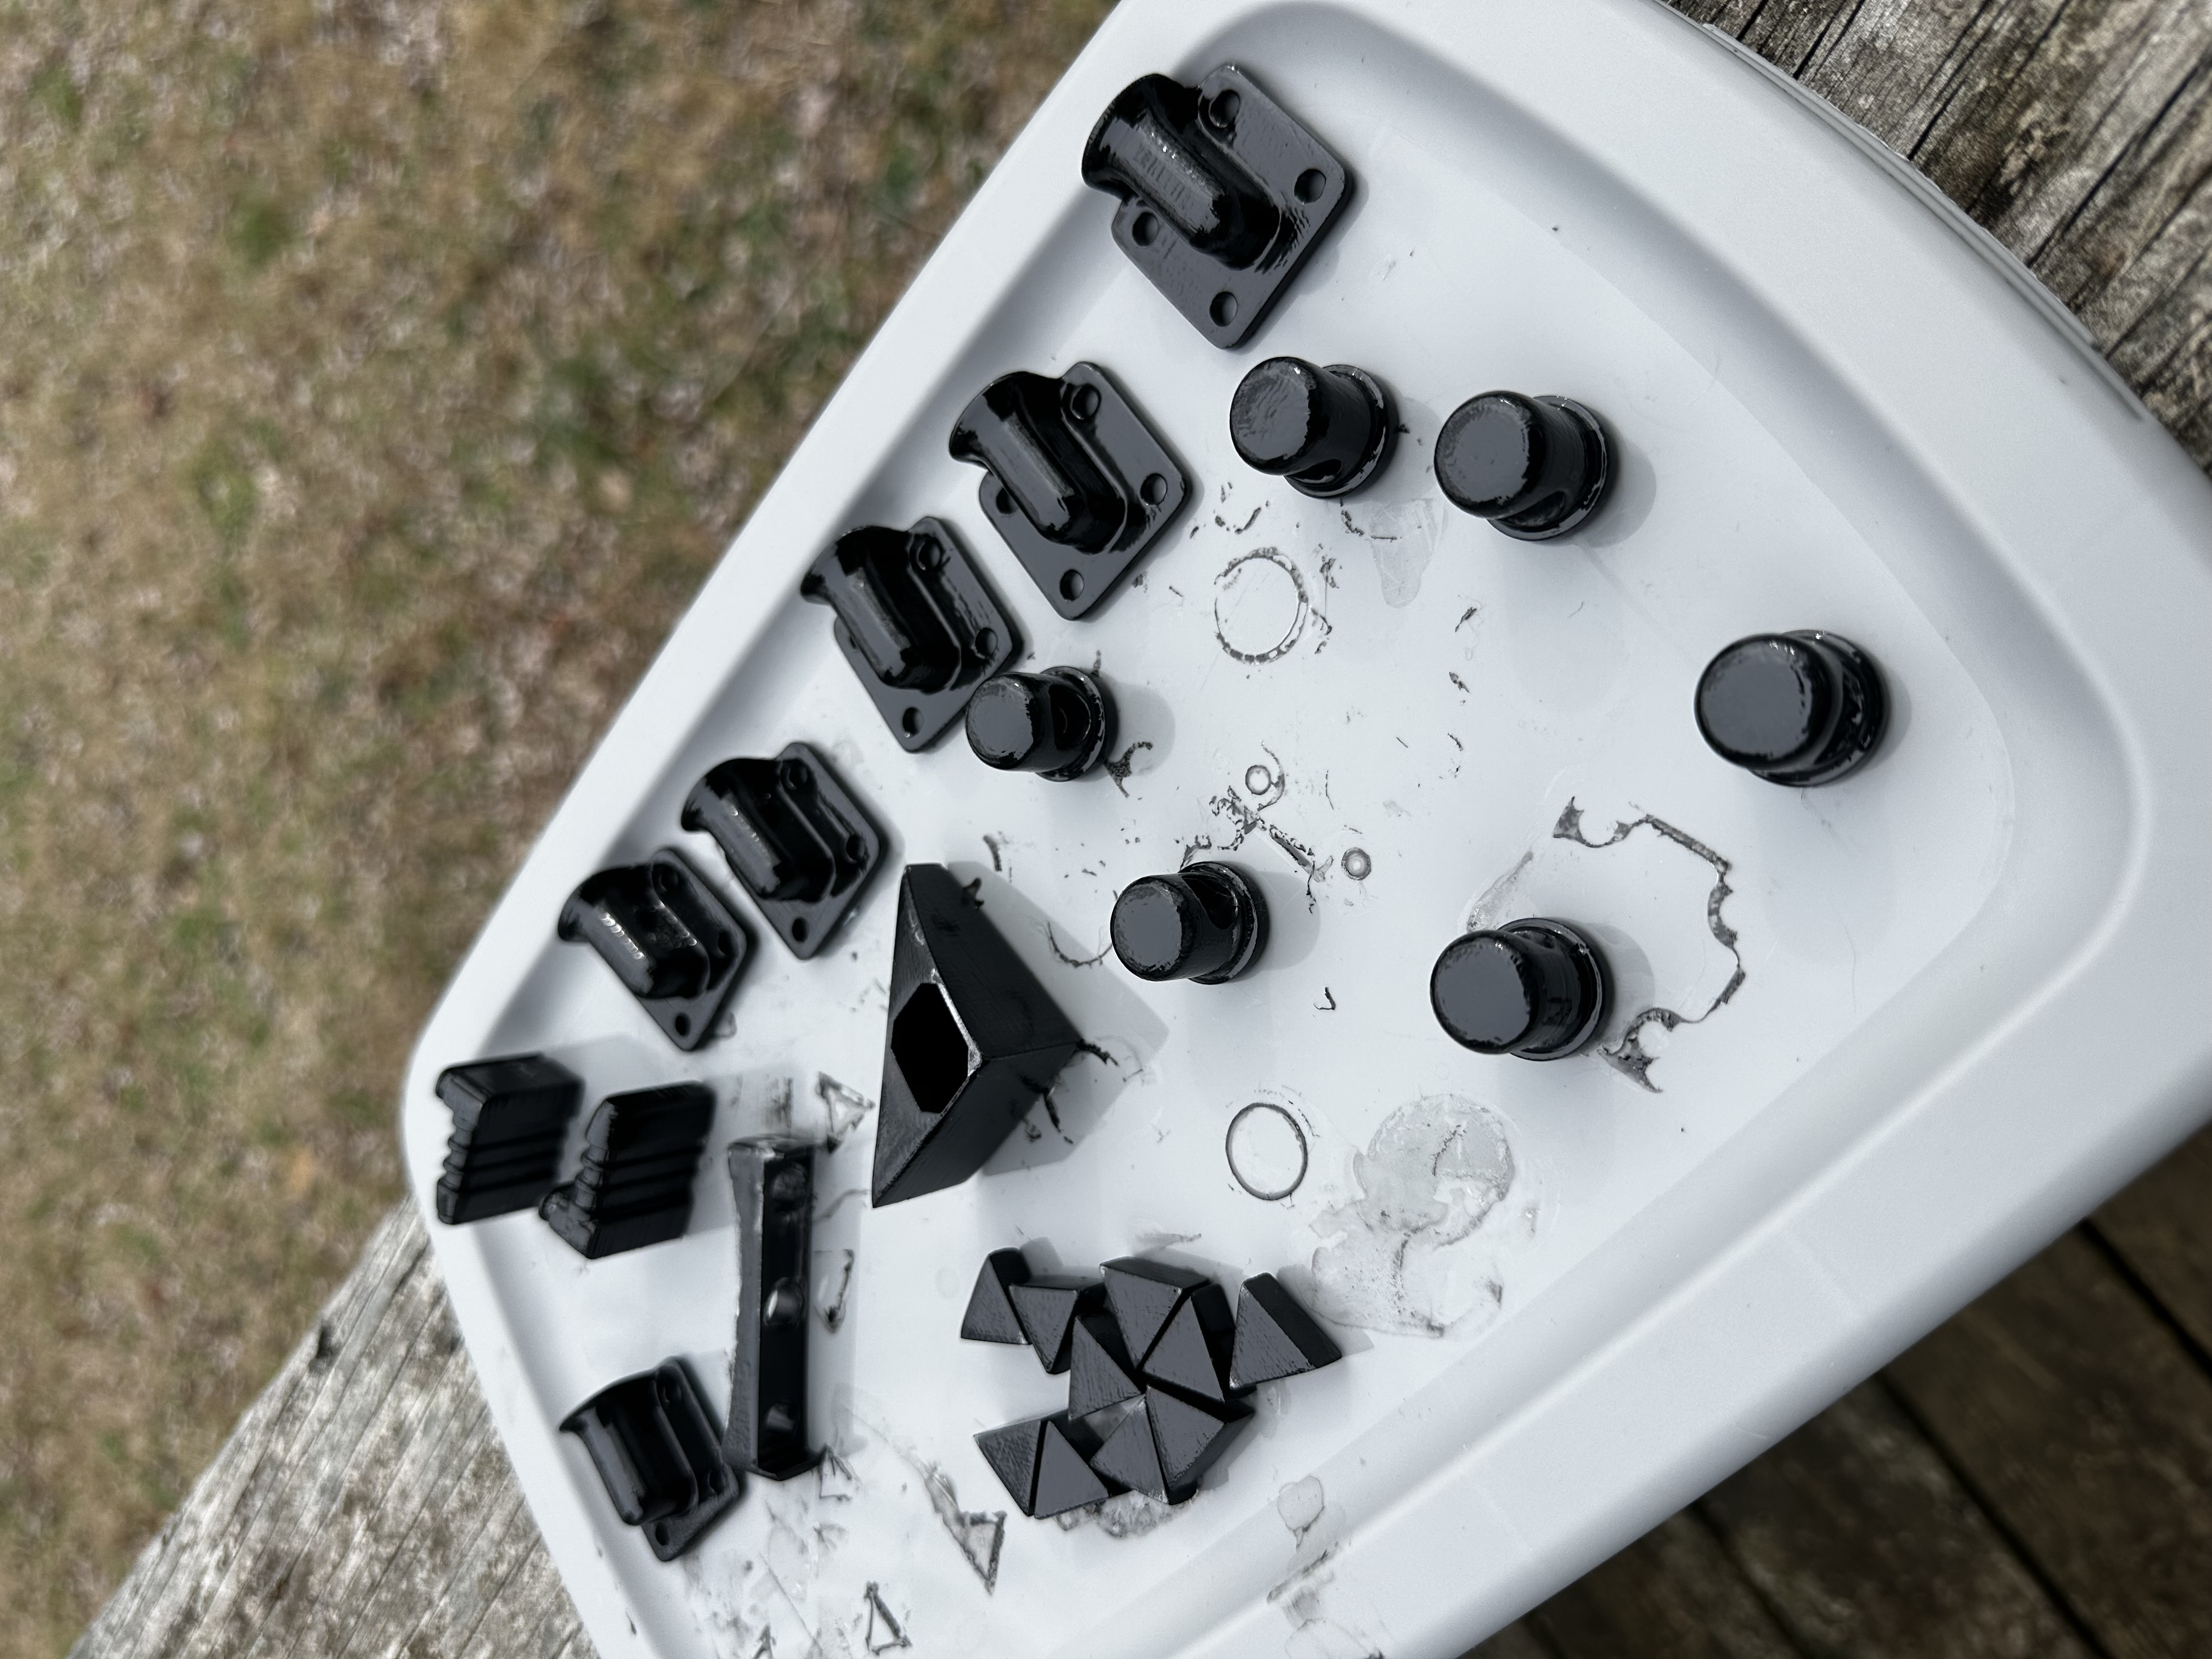
It also involes a bit of DIY and sanding and fitting of small parts as I use a plug system to be able to get to plane sand and then acetone dip for the best finish.
You also need small metal rivets to cut to length, screws, nuts and some washers.
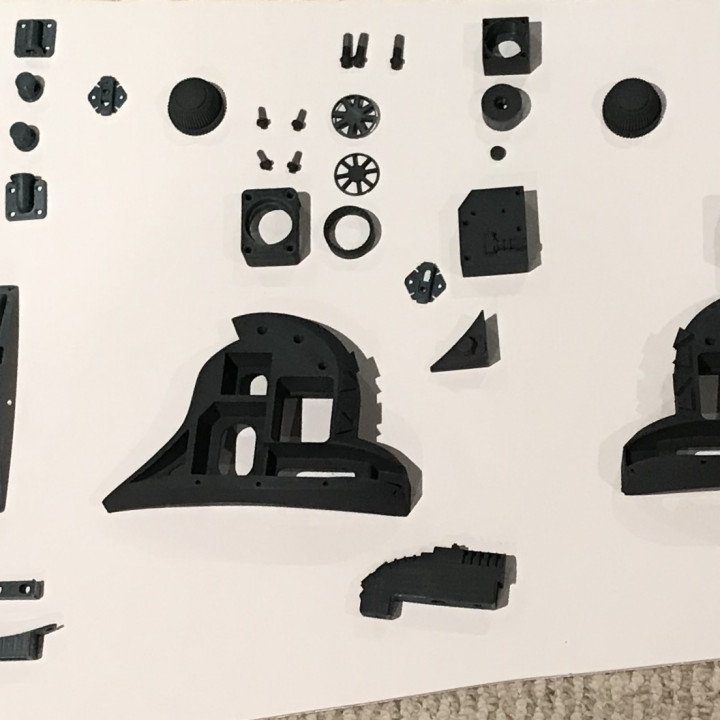
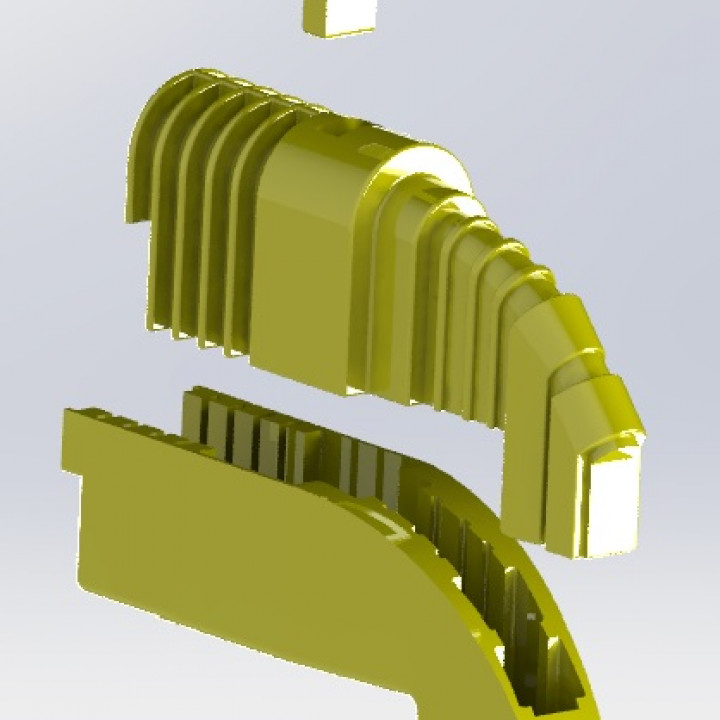
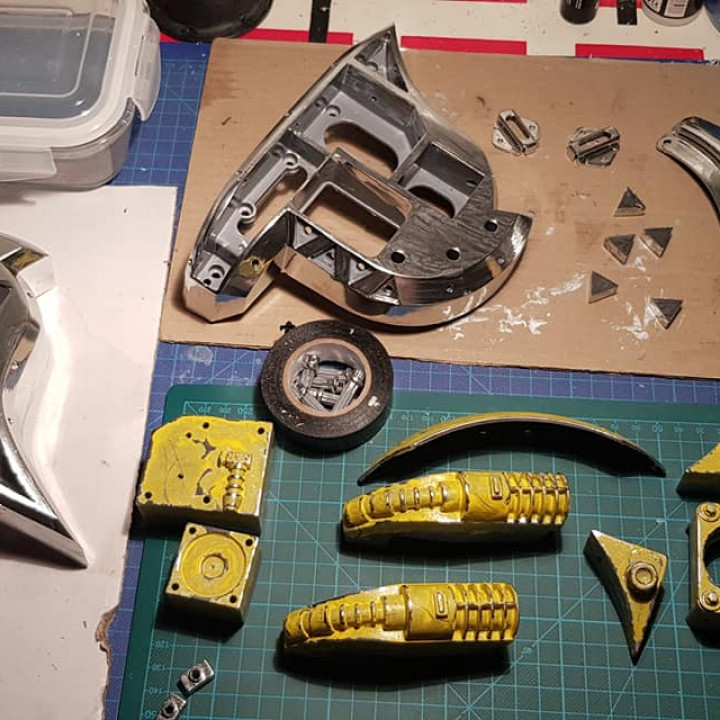
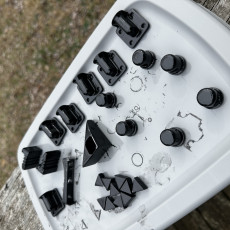
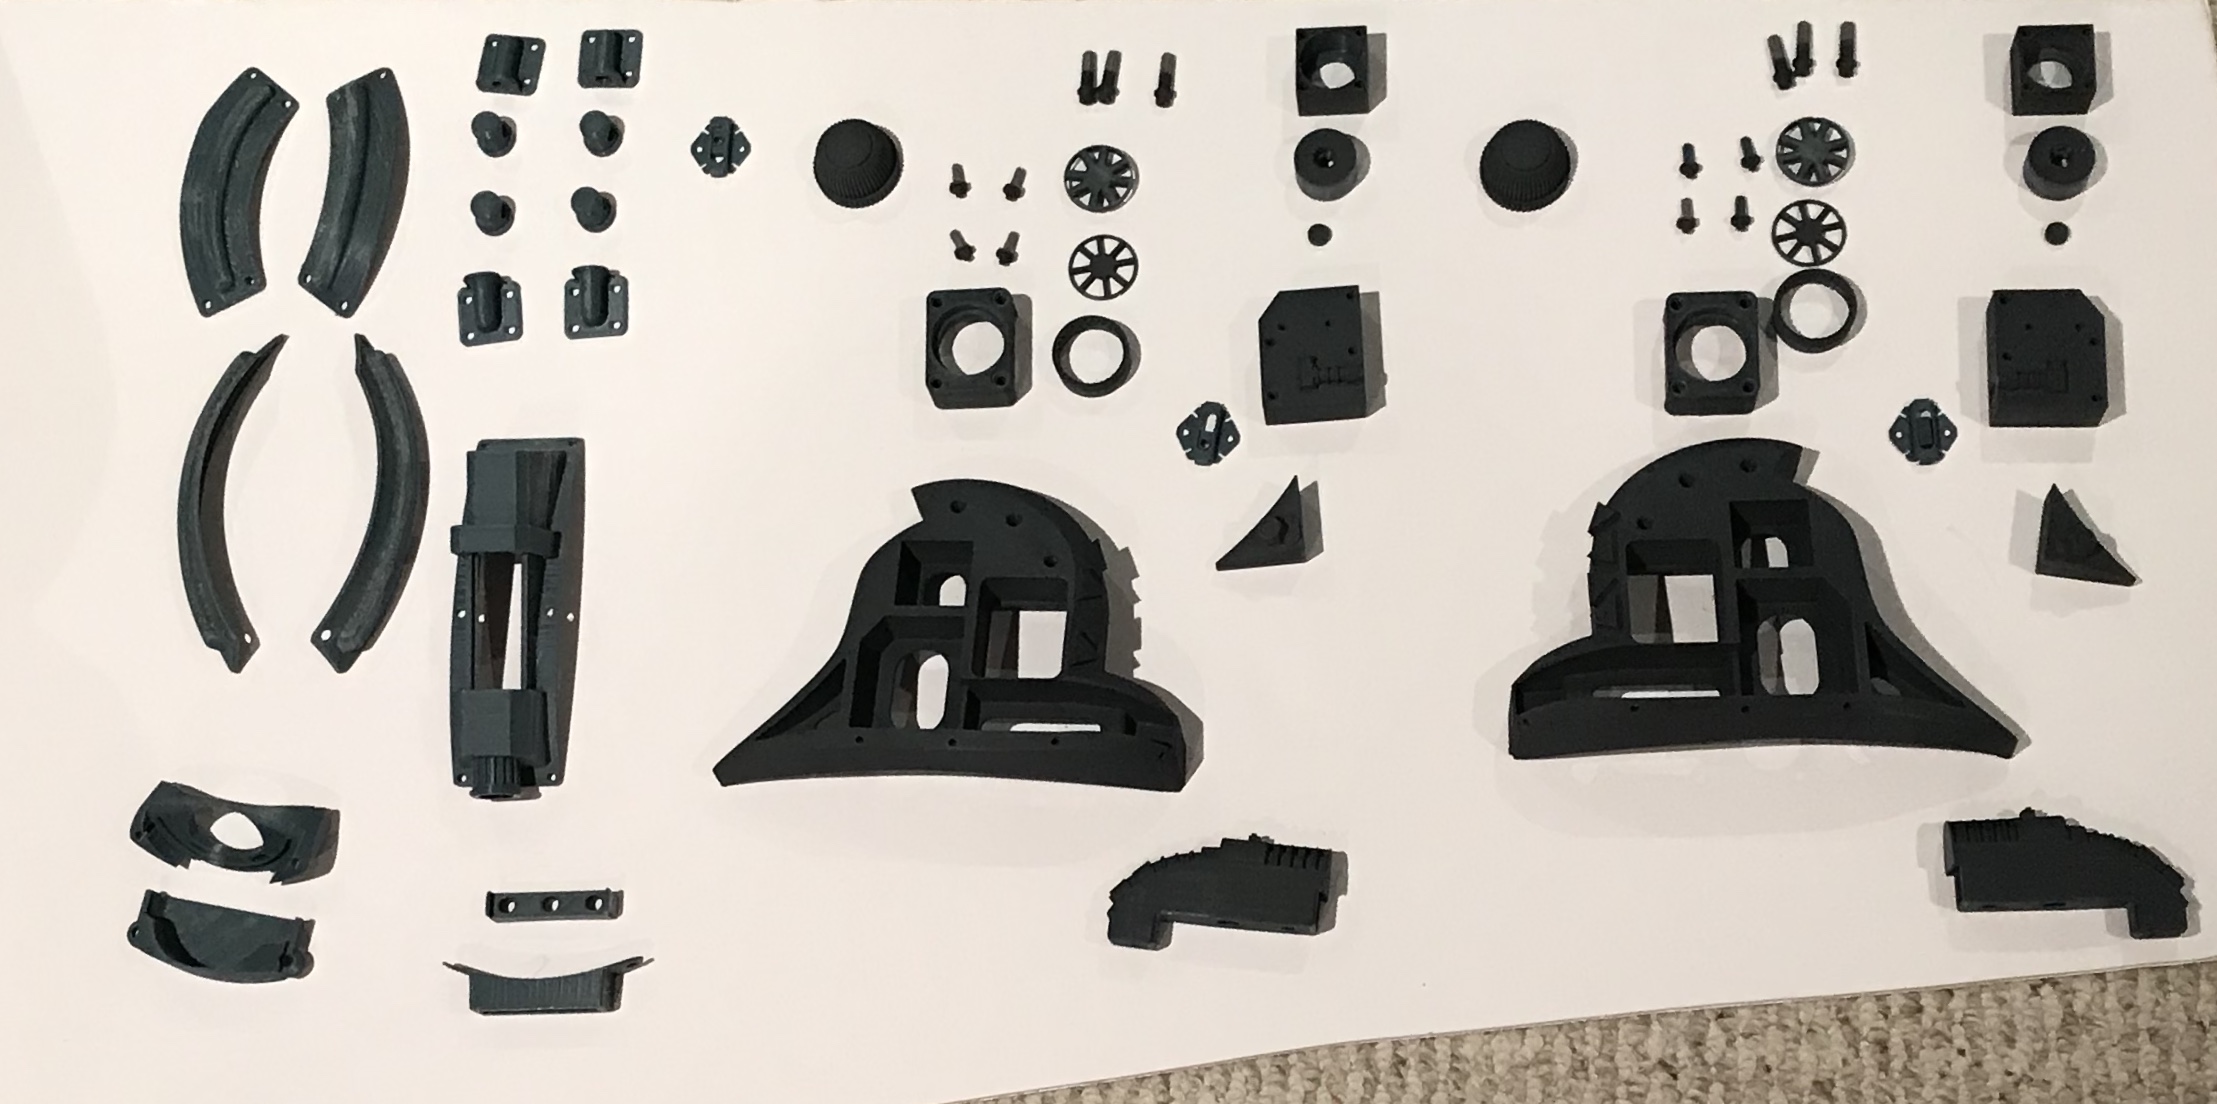
I've uploaded the complete bulding blocks for the best results. These in some cases require a lot of hand fitting post print but it means you can sand levels without having to get into nooks and crannies with a small lail file or similar. It also means details are better retained.
Some tips on post print readying of the parts:
I use a fine woodcarving knife to plane the printed surfaces, then fine grit sand paper, then I dip the parts assembled into sub parts i acetone so they meld together.
If you do it with ABS filament it's a matter of seconds and 2-3 dips, if it's PLA you need longer.
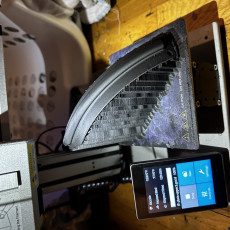
My print in the photos is done with a Zortrax M200 and UltraT filament (ABS based).
I also uploaded some simpler to print assembly files as a single STL for easier printing, but those won't really get the result in my photos and the ear pieces won't screw fasten onto the helmet as intended. The do show how it all should fit together tohugh.
The finished helmet also needs the bellows as mentioned. I'll add a complete list of all parts you need to get for a complete build to this post at a later time.
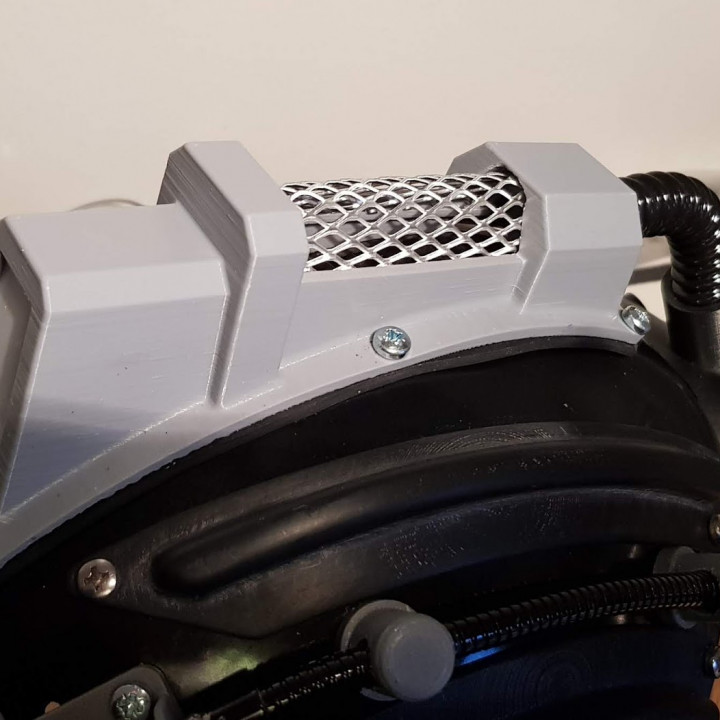
A tip about the Air connector parts.
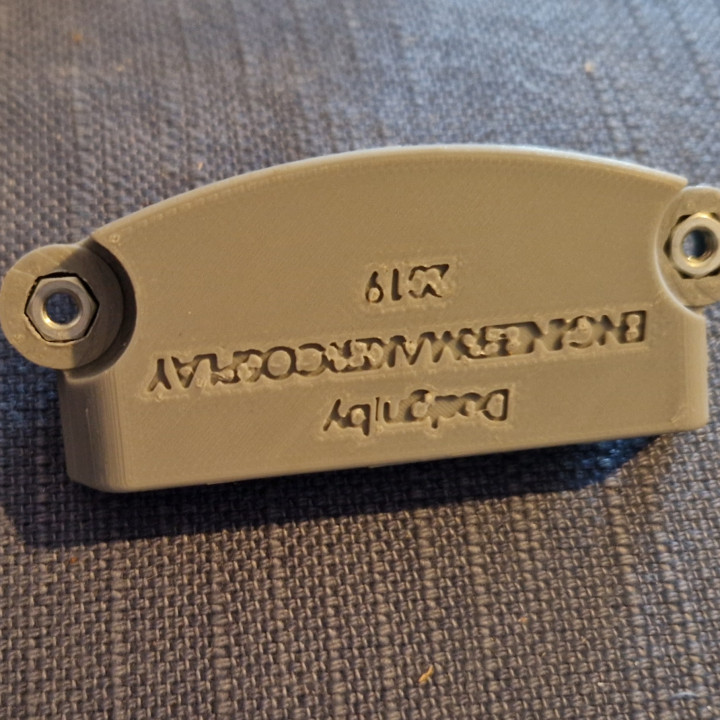
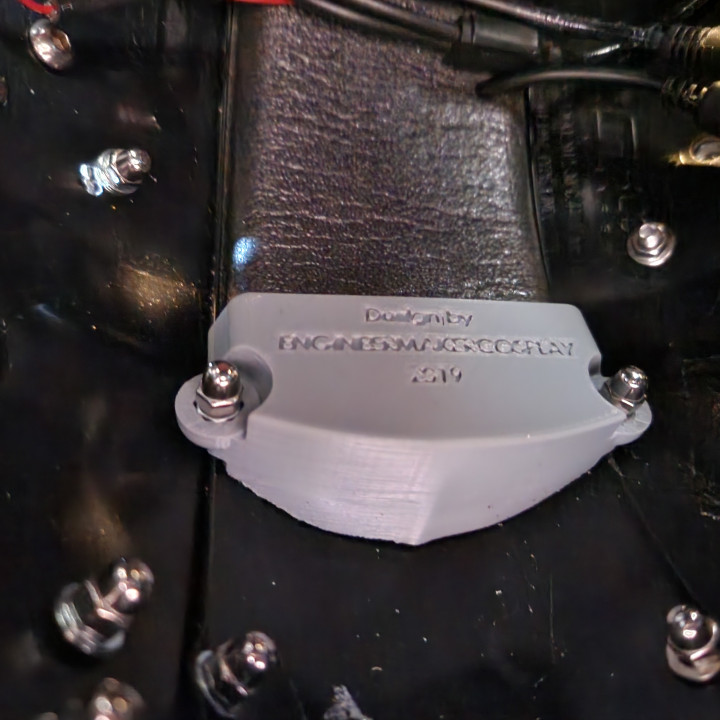
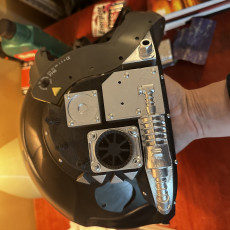
The part with "Designed by EngineermakerCosplay needs two metric M4 nuts for the recesses and long Philips cross M4 screws.
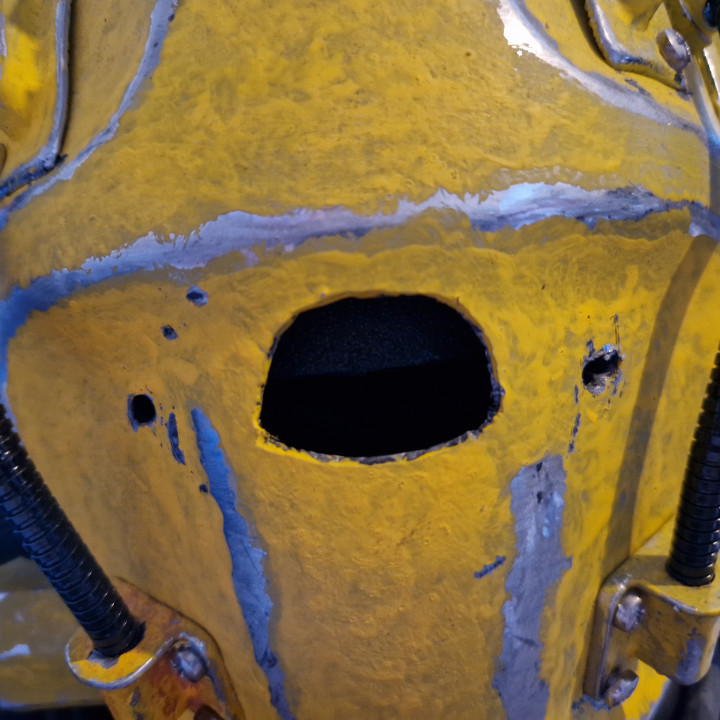
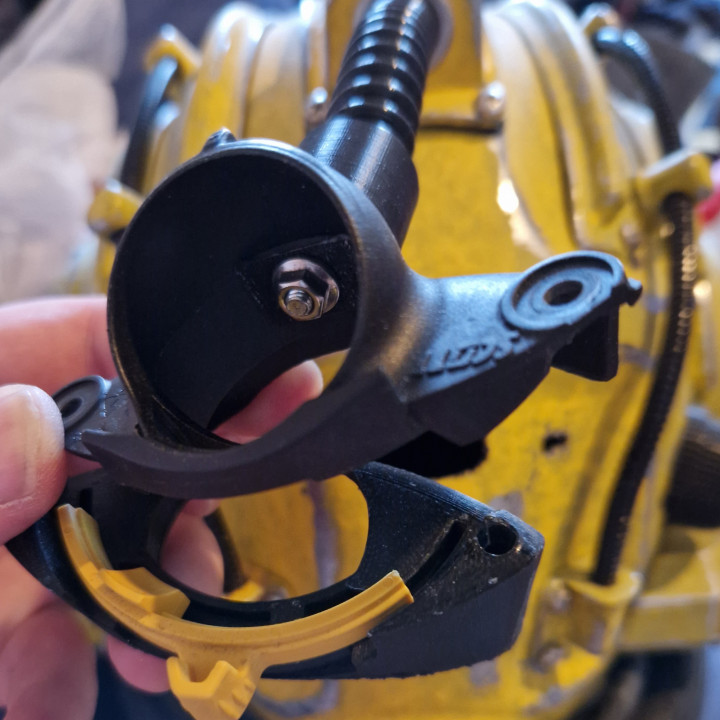
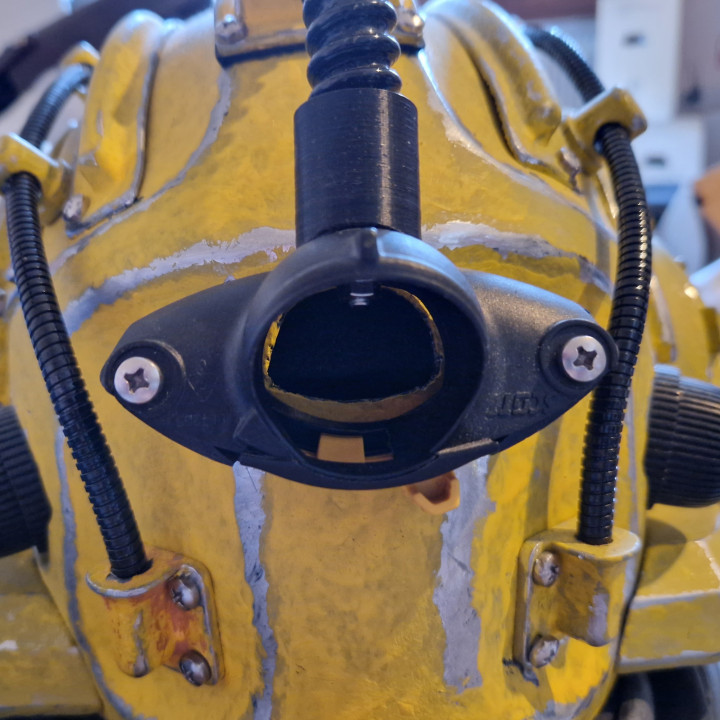
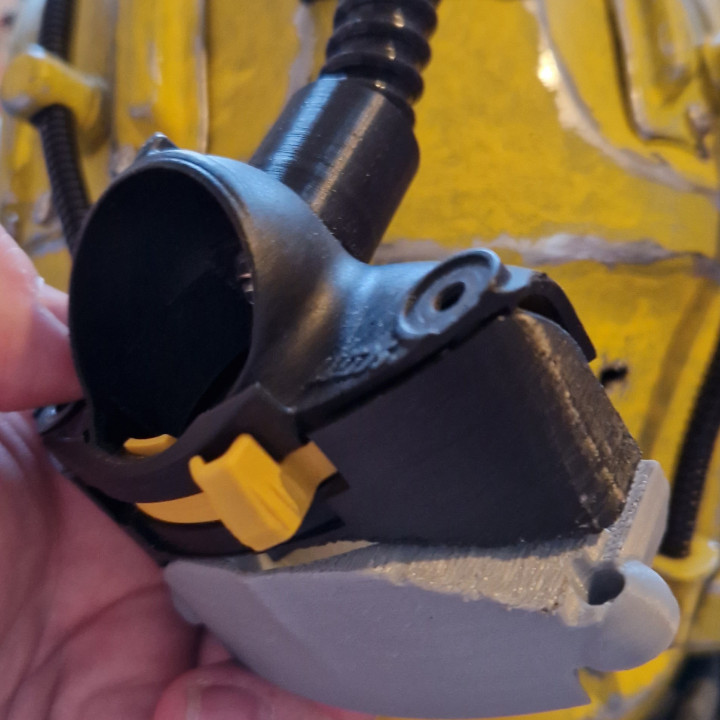
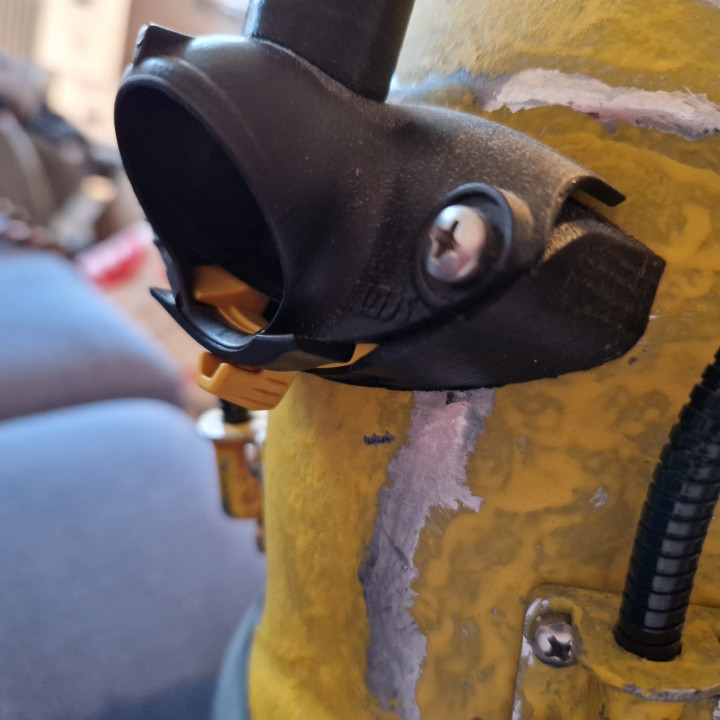
Assemble the lock parts from the procap helmet as seen in my photos and the holder on the inside, line up, mark with a pen, cut out airway and drill screw holes.
Screw tight but not so tight as to disable the lock function or crack the plastic.
Test fit the hose for your Breather unit.
For comfort add round caps for the screw ends inside the helmet so you don't get scratches from them.
Best of luck with the build and have fun! :)
/Johan aka Engineer Maker Cosplay


| Date published | 04/11/2019 |


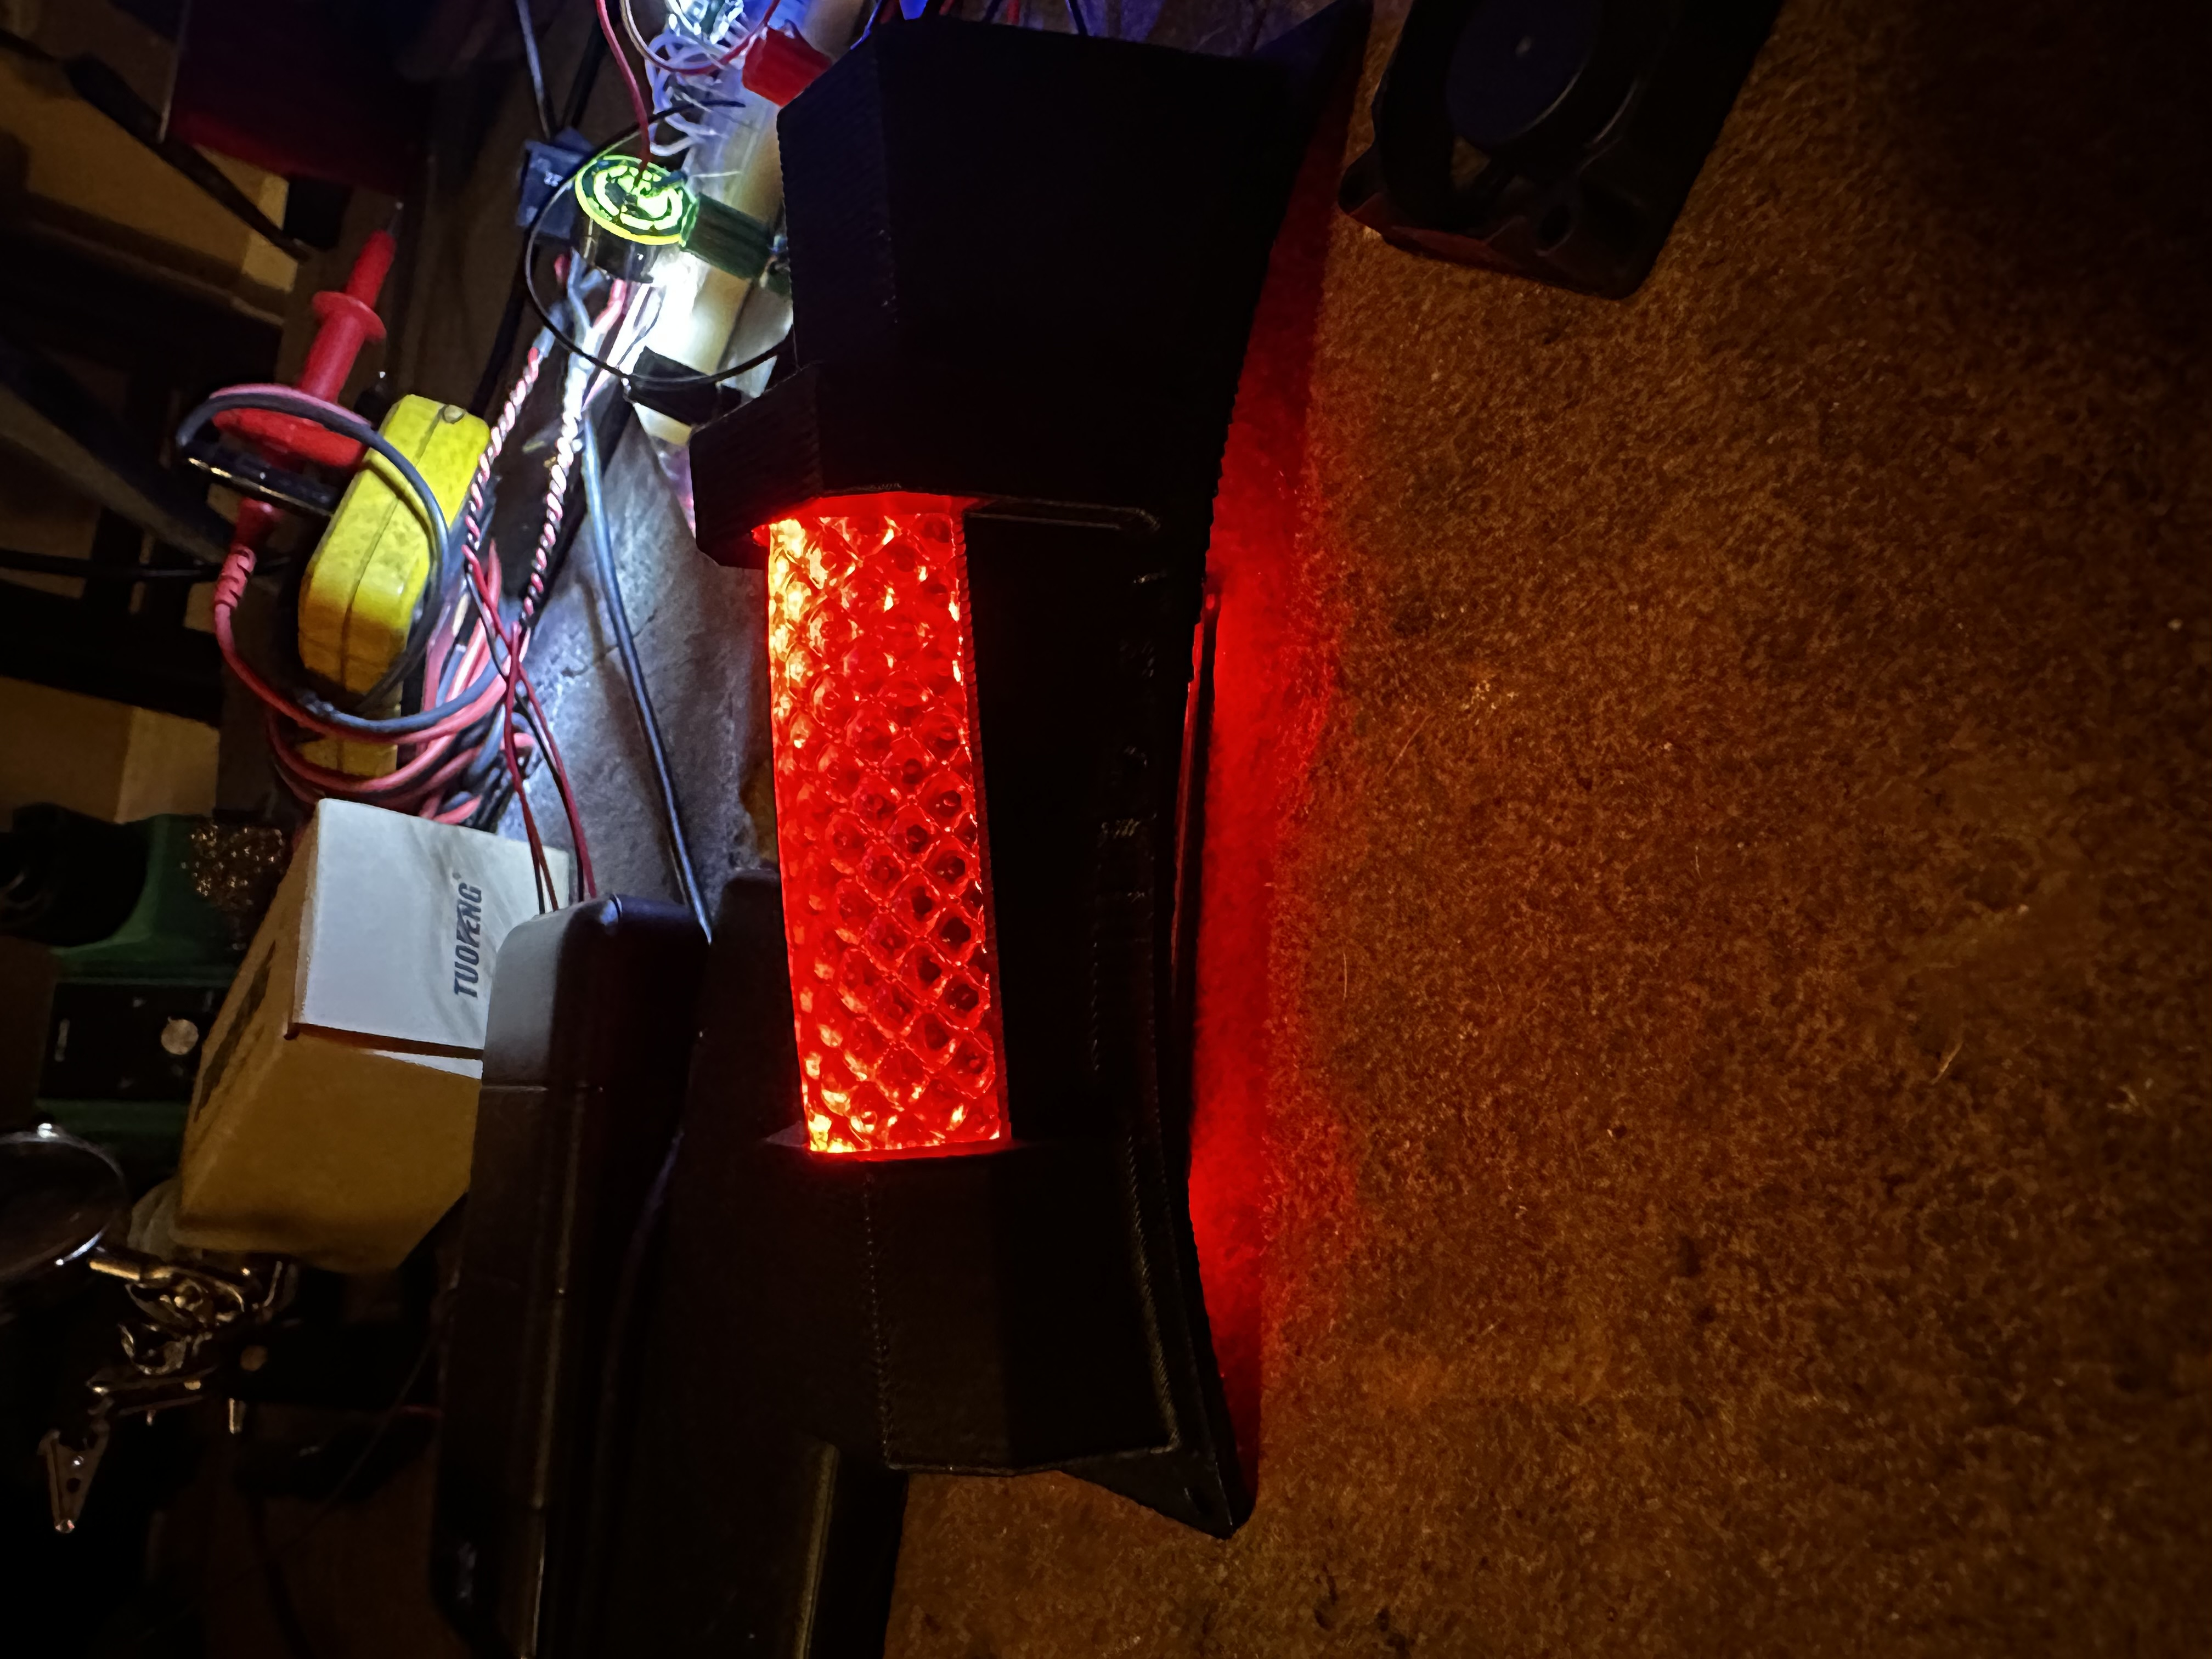
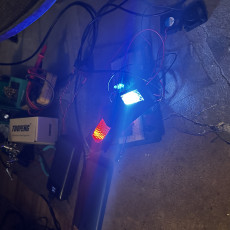
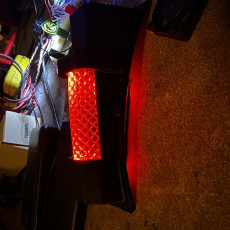
My print of these files.