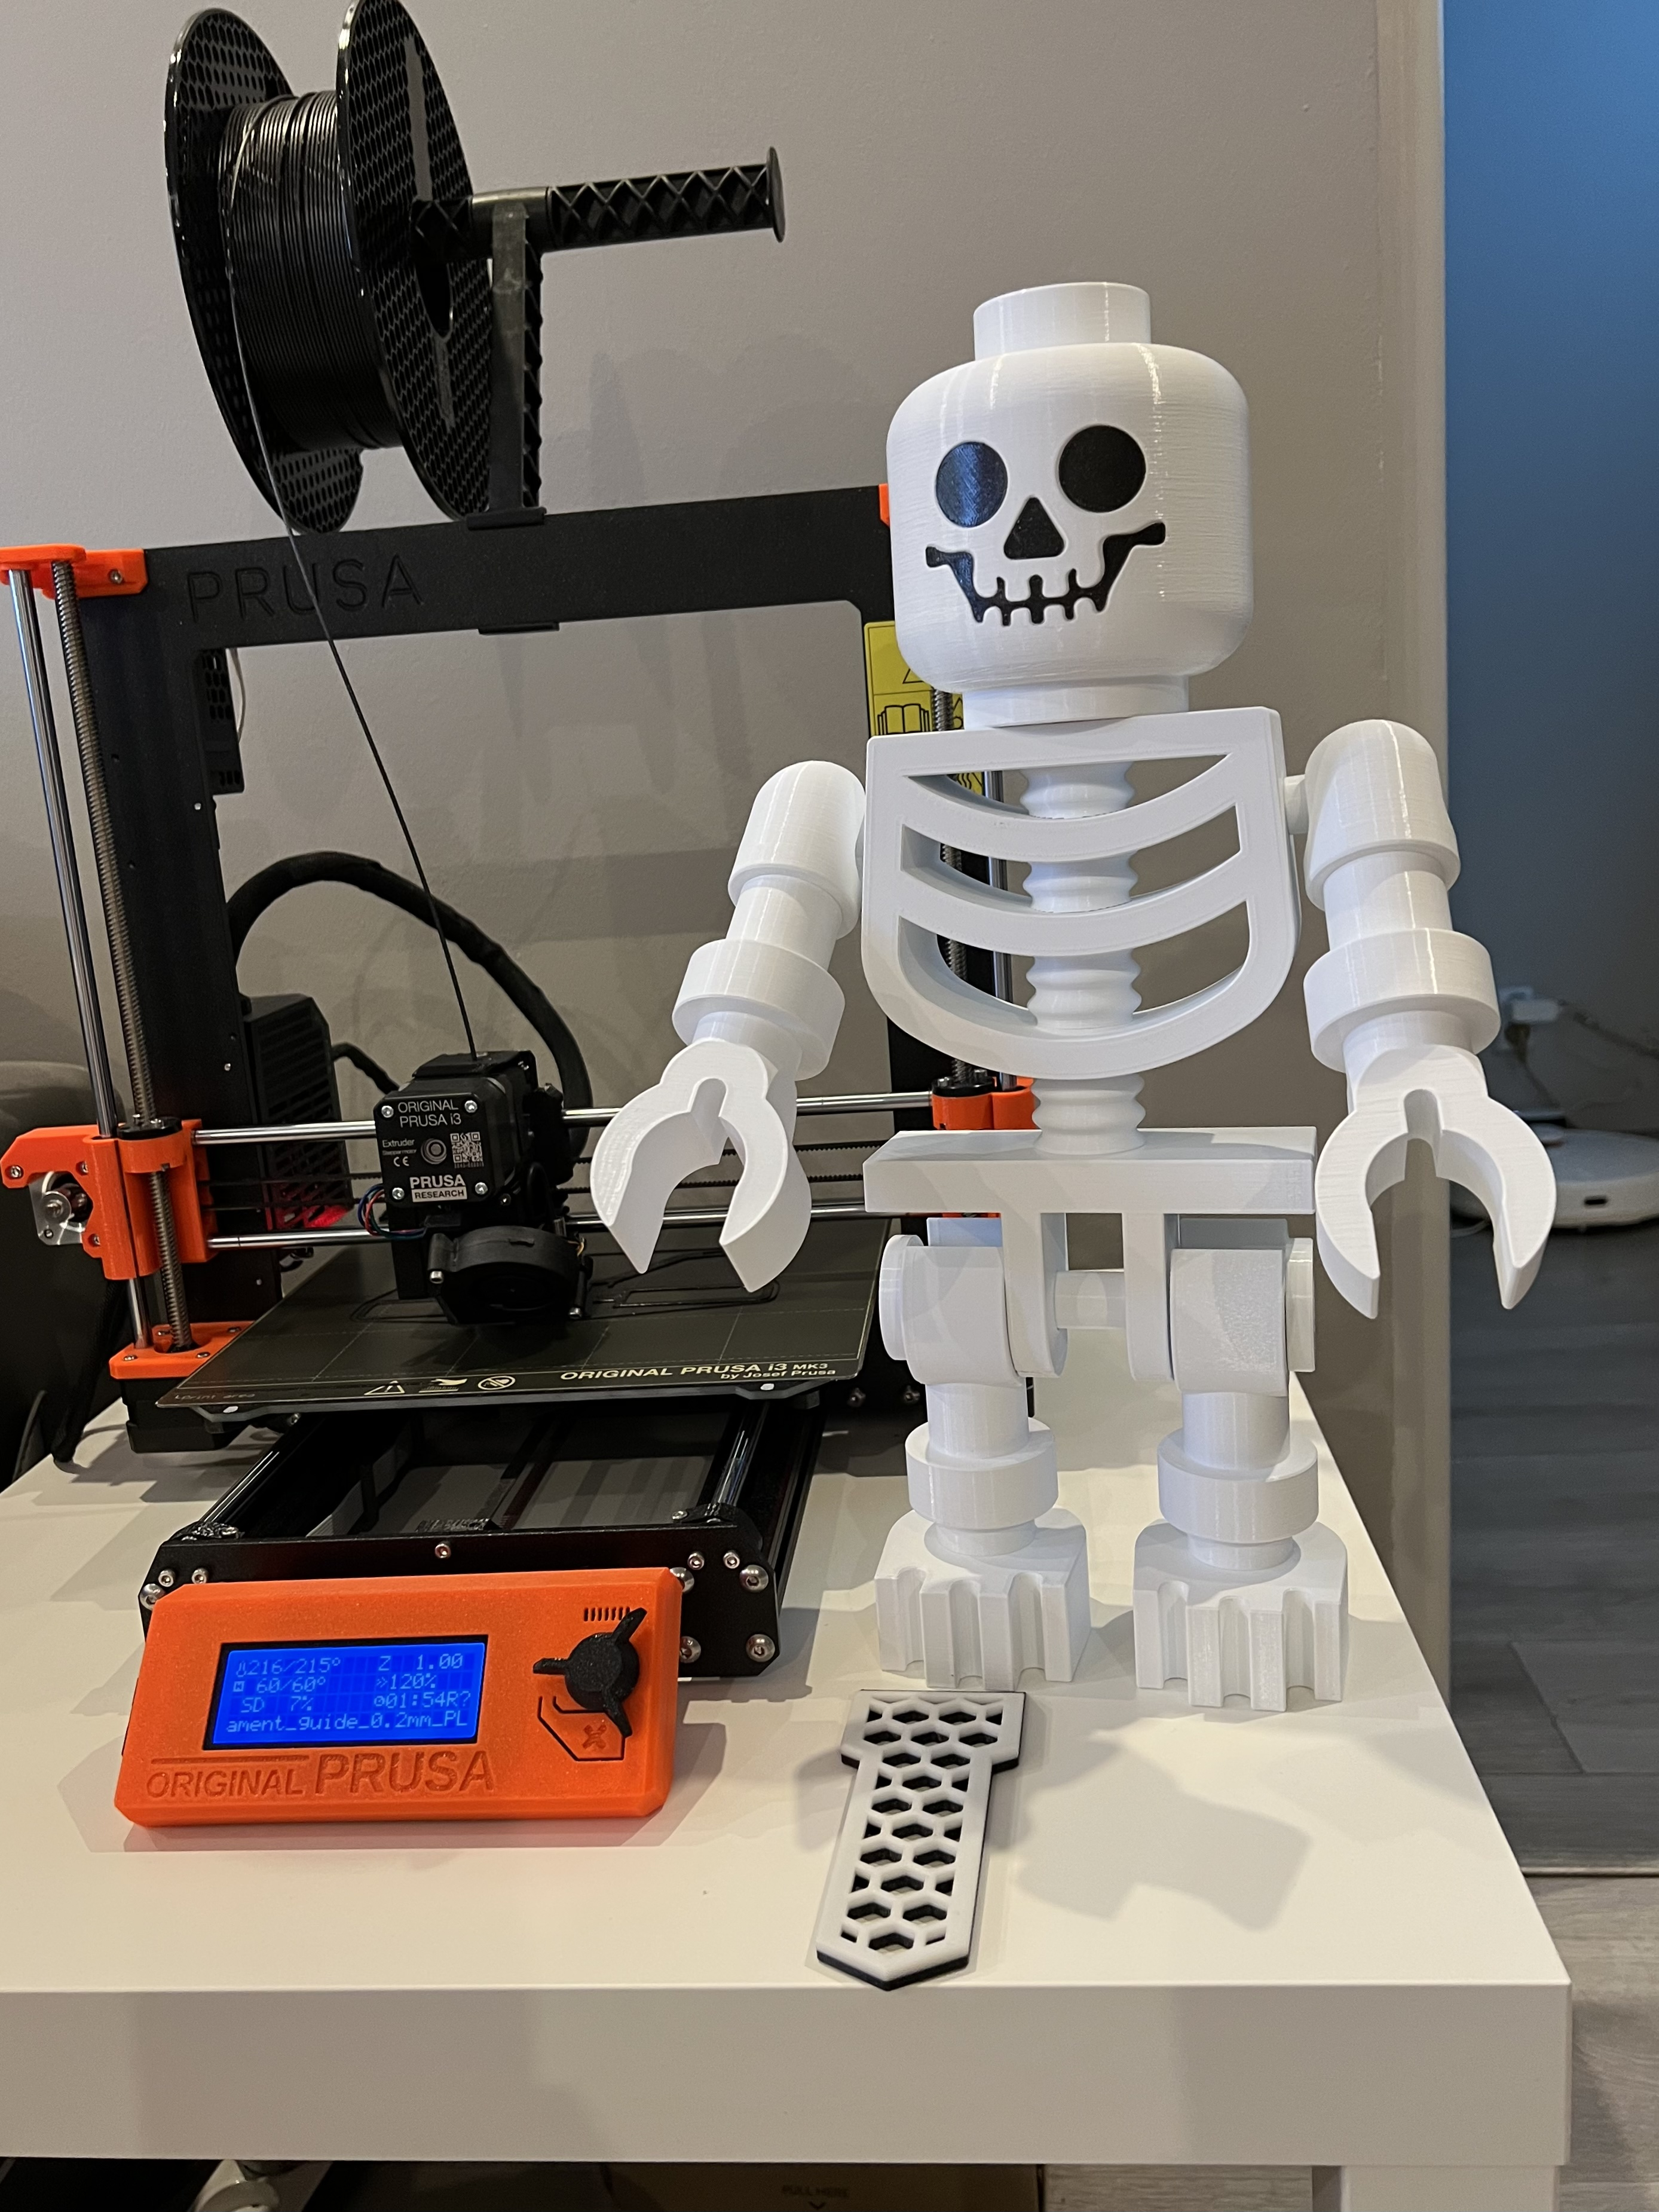
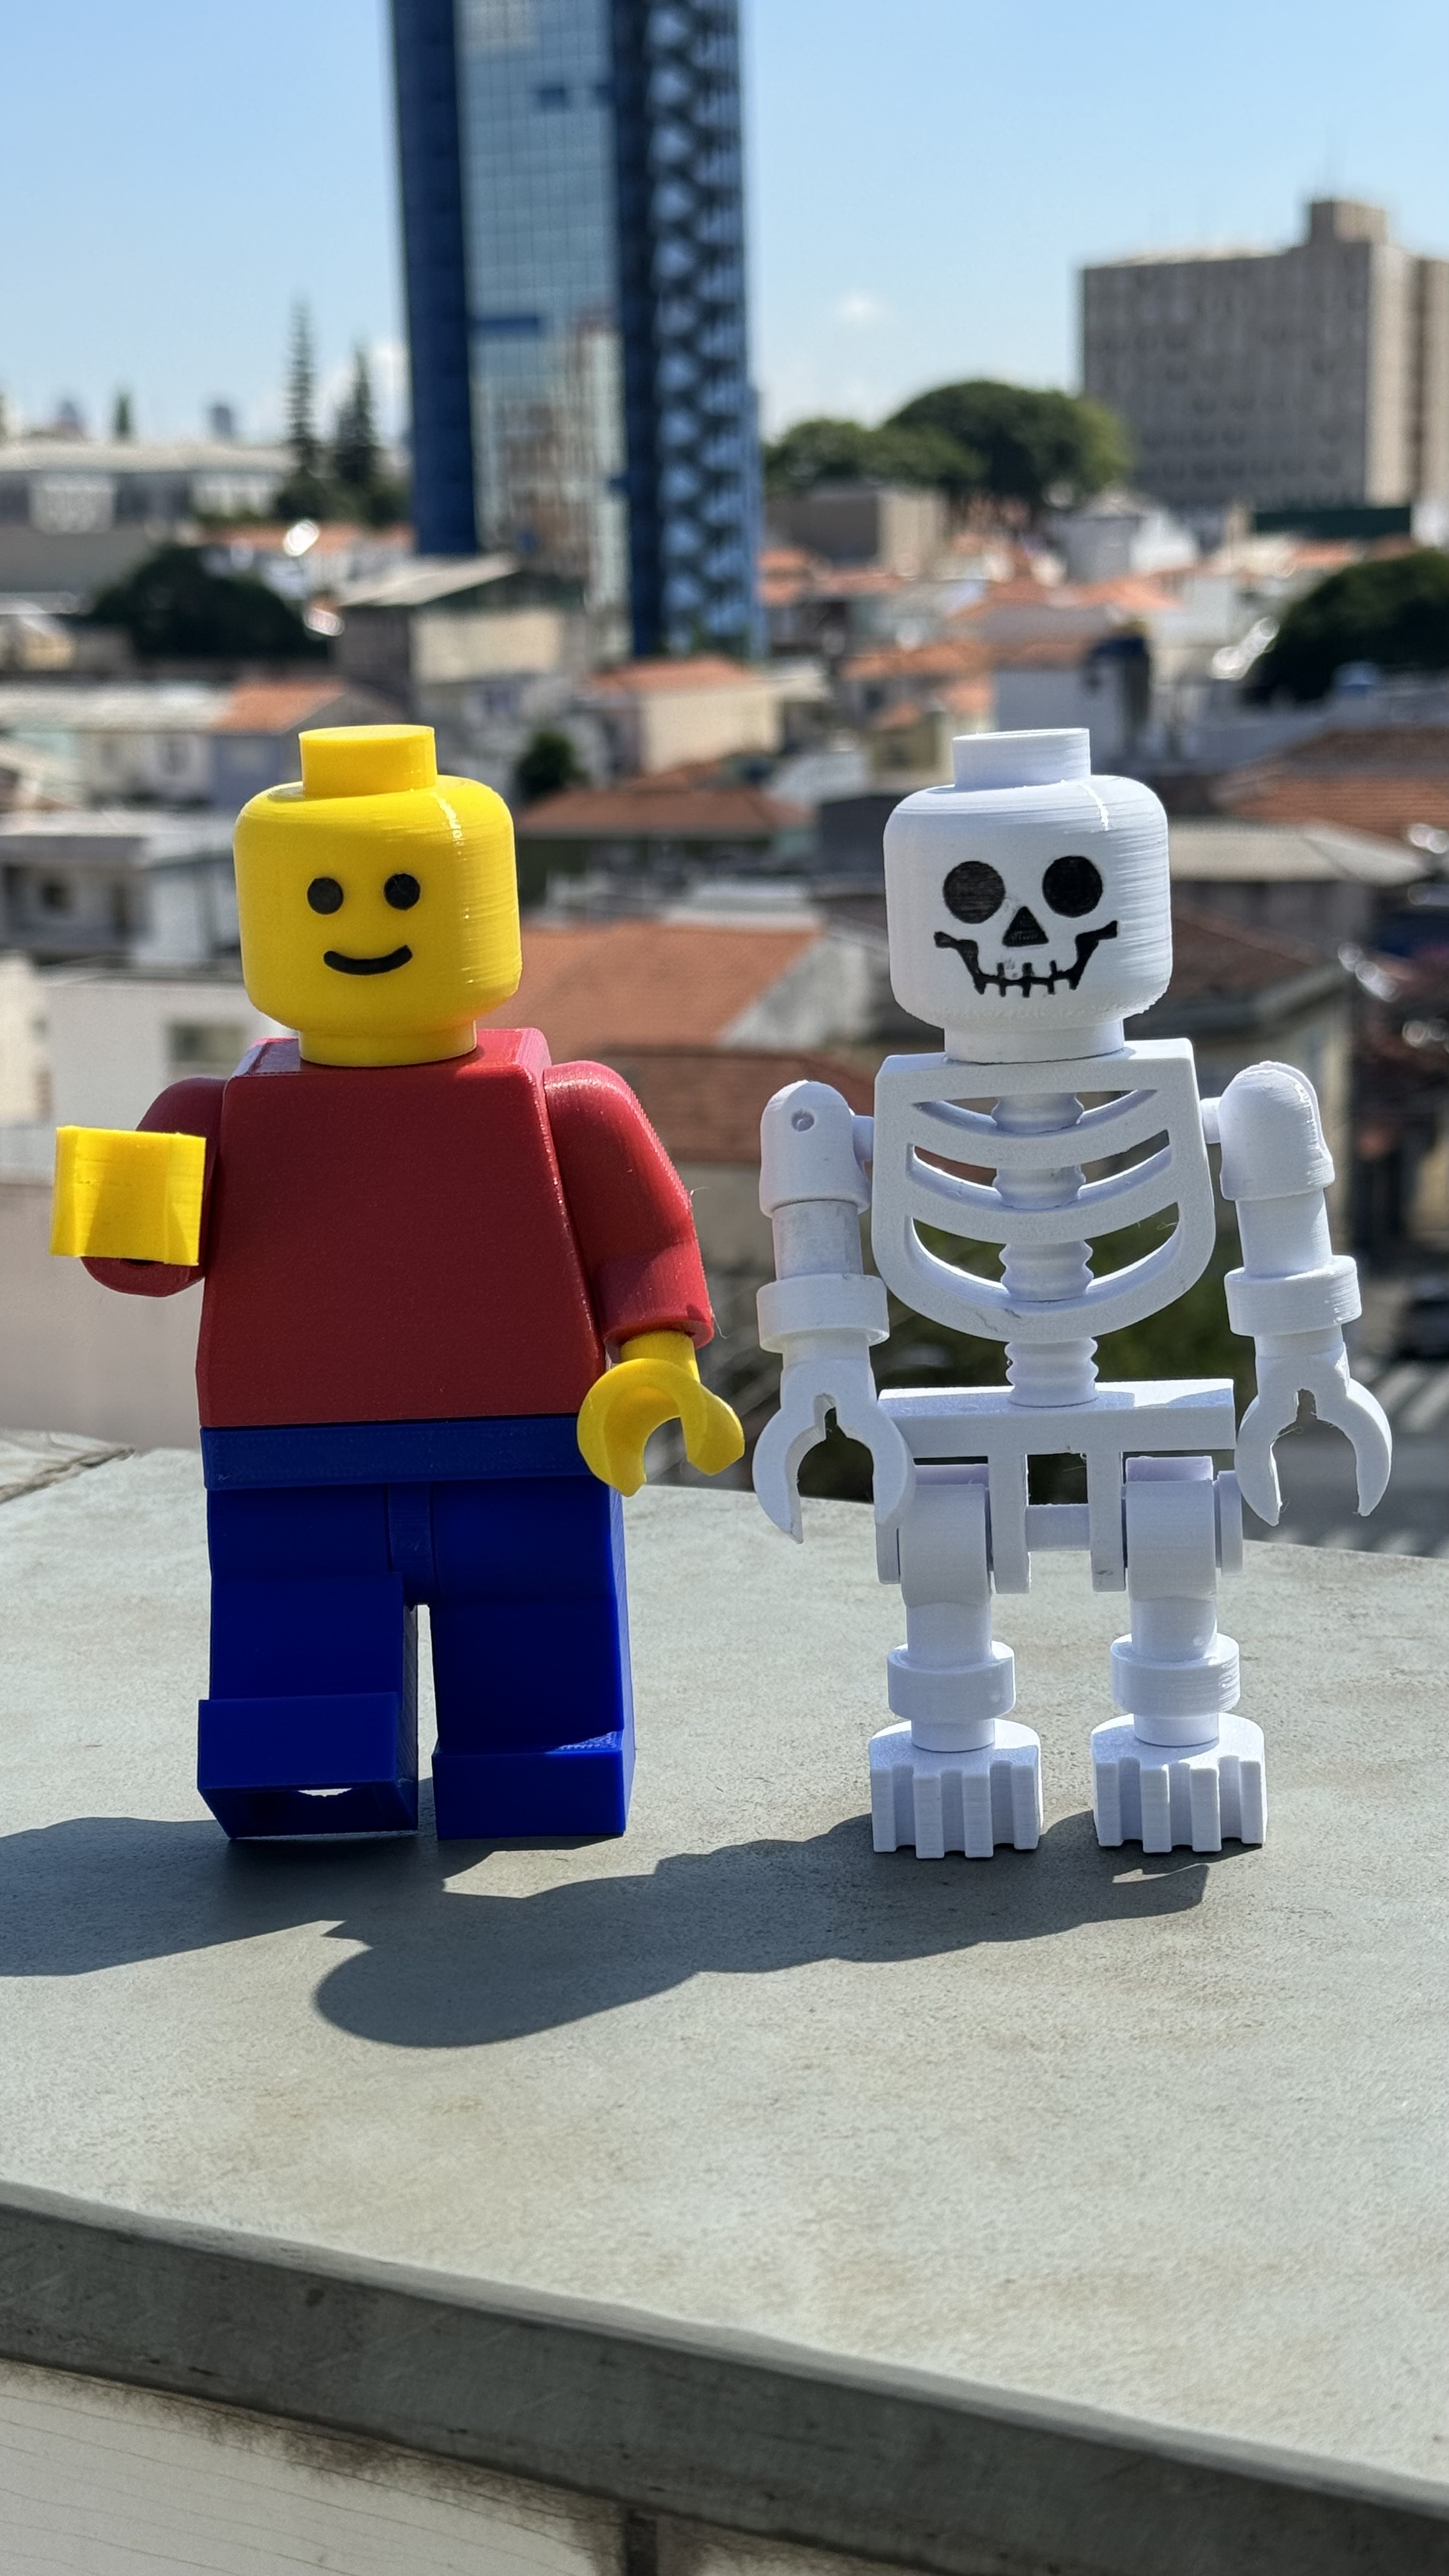
Giant Skeleton Remix


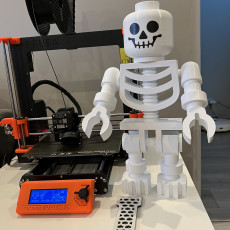
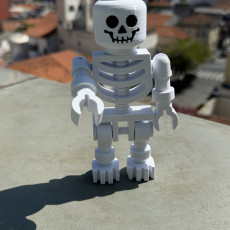

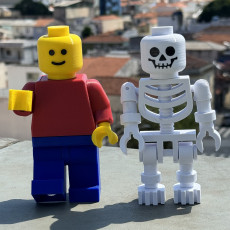


Remixed model of Giant Skeleton by ossum ('Classic Skeleton Minifig')
Original (there is one Exclusive model in there):
https://www.myminifactory.com/object/3d-print-classic-skeleton-minifig-42077
40cm high
I never liked glueing or using additional non-printed parts so I remixed the model. Everything was made in Blender 3D on the base of original stls.
---
Instruction is in 3 jpg files (couldn't add txt file)
One is with graphics of assembled and unassembled skeleton (_Instruction A4) - good if you print recommended files and want your kids to assemble the skeleton
One with unassembled skeleton with parts names and parts list with some details (_Instruction A4 txt)
And one with just a much detalied text instruction (_Instruction A4 detailed txt)
If there will be such need I will add a link to plain txt for easier translation to other languages
You can watch videos too (links on the bottom)
---
WARNING: Model include some small parts (locking screw, bolt washers). Do not(!) give it to small kids (even if model is assembled)
---
Changes I made:
- assembling with 3d printed bolts instead of using a glue and metal bar with nuts
- hands and legs will stay where they should
- you can rotate the body (or set it streight-only if you want, with one part change)
- you can unassembly and assembly it again - if one part will break or you want some change you can print it and use it in the model
- some parts have few options (see list of models)
- every part is already oriented the right way for easier printing
- 2 parts were renamed to be grouped with rest of the parts (arm-hand and leg-foot instead of hand and foot)
- every new part is named with big letter first (instead of small letters from original model) - but to be clear, you can't use any of original parts in this remix (apart of the head wich will fit the same)
- All original parts mesh has been cleaned, some of them were remade (like face) or more or less modiffied (apart of making holes for bolts)
Assembling is rather simple so I recommend to give it to your kids (but help them if needed) - should be fun :)
You will need a flat scredriver - rather big one, not like for electronics
The only problem I know, where the help of an adult may be necessary, is with assembling the parts with the neck. There is a thread in pelvis (one half of a thread) and in one of spine and sometimes you need to use more force to screw the bolt in. Holding the spine may help.
Like in original: head, and only head, will need supports - but there is no need of using supports in the middle of the head.
You can use a big support blocker that will cover the whole face and top of the head leaving supports just around the head.
Photos are with a printed black face. It is not included in files as it is from another remix by @Frank_The_Rock
I glued it in with methylene chloride (it's like acetone for ABS, be carefull with this, open a window when using)
It works well with my remodelled face. I may make something that will fit much better if there will be such need
https://www.myminifactory.com/object/3d-print-printable-face-and-leg-stiffener-kit-for-classic-skeleton-minifig-by-jason-suter-137723
---
Videos with assembly are here:
real model (80% size)
animation with part names
Links to more photos
https://www.instagram.com/p/CloZKY2tGlf/
short video with assembling and hotos of parts:
https://www.instagram.com/p/ClqggQMNKdZ/


My print used around 0.9kg (including supports) of PLA with 100% and 0.5kg with 80% size
0.4mm nozzle
0.2mm layer height
4 walls
10% gyroid infill
8 top, 6 bottom layers
Voron 0.1 with Arctic White PLA from Spectrum Filaments
| Date published | 01/12/2022 |
| Tecnología | FDM |
| Sin apoyo | YES |


Wyszło super, dzięki.