Corner Lamp


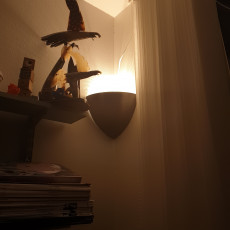


Corner Lamp
Published 2017-12-11T14:00:45+00:00
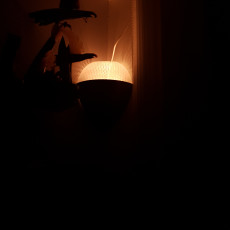
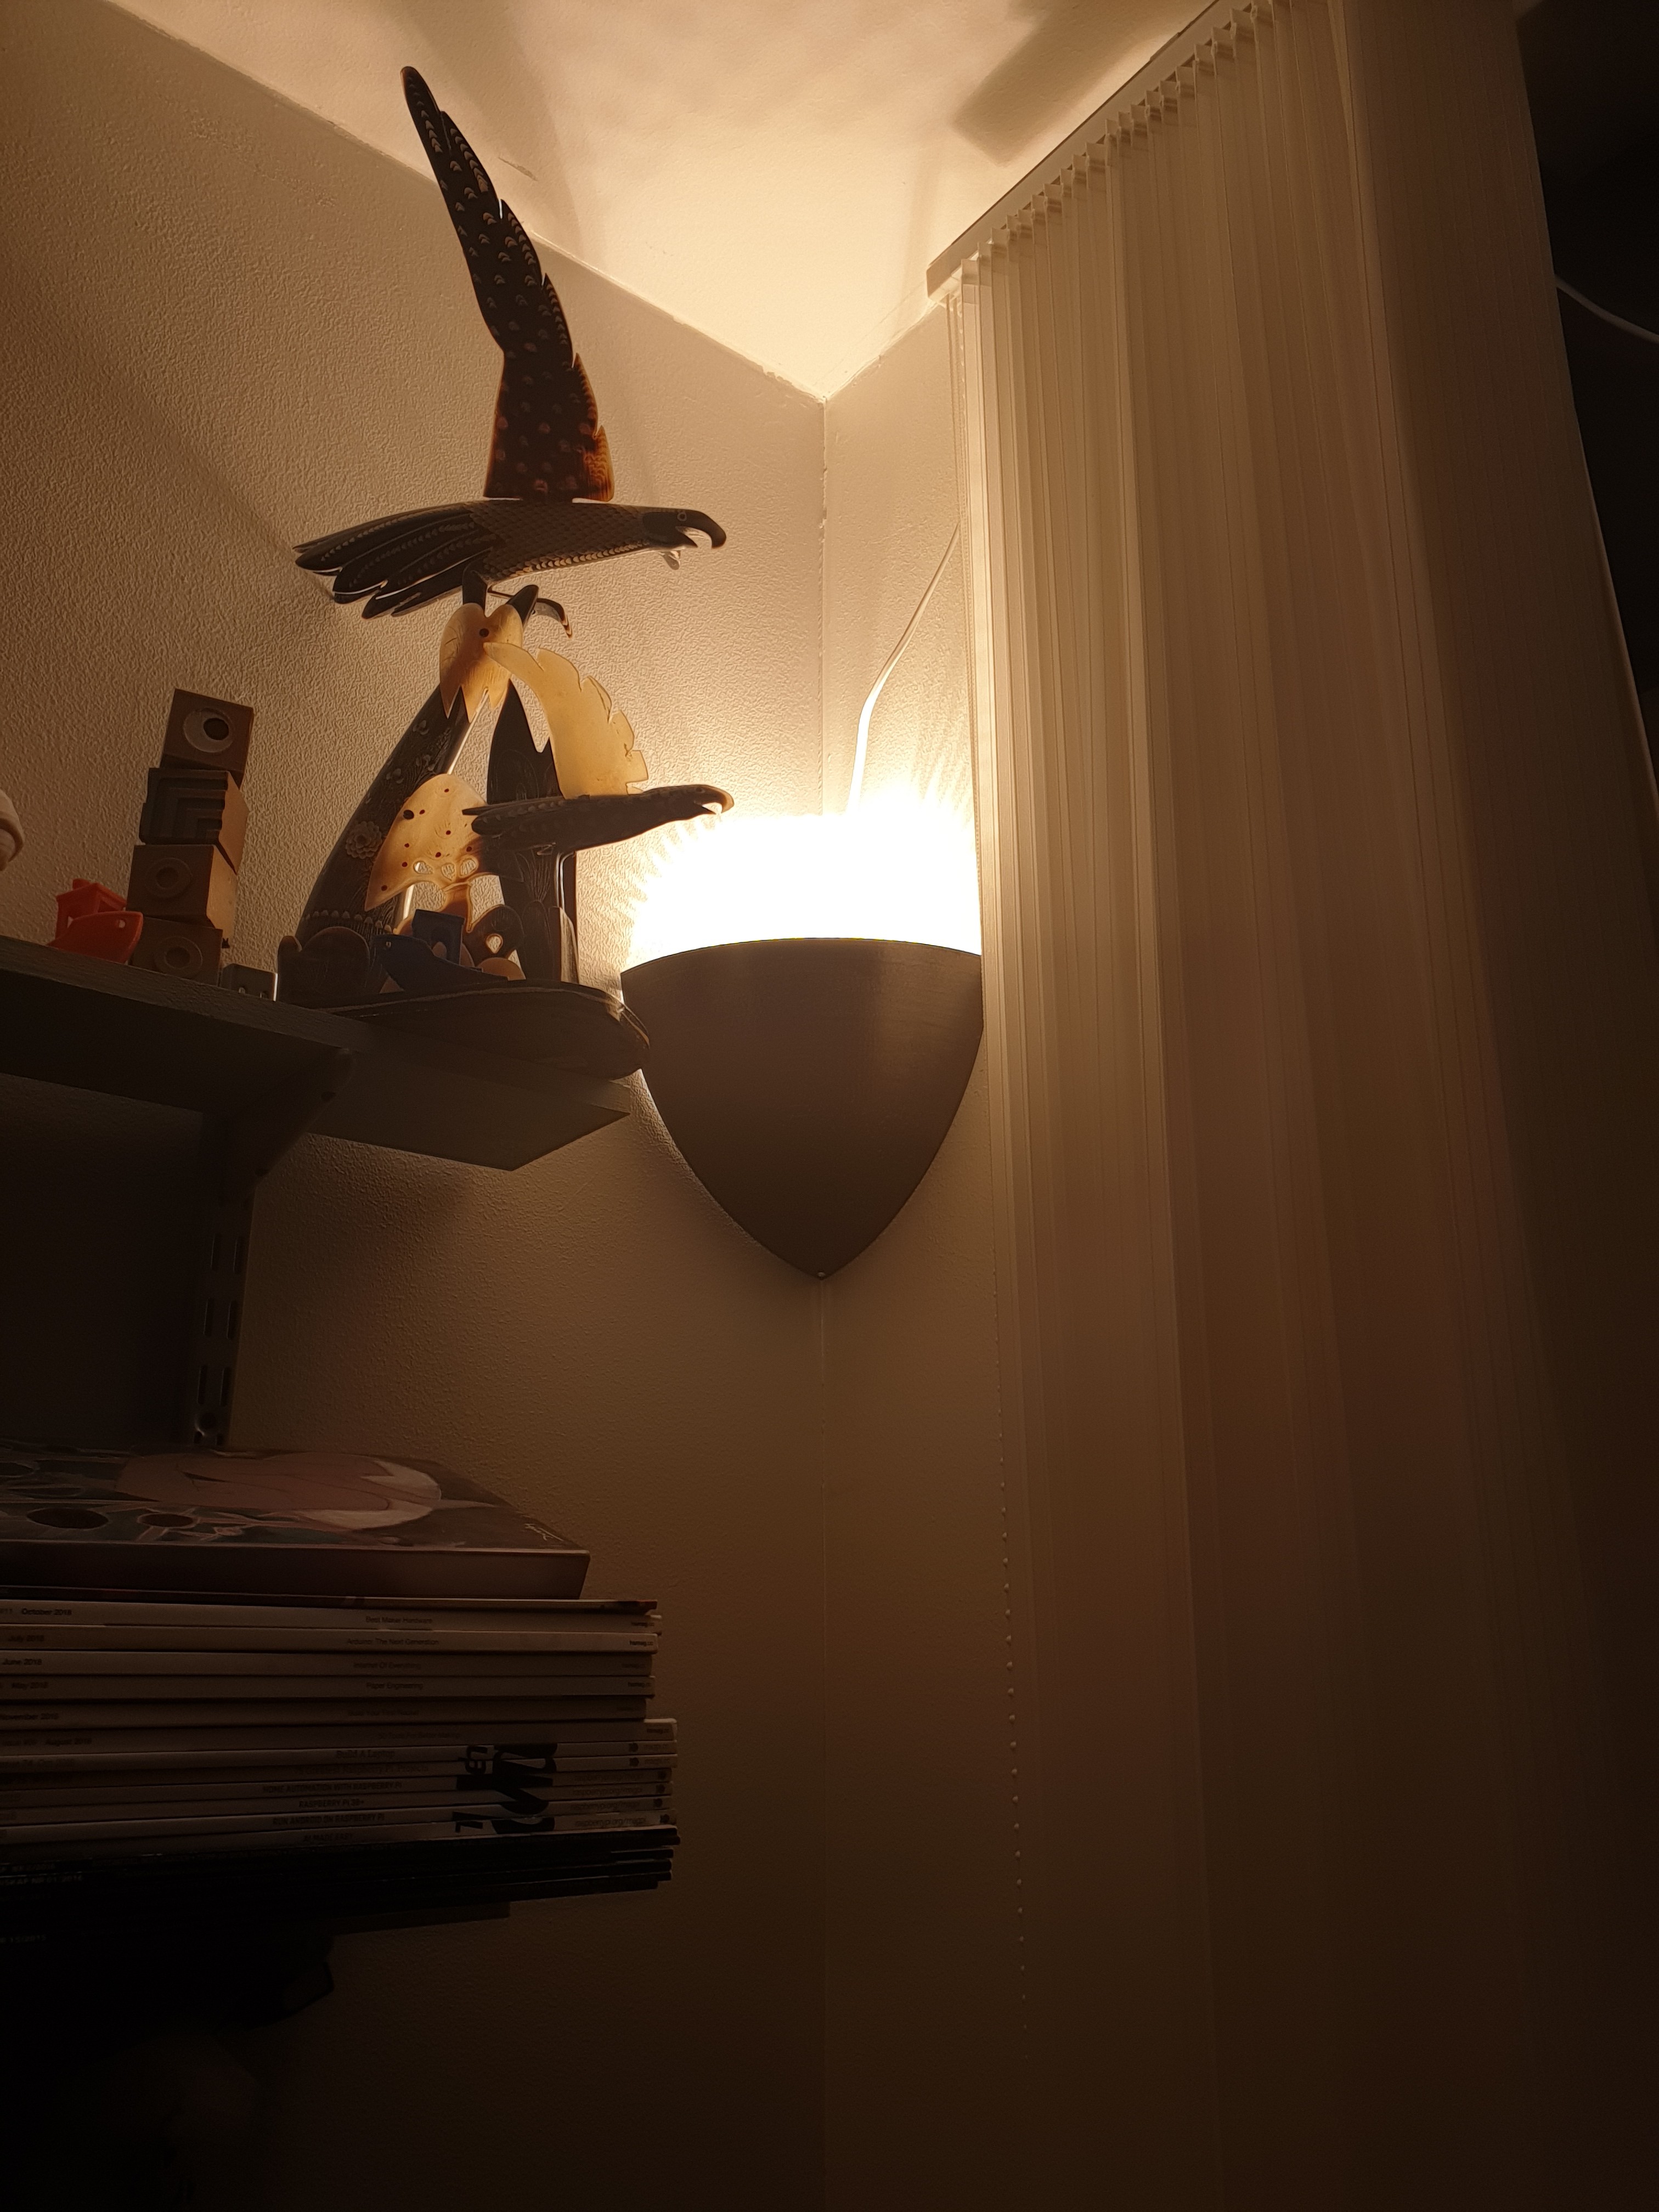
I recently bought a phillips hue starter kit with three bulbs that can light up in every color. I did not want to buy the expensive wall mounts, so i decided todesign my own. They look fabulus when illuminated, especially with a dynamic theme.
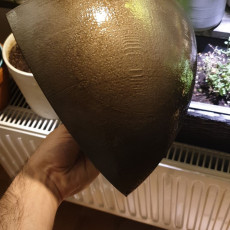
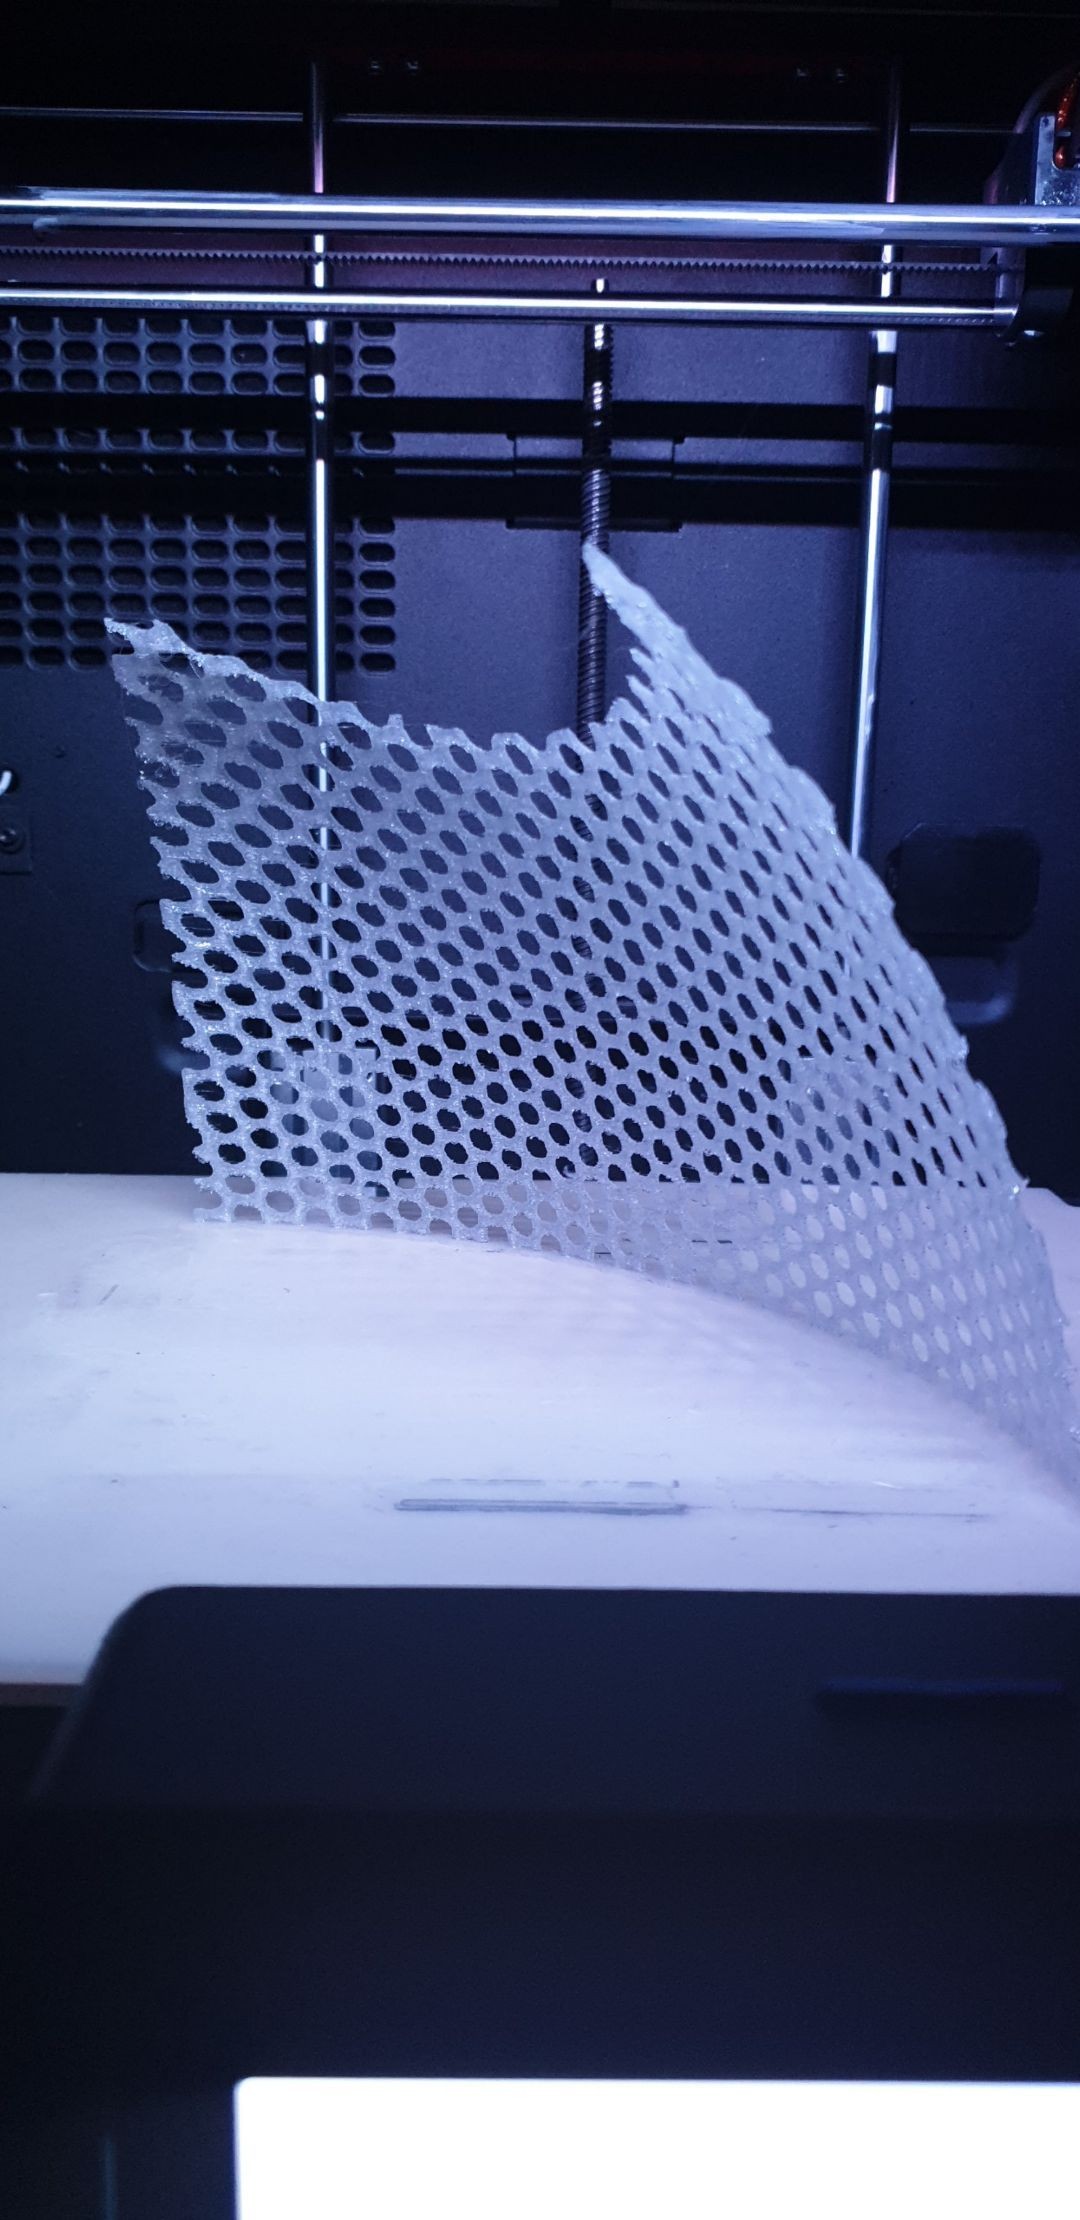
I made three options for the top part of the lamp, you can easily make your own by taking´corner lamp top´ or ´corner lamp simple´ into meshmixer and use the ´make pattern´ tool or any other cool feature to customize your lamp.
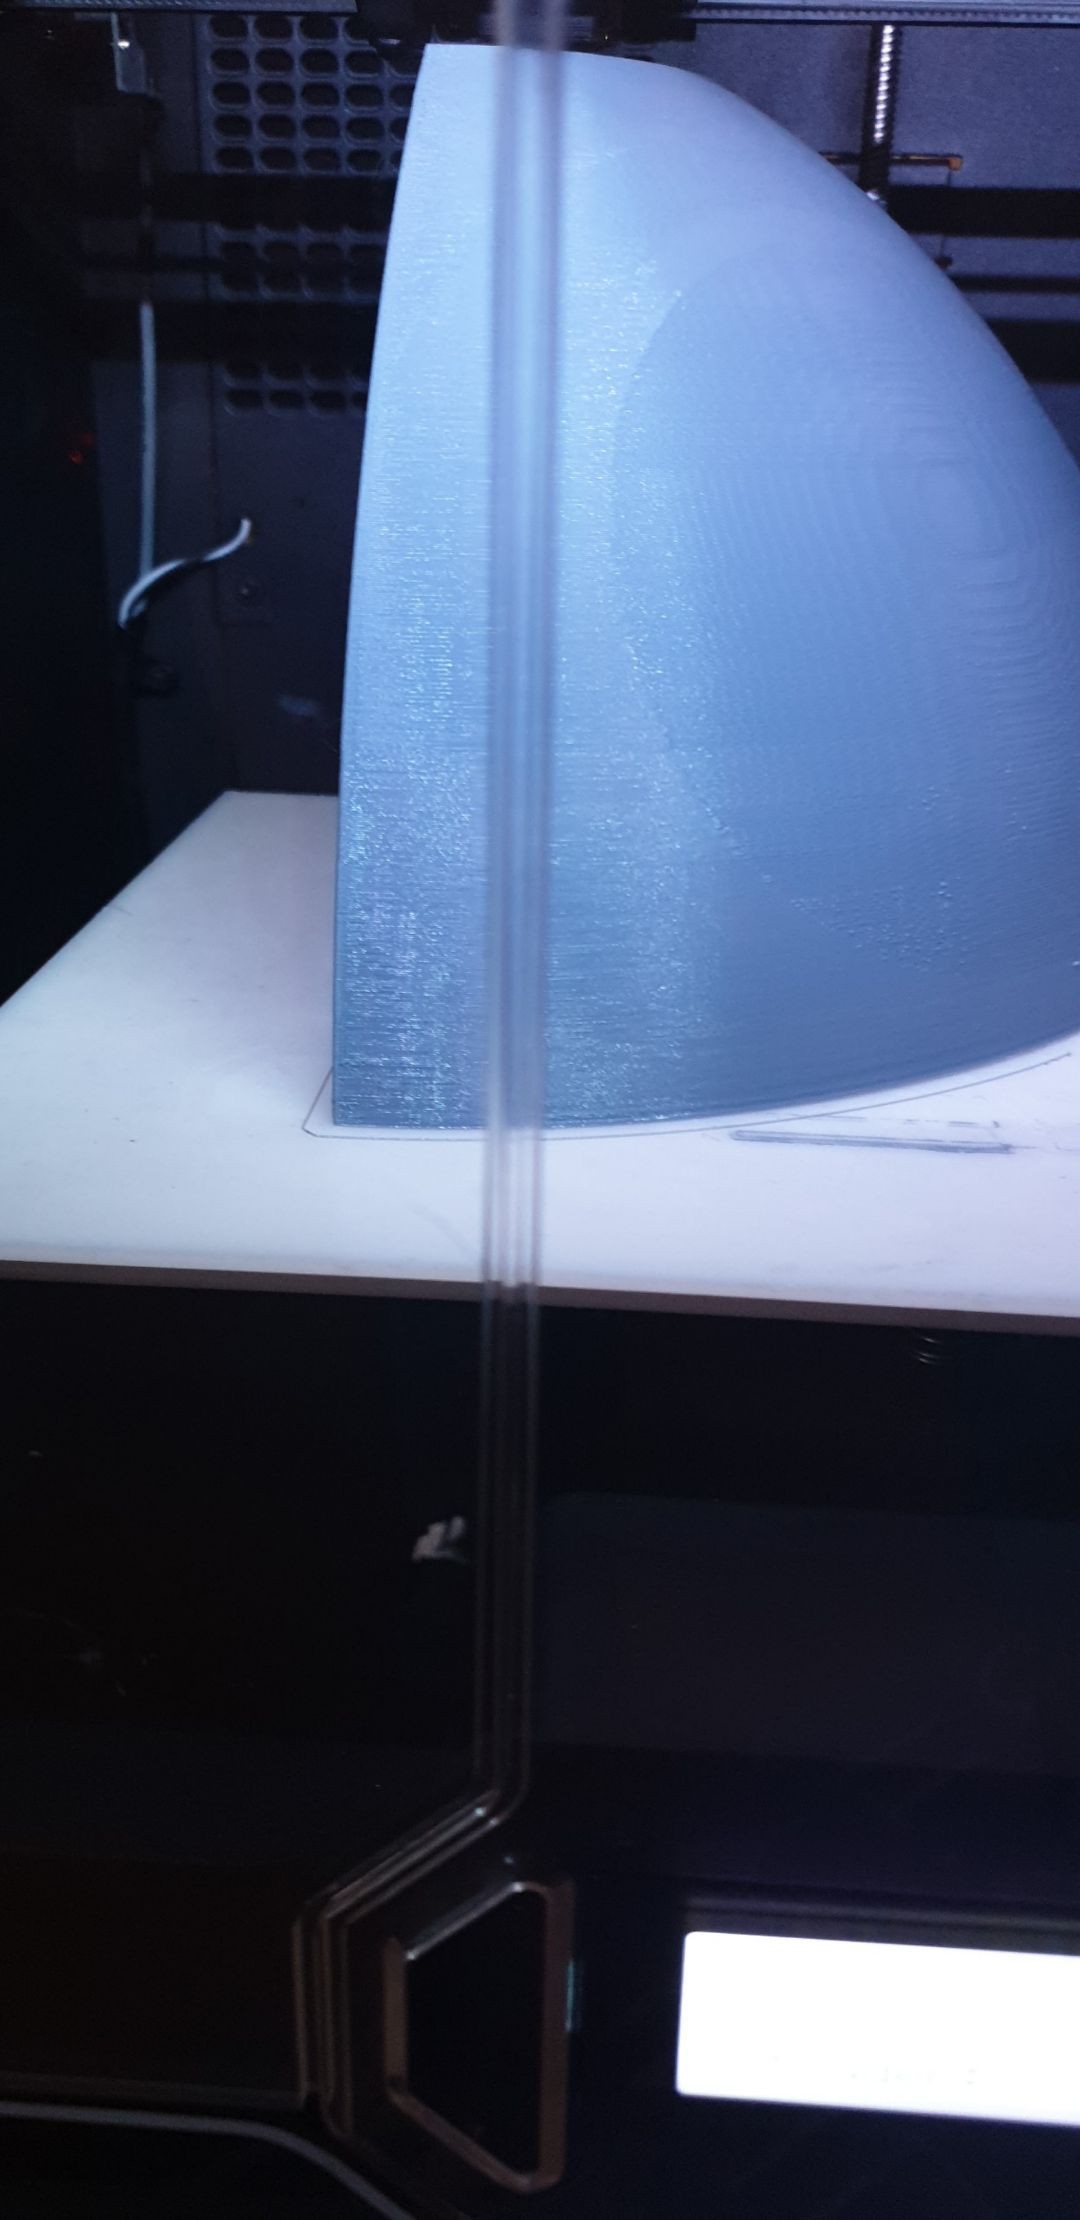
This lamp is designed for an E27 socket and an phillips hue color ambiance bulb, but all E27 bulbs with a diameter less than 40mm should fit. The lamp is mounted on the wall with a single screw or nail and can be easily removed.
What you will need:
- about 200g of filament
- E27 socket
- LED Light Bulb
- Wire with a diameter less than 6mm
WARNING!
This project involves working with main voltages. You will need to wire the socket on your own, only do this if you are familiar with working with main voltages.
Also this lamp is 3D printed (who would have thougt) therefore it consists of plastic and is flammable. Only use LED bulbs with it. Keep in mind that LED bulbs also heat up while in use, select one that will not touch the printed parts and stays under 70°C during use.


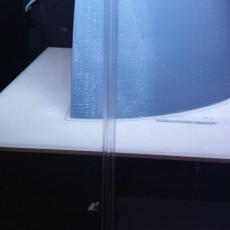
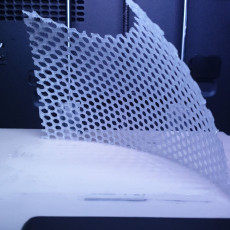
This lamp is desinged to be printable whithout support, nevertheless I would recommend using some if your printer is not perfectly set up.
After all this lamp takes 16 hours to print the bottom part and 8 hours for the top. If you use Support it will be in the inside of the lamp and will not affect the look of the lamp.
I used PLA to print this on my tuned Wanhao I3V2, altough you might consider using a higher temperature plastic, like ABS or ASA, depending on the light bulb you want to use.
My recommendation for printing this lamp on an I3 style printer with PLA are:
Layer Heigth: 0.2mm
Top/Bottom Layers: 5
Wall Thickness: 0.8mm
Infill: 30%
Print Speed: 60mm/s
Wall Speed: 30mm/s
Cooling Fan: 75-100%
Build Plate Adhesion: Skirt
For the top part I used the same settings, but instead of the Skirt I used a Brim
| Date published | 11/12/2017 |
| Tempo per farlo | 480 - 960 Minuti |
| Quantità di filamento | 200g |
| Dimensioni | 160x160x168mm |
| Tecnologia | FDM |
| Complessità | Very Easy |
| Supporto Gratuito | YES |

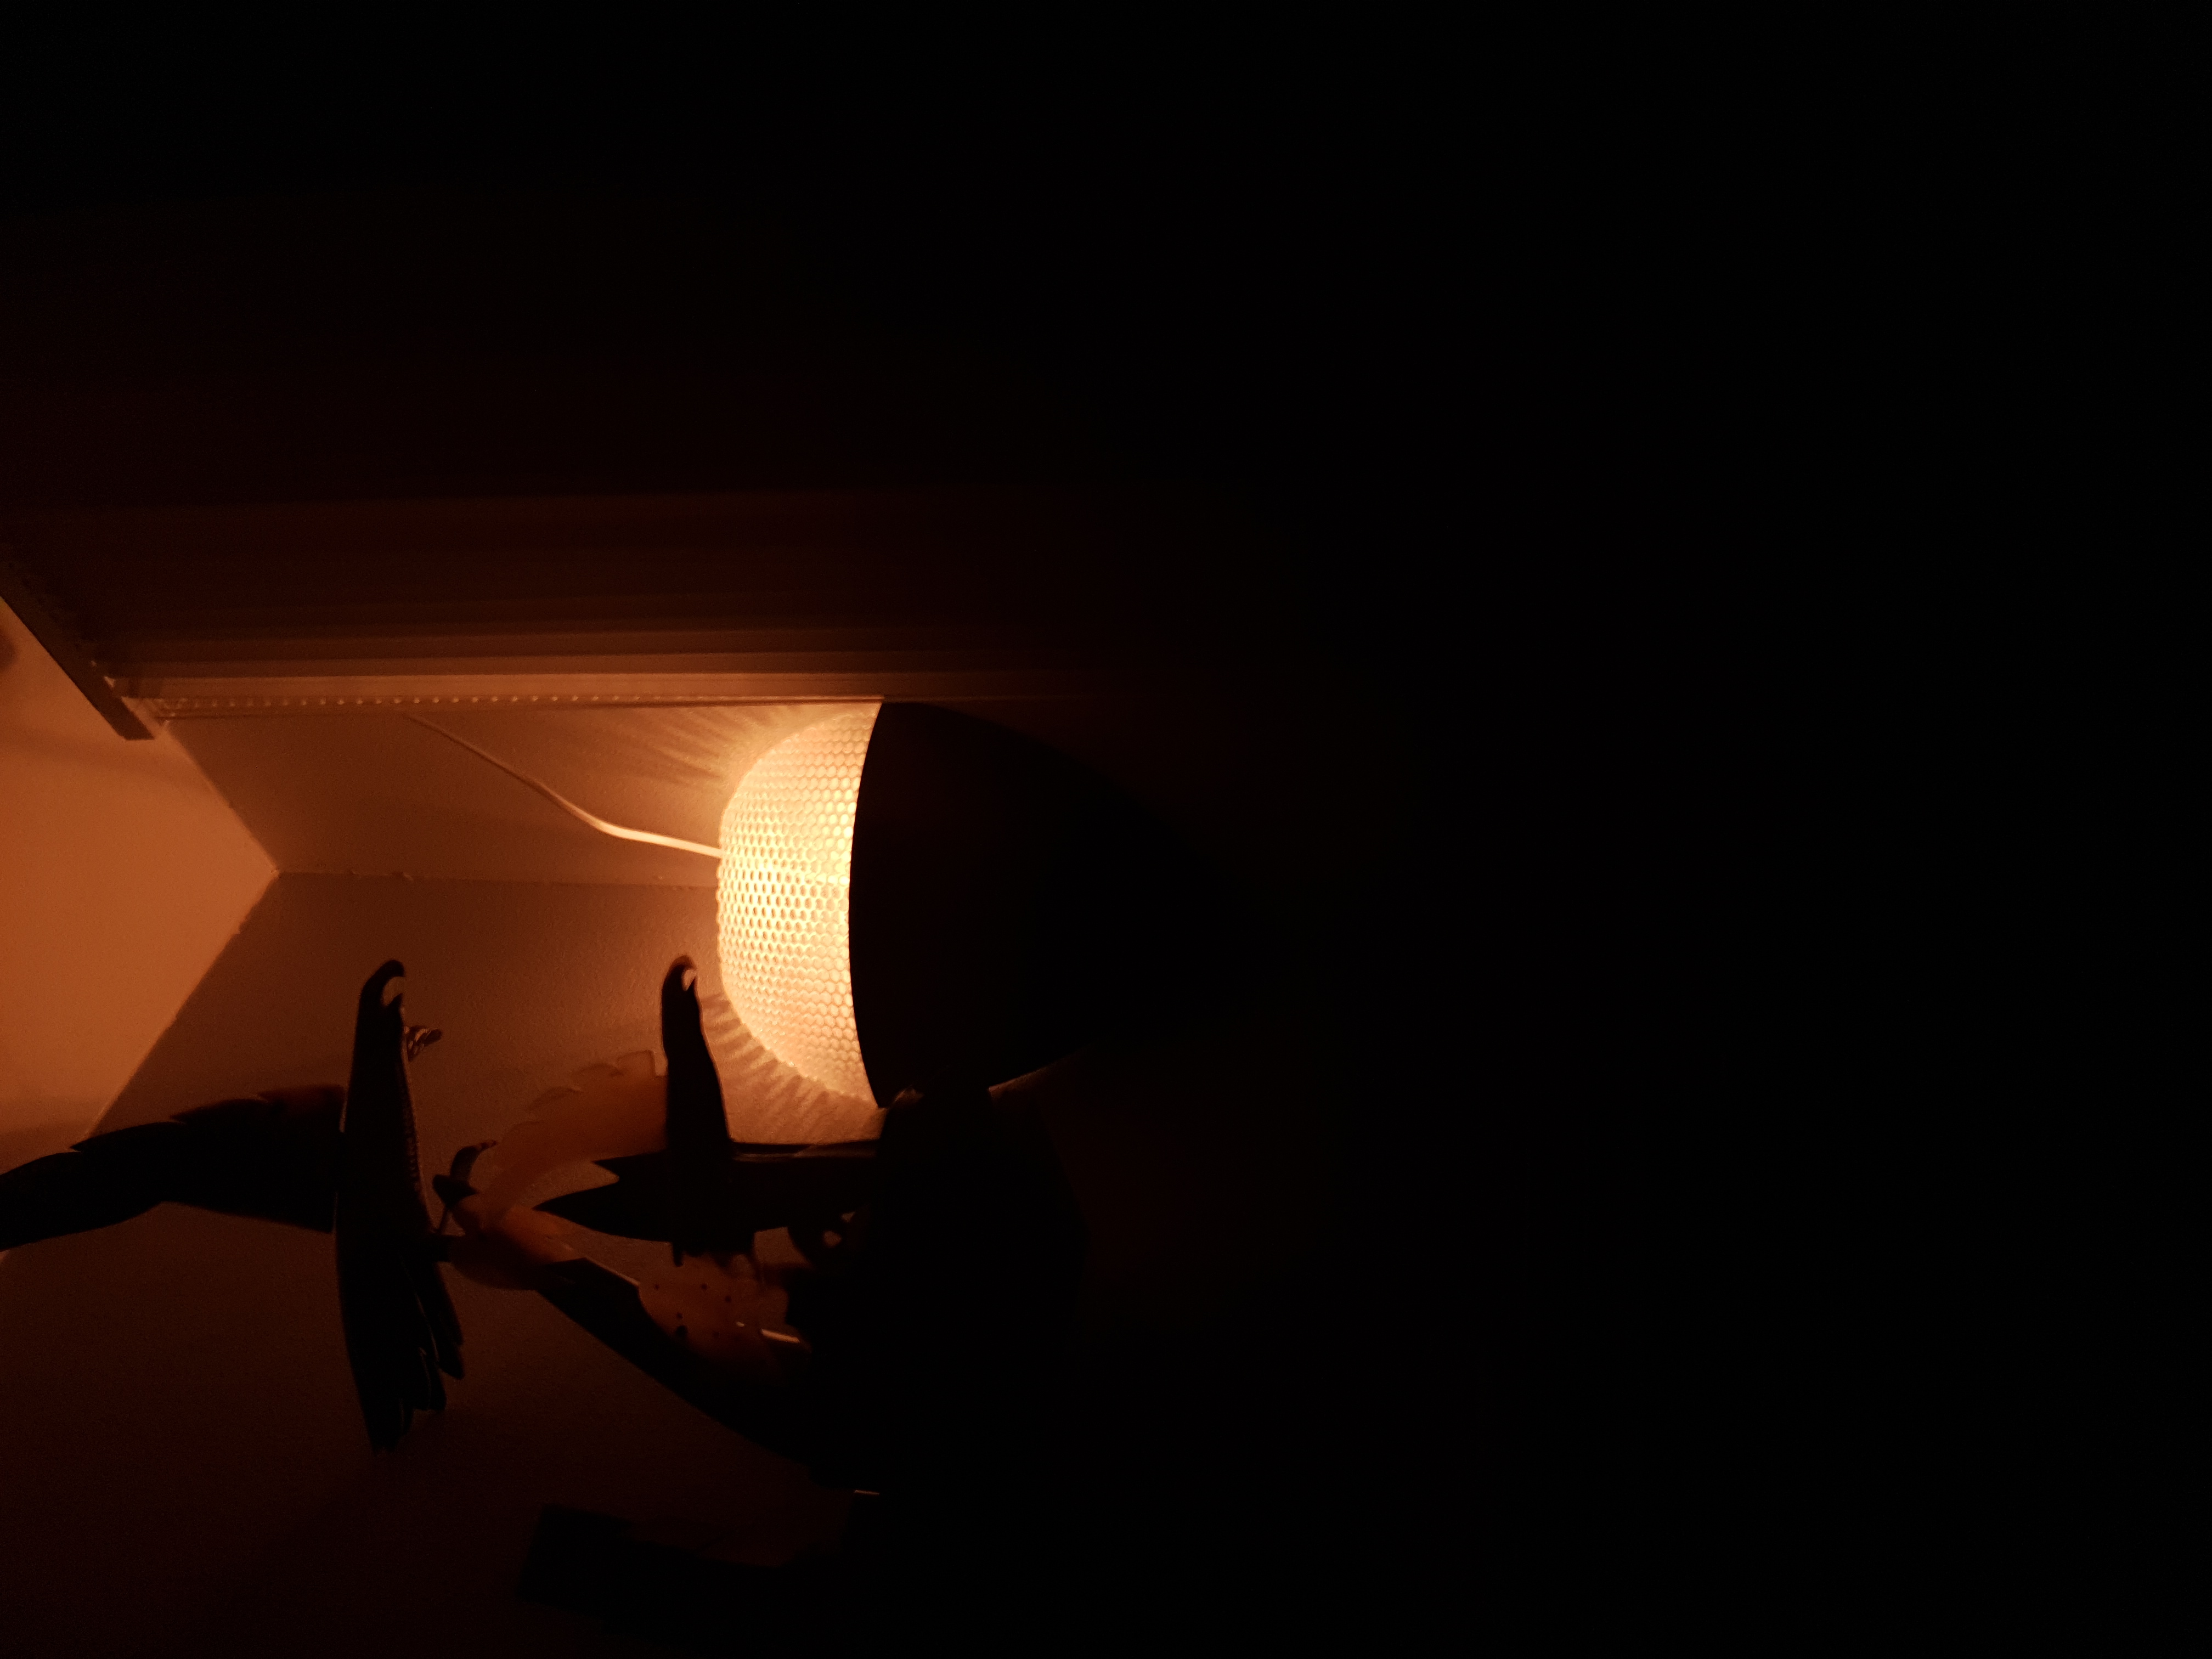
looks great